Cosy Rosie Crochet
Welcome to the home of beginner friendly crochet patterns that will help you learn to crochet and increase your crochet skills as I keep you inspired with stitch tutorials, crochet patterns and more!
HOME
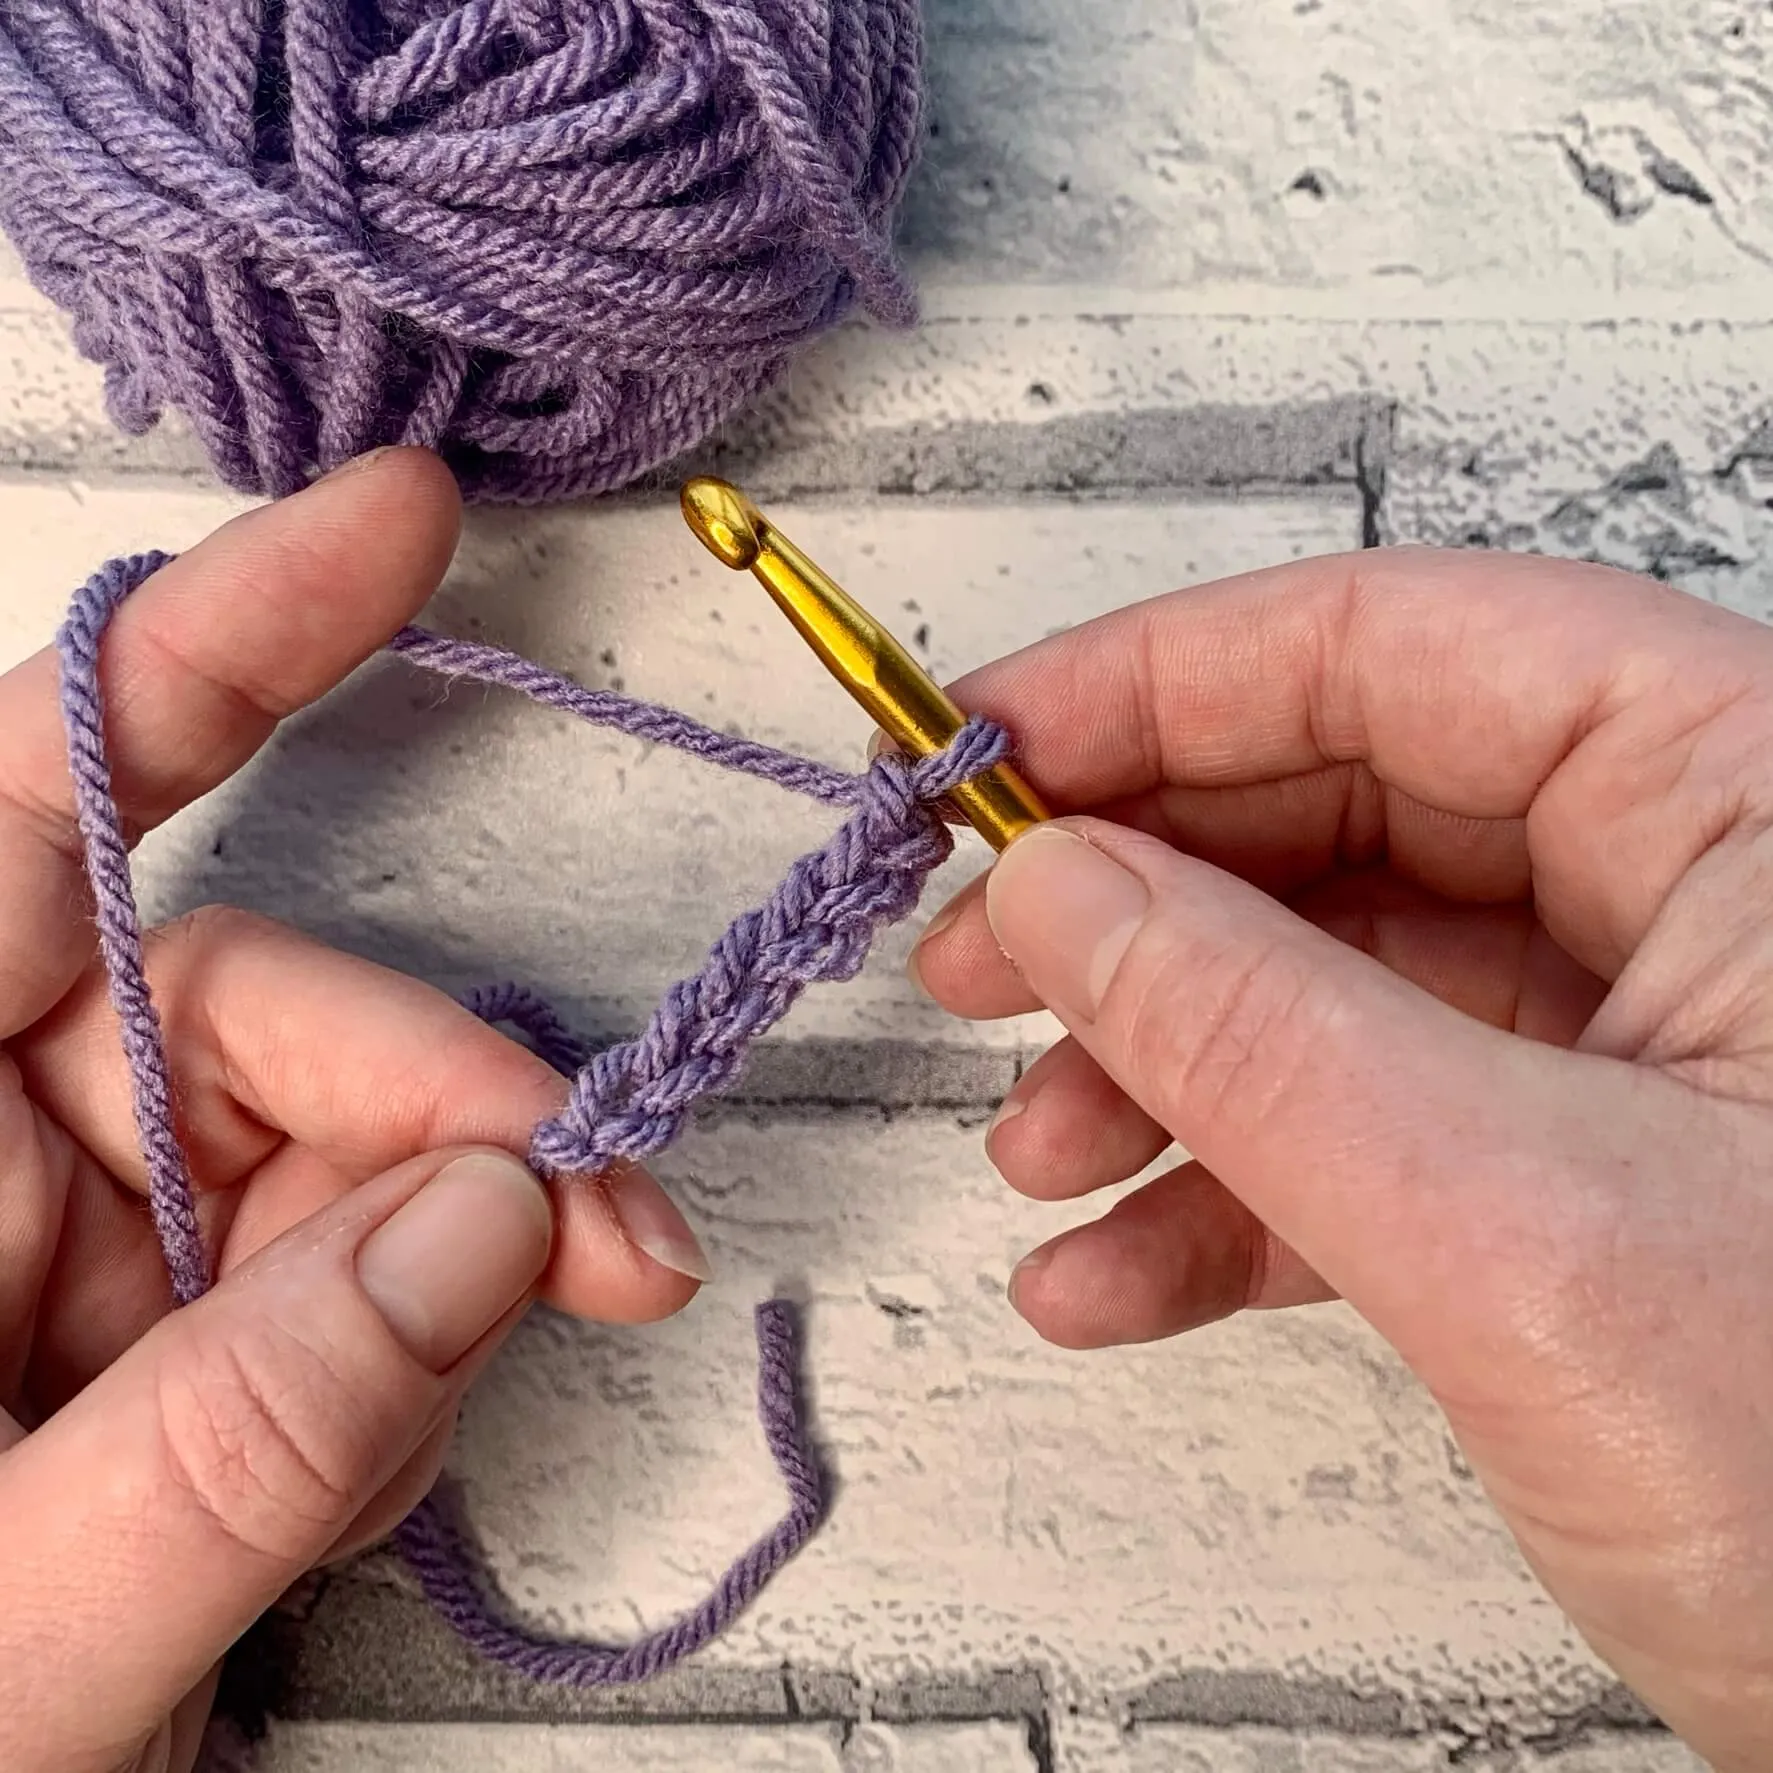
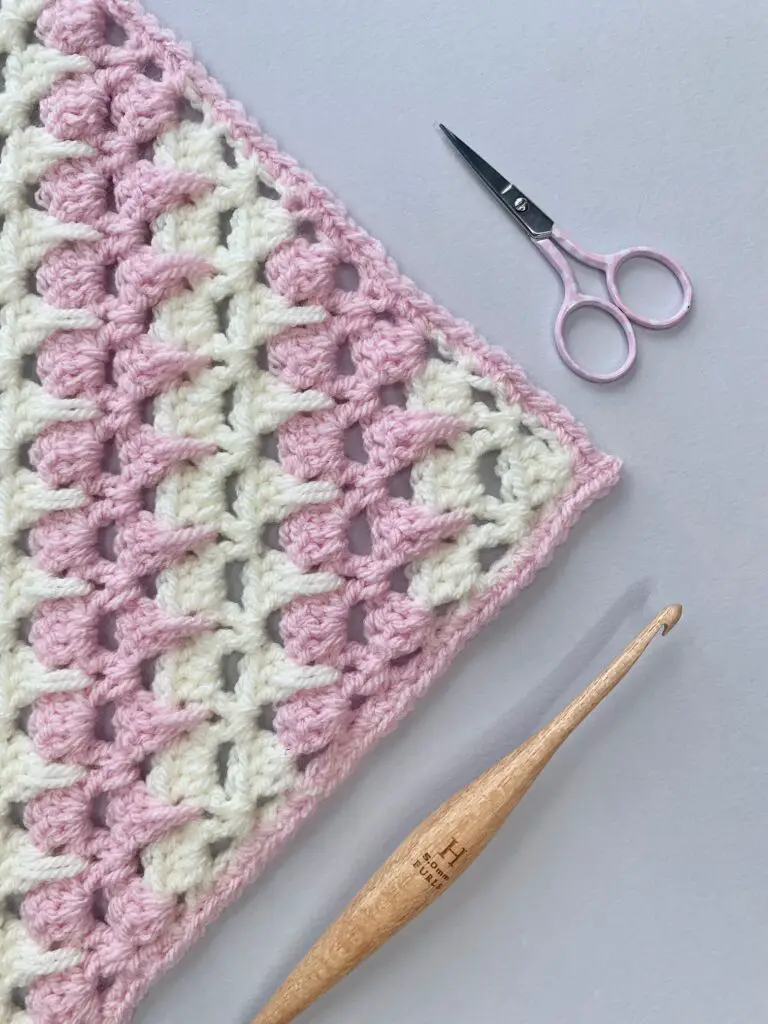
Keep it cosy as you learn to crochet with easy to follow stitch tutorials and crochet patterns to add a handmade element for you, your home and your wardrobe. From crochet garments and accessories, through to blankets and cushions; you’ll be spoilt for choice as you learn more crochet techniques with confidence.
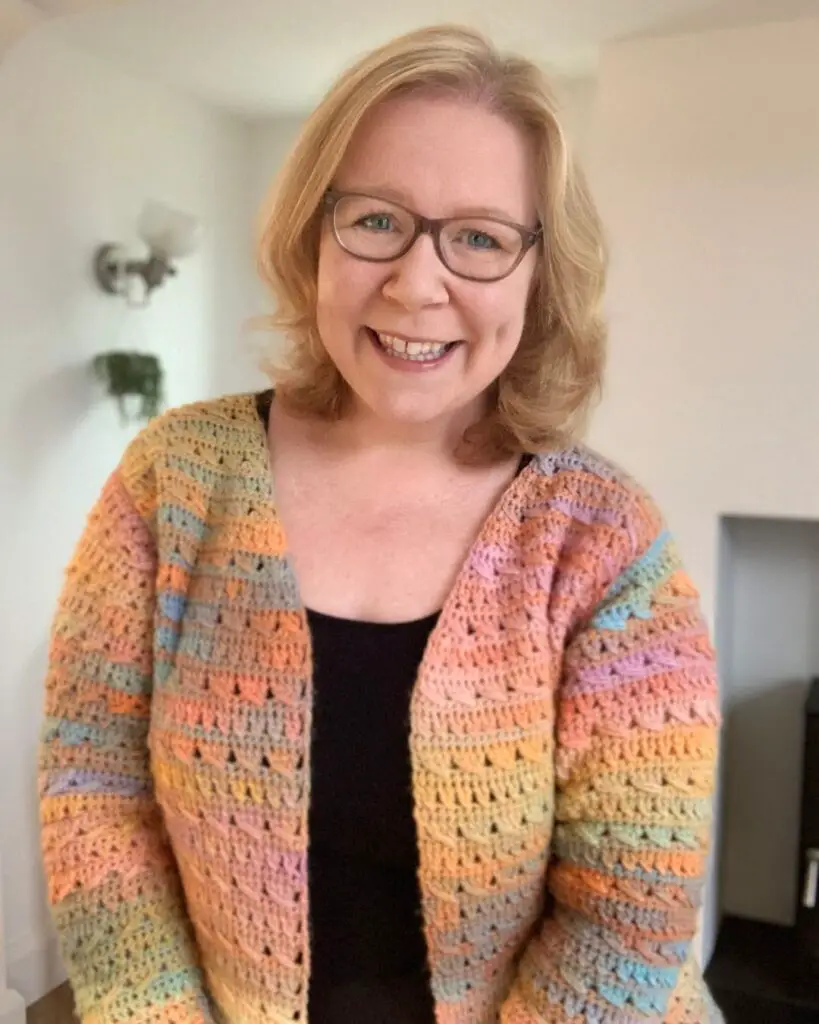

Spring into Crochet
See All >


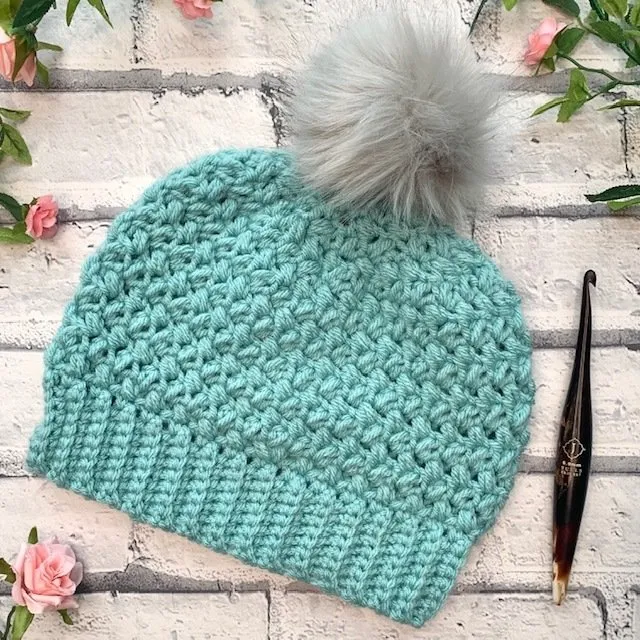
Browse Patterns:
NEW IN THE SHOP
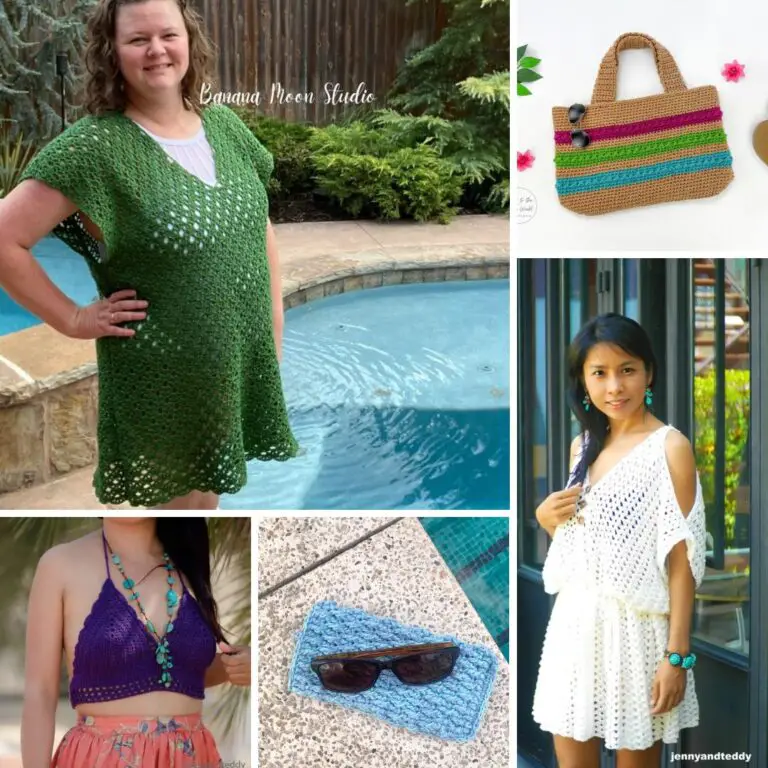
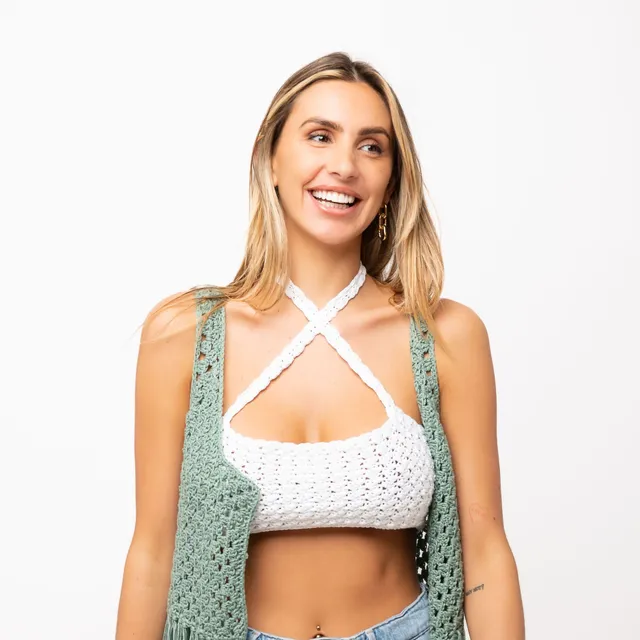
Crochet your way to the perfect handmade summer wardrobe with Hooked on Summer!
This 92-page pattern book features 12 size-inclusive garment designs (XS–5XL), ranging from breezy and effortless, to stylish and form-fitting.

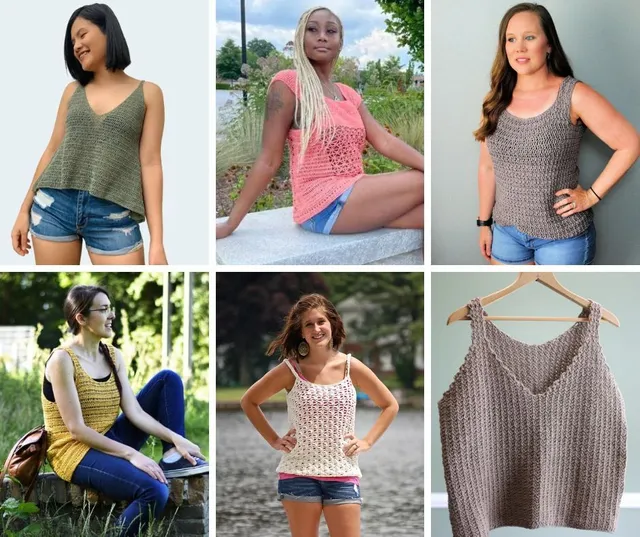
Shop My Patterns & Favorite Tools!
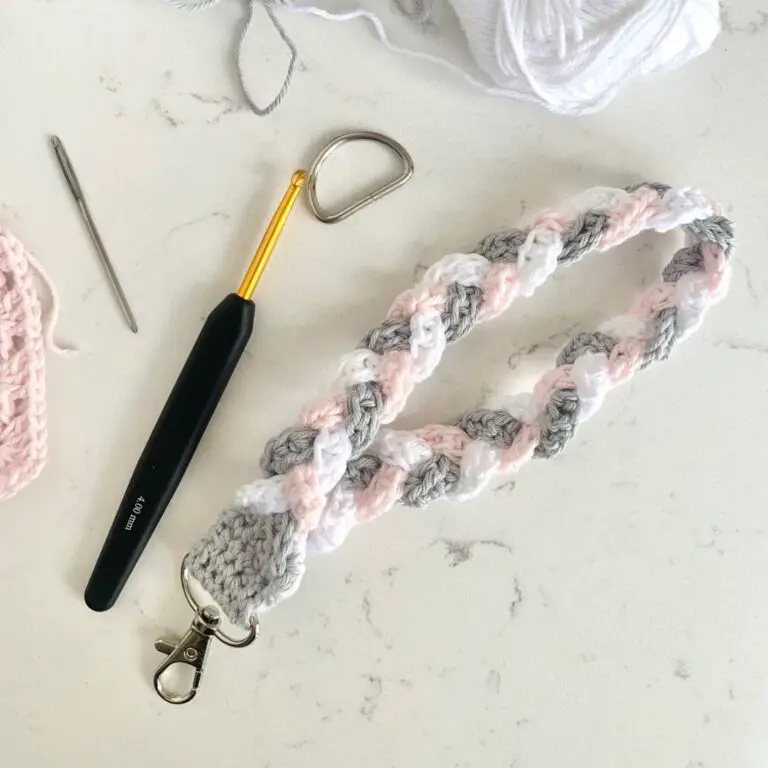
Discover my collection of individually printed crochet patterns and self-published pattern books, designed to inspire your next project. Plus, shop my handpicked selection of crochet hooks and must-have accessories.

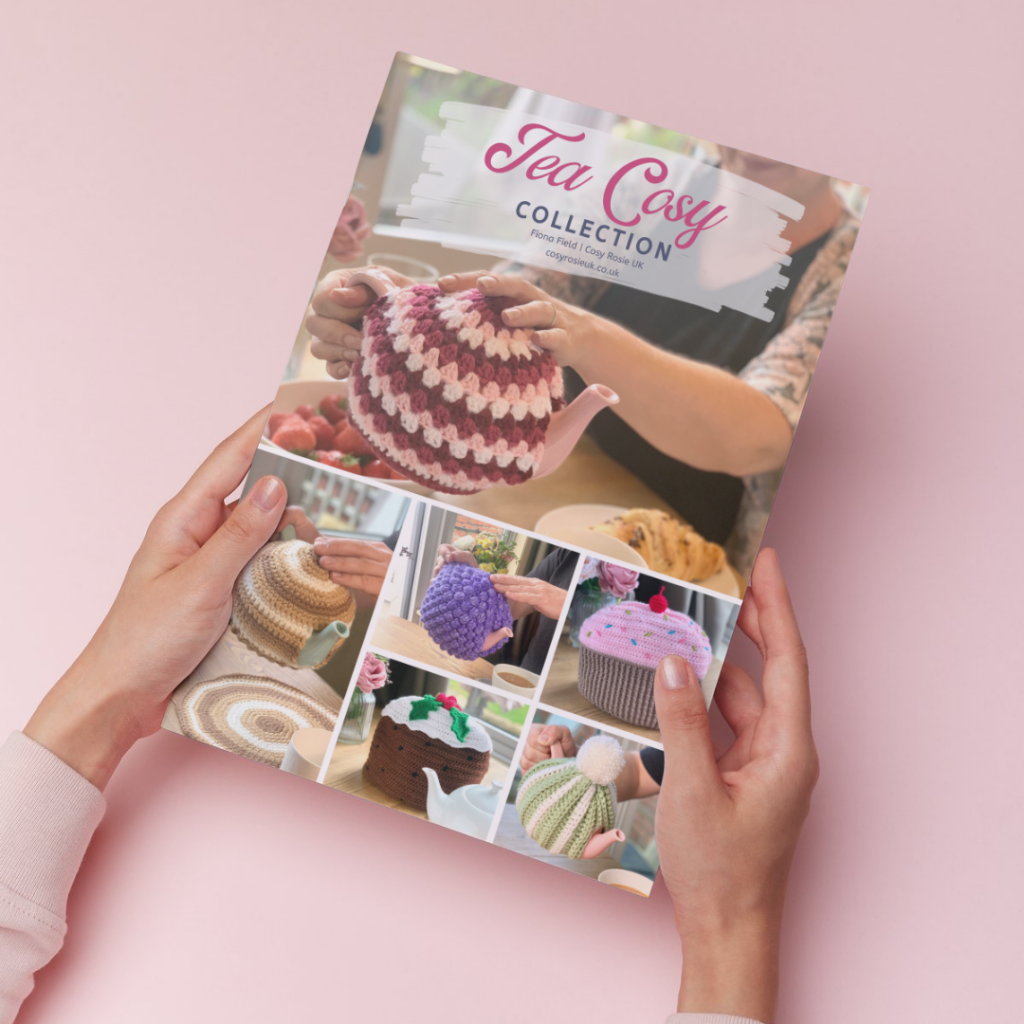
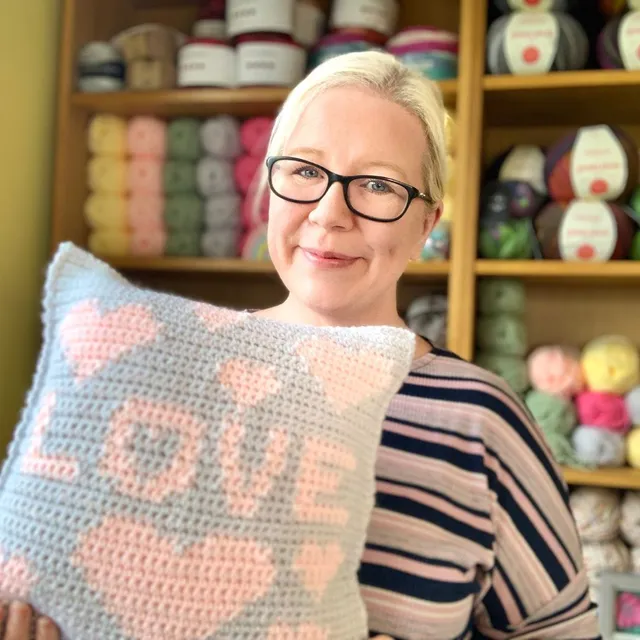
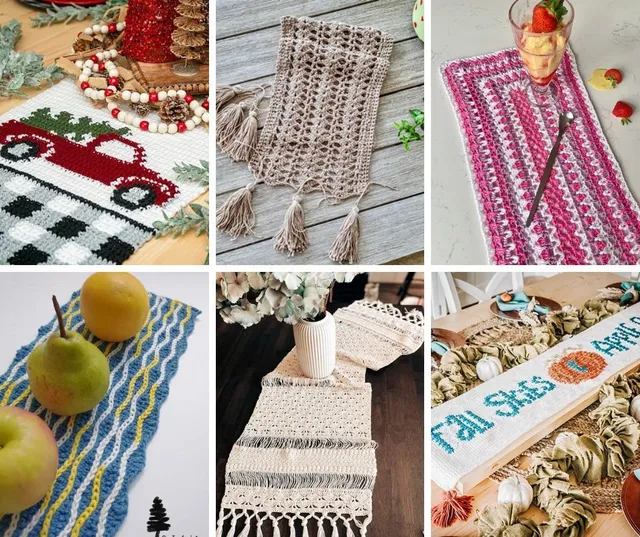
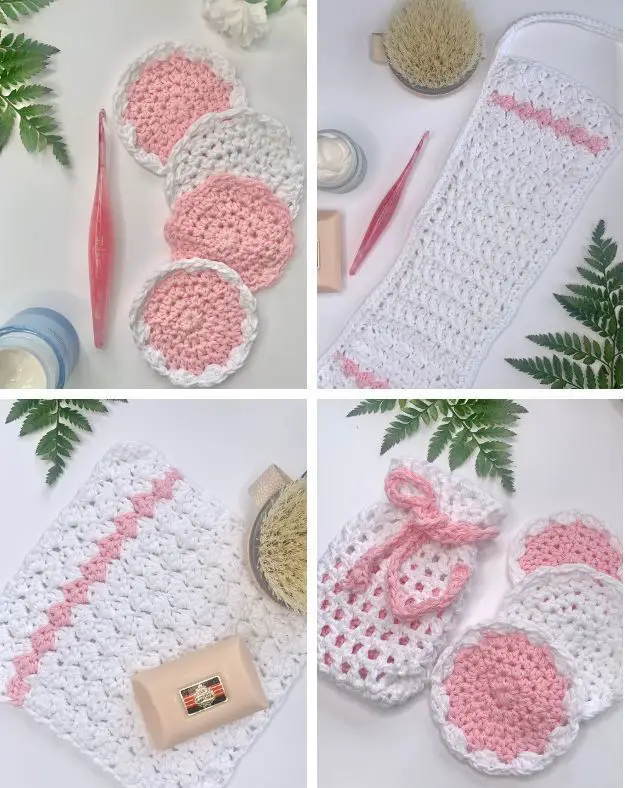
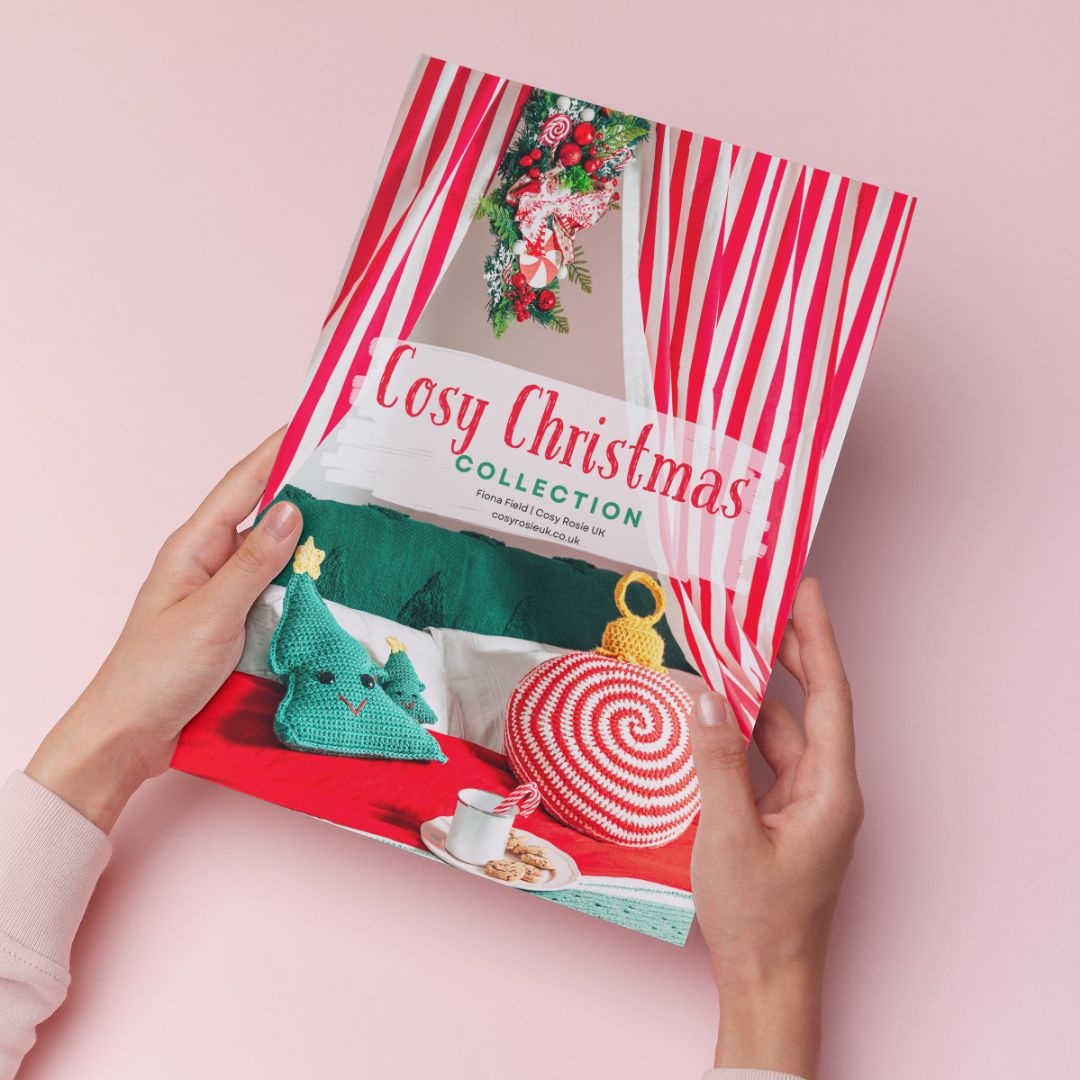
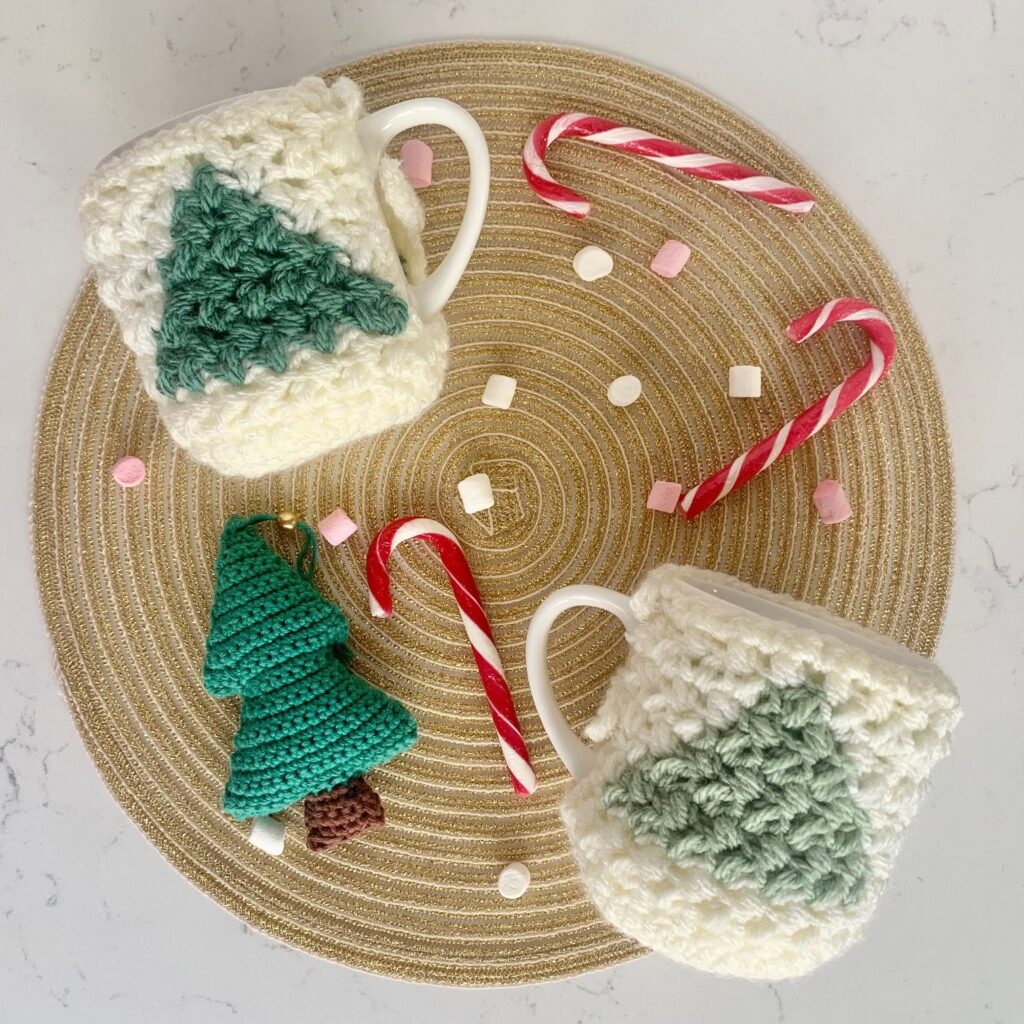
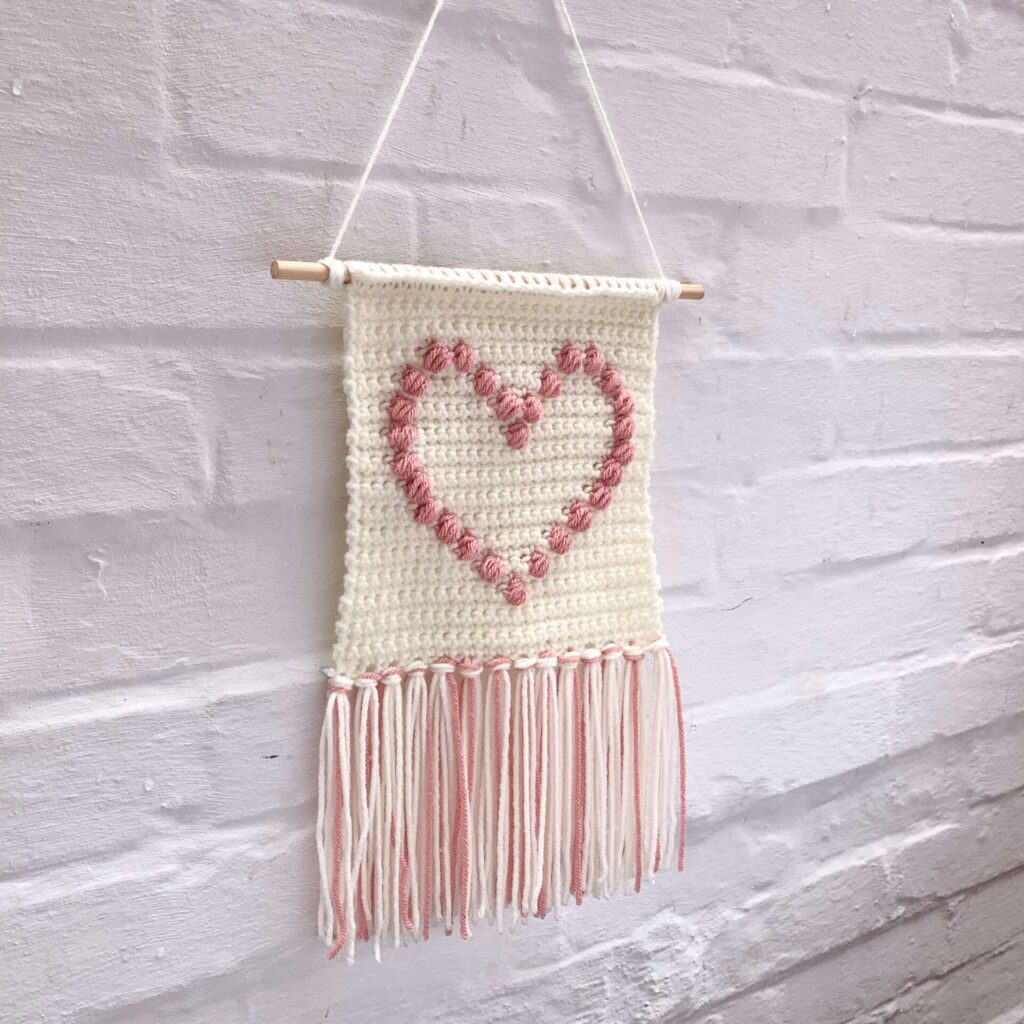
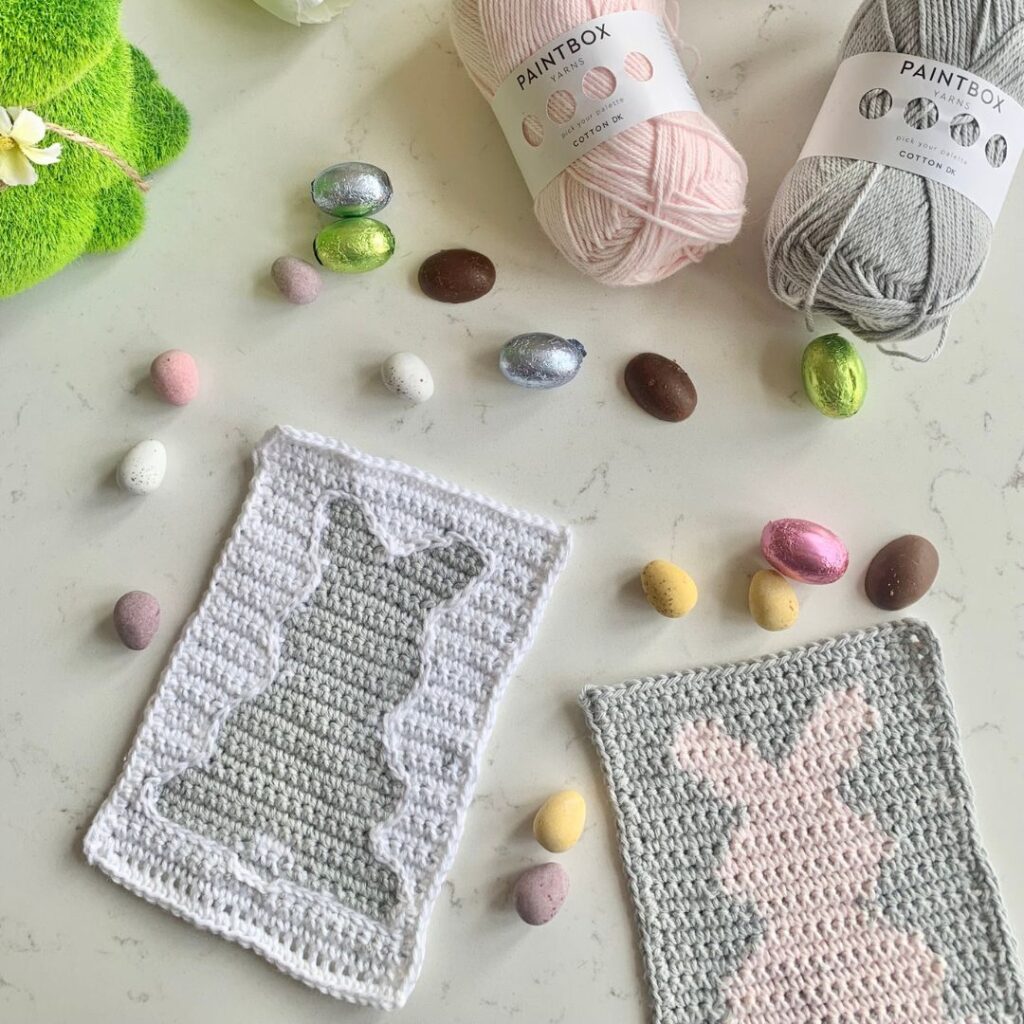
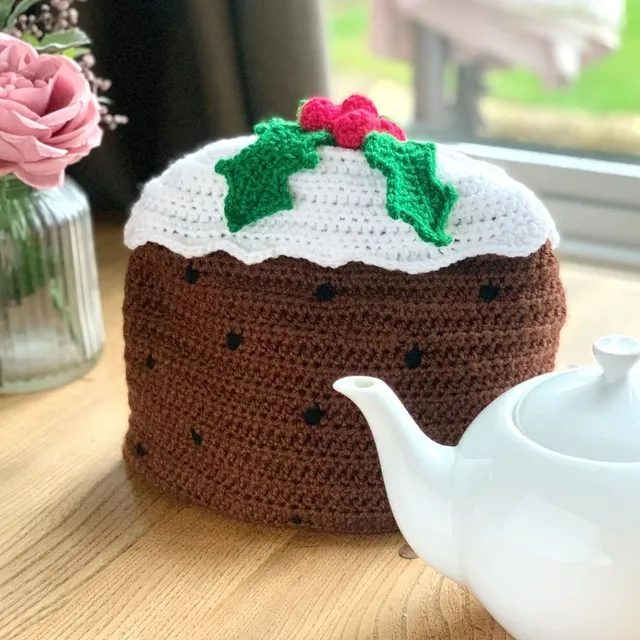
Crochet for the Holidays
No matter the occasion, you can add a handmade element and showcase your crochet skills to your family and friends by crocheting gifts and decor.
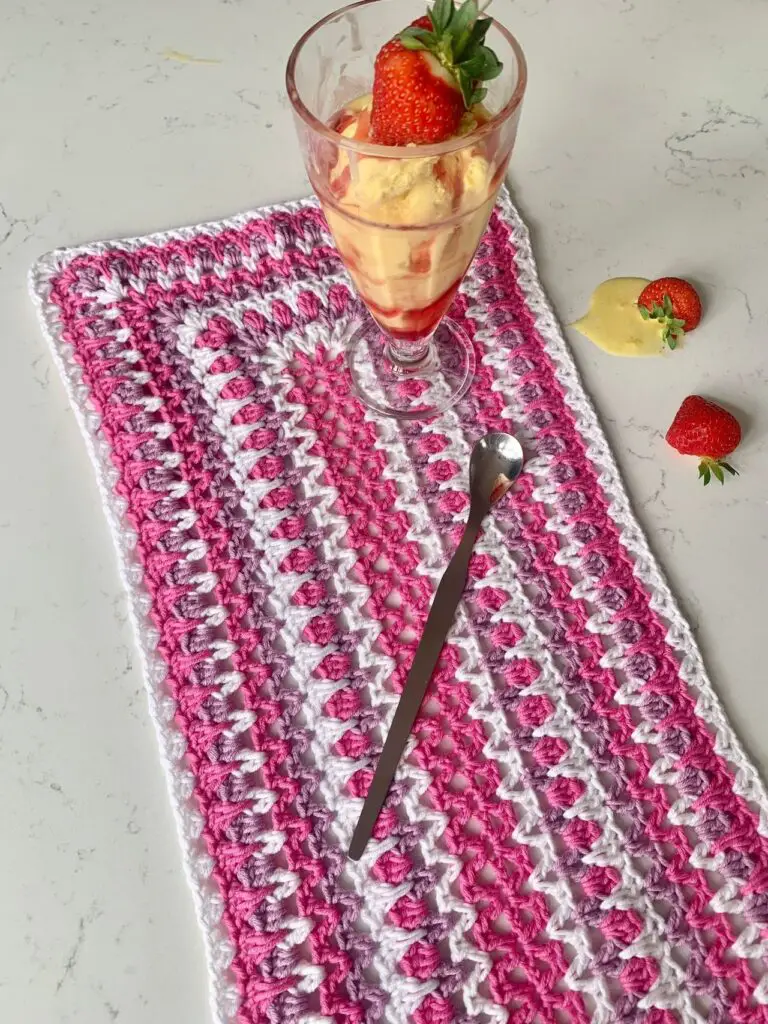
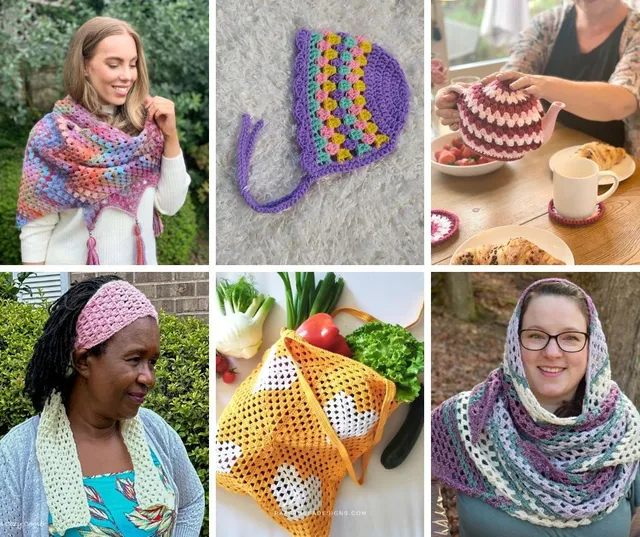
Group Gatherings
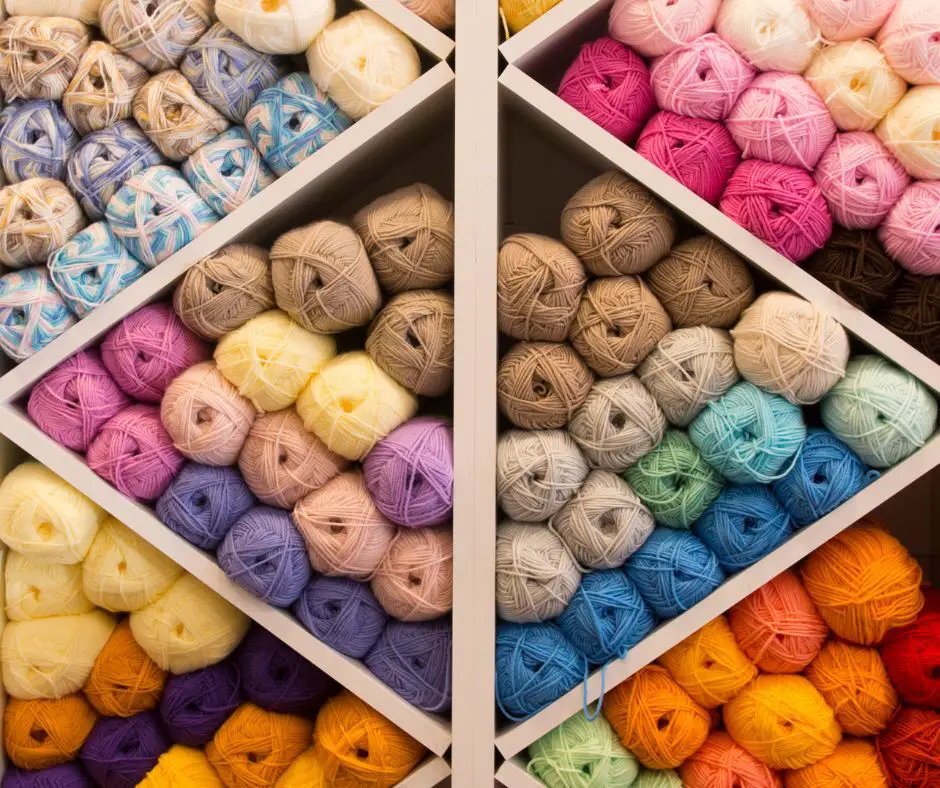
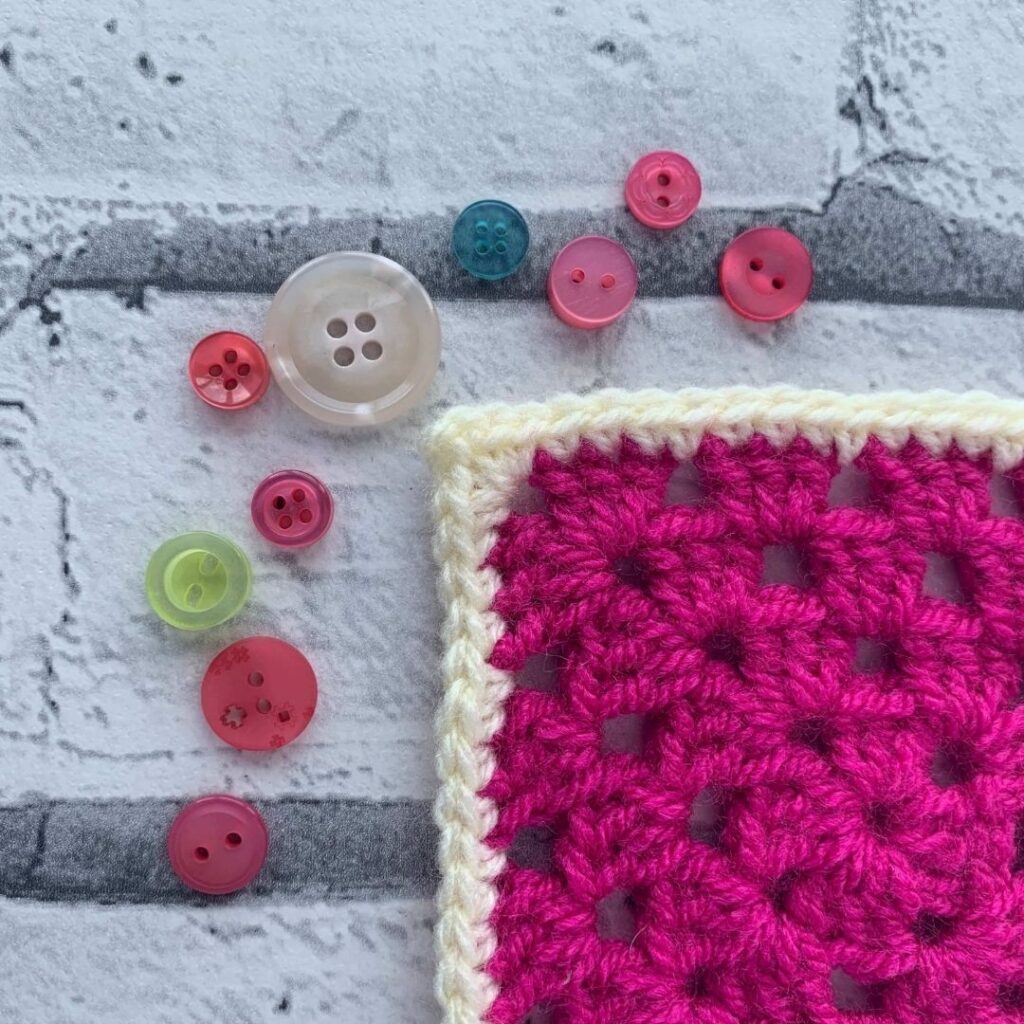
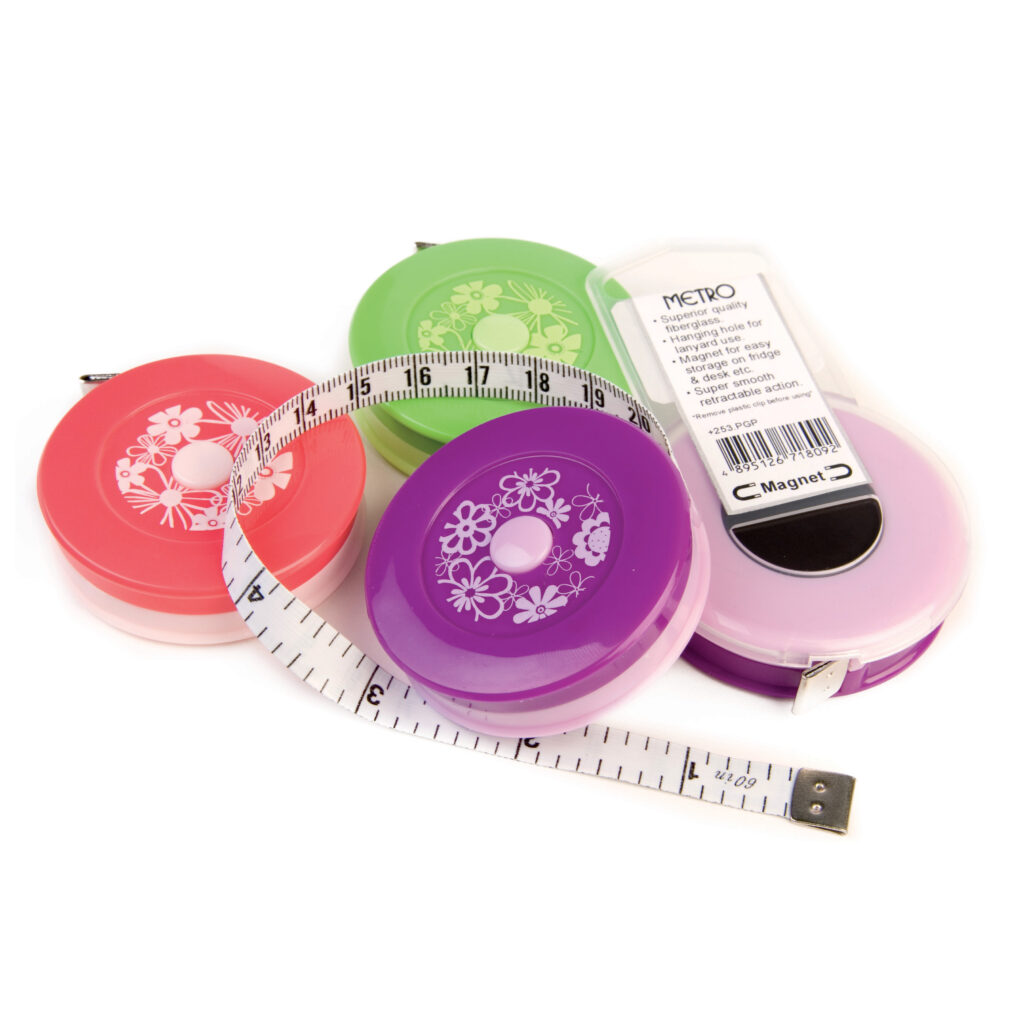
Sort Your Yarn Stash
Our yarn deserves to be organized along with being stored correctly to keep useable. There are a number of things to consider, when storing yarn to keep it safe and ready to use when you need it.