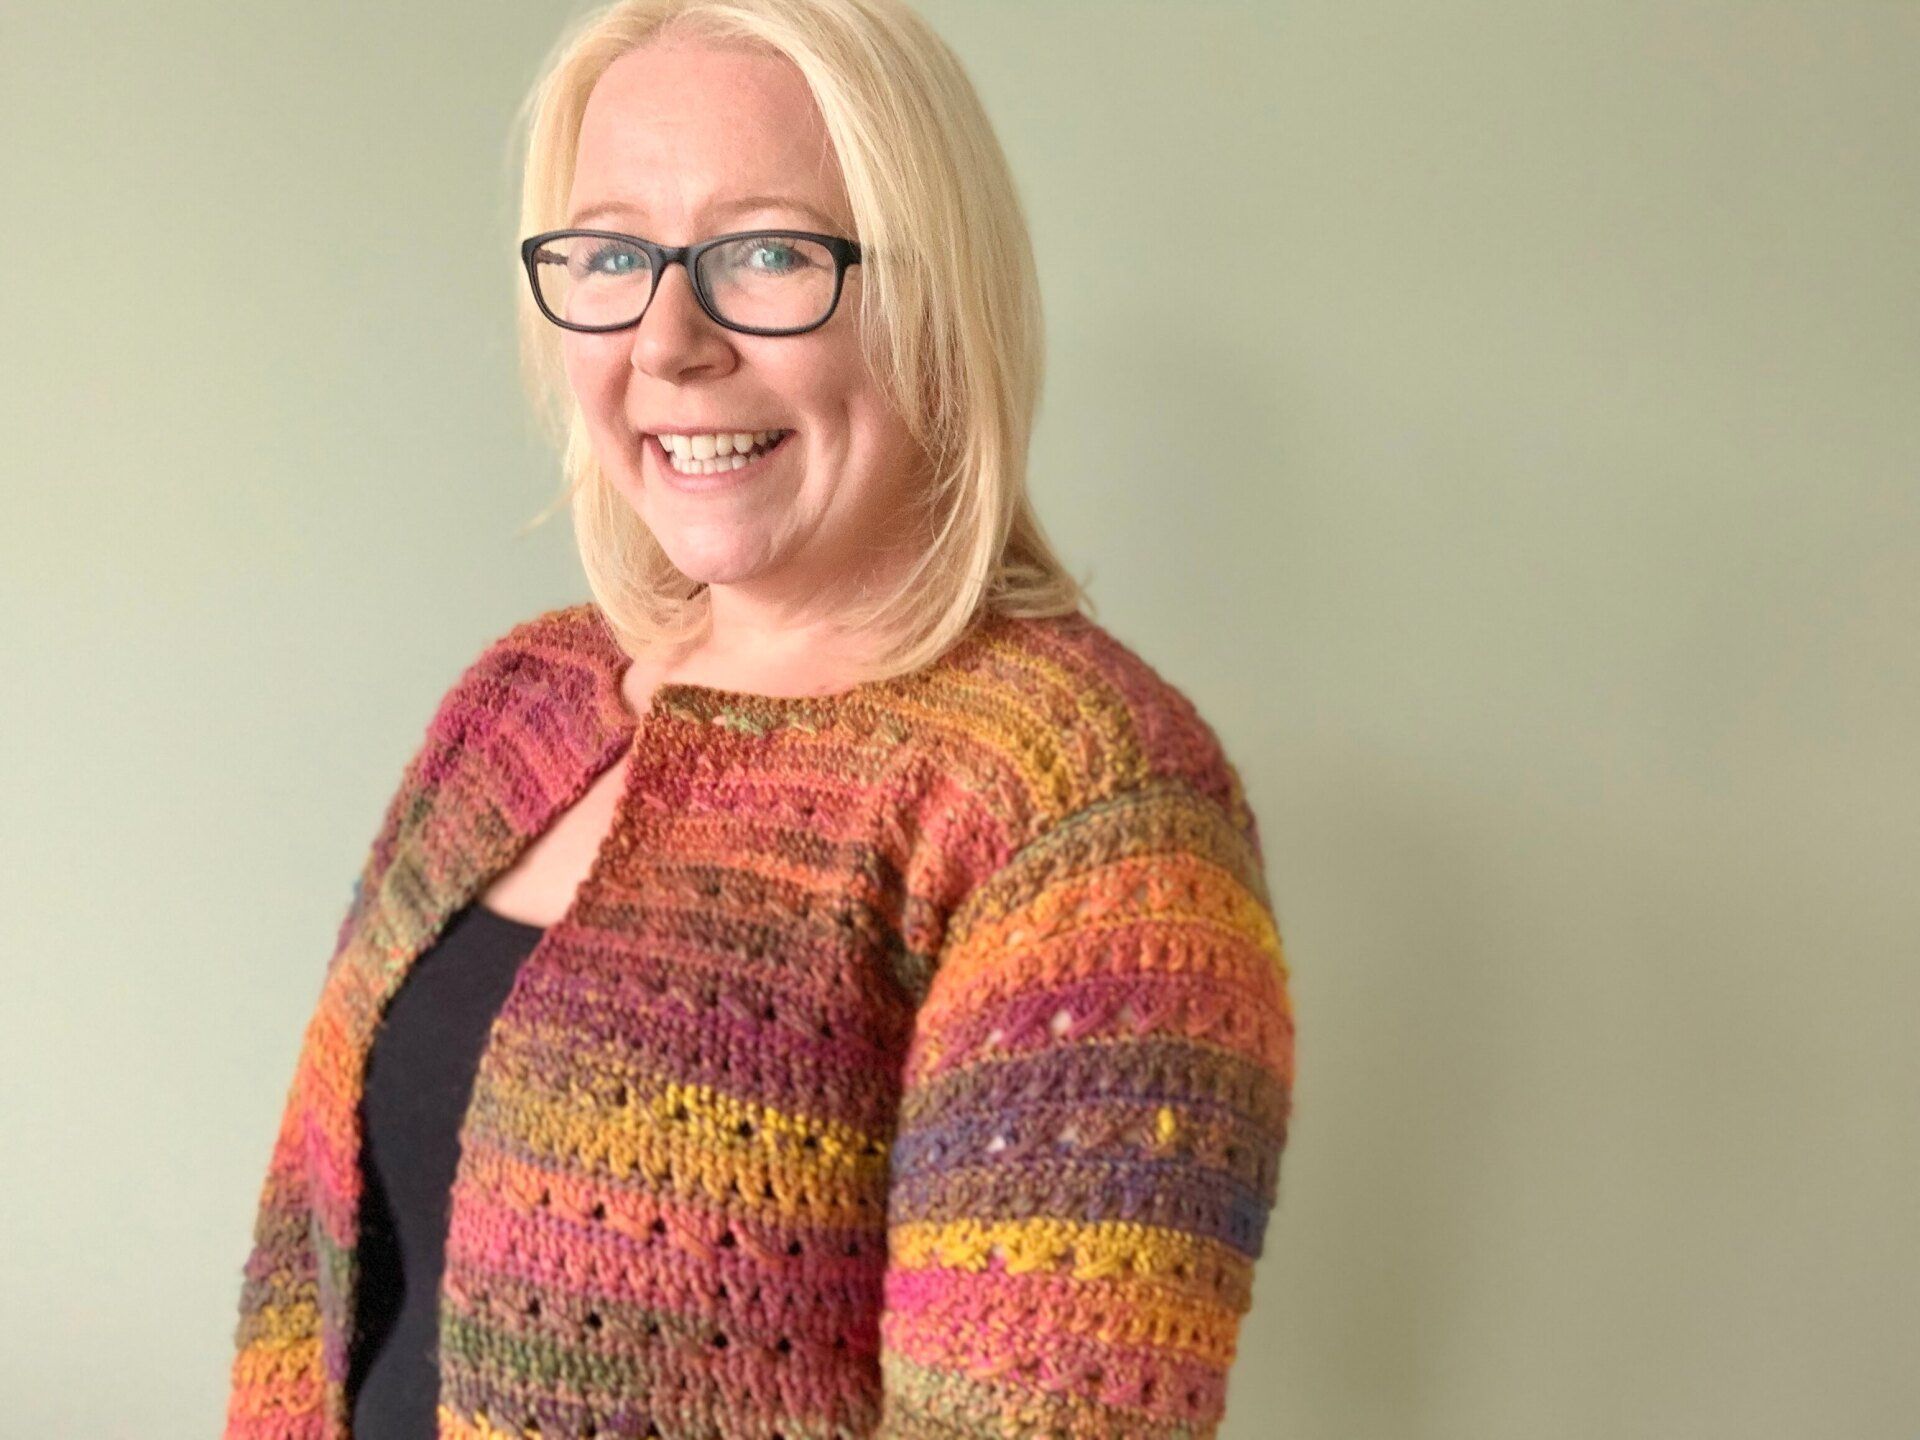
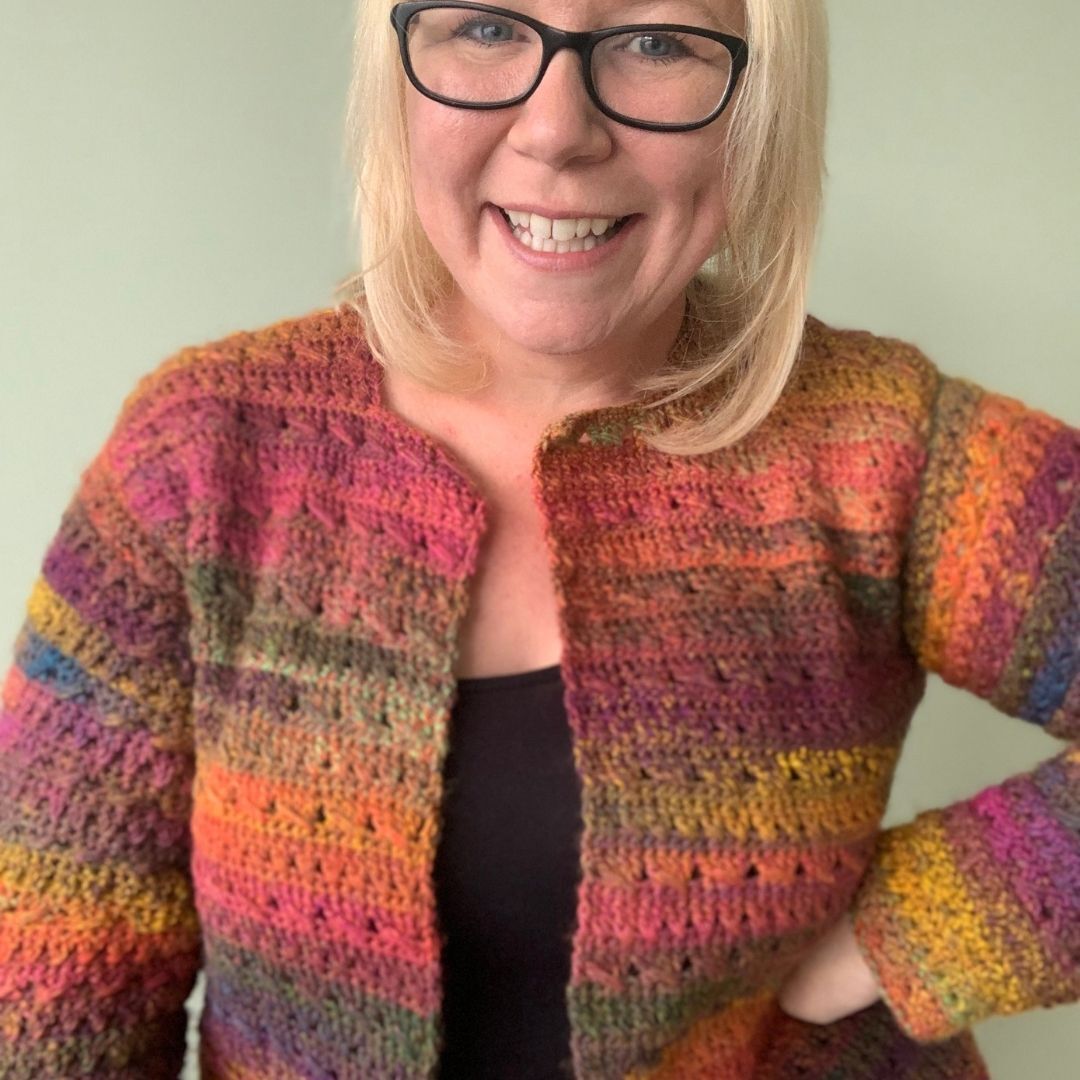
Right Square Neck Cable & Crossed Cardigan
Finish your right front panel with the square neck option and get ready to join your cardigan.
Please note that some of the links in my blog are affiliate links. I may earn a small commission if you purchase via these links, but the price you pay is not affected
Right Square Neck | Cable & Crossed Crochet Cardigan
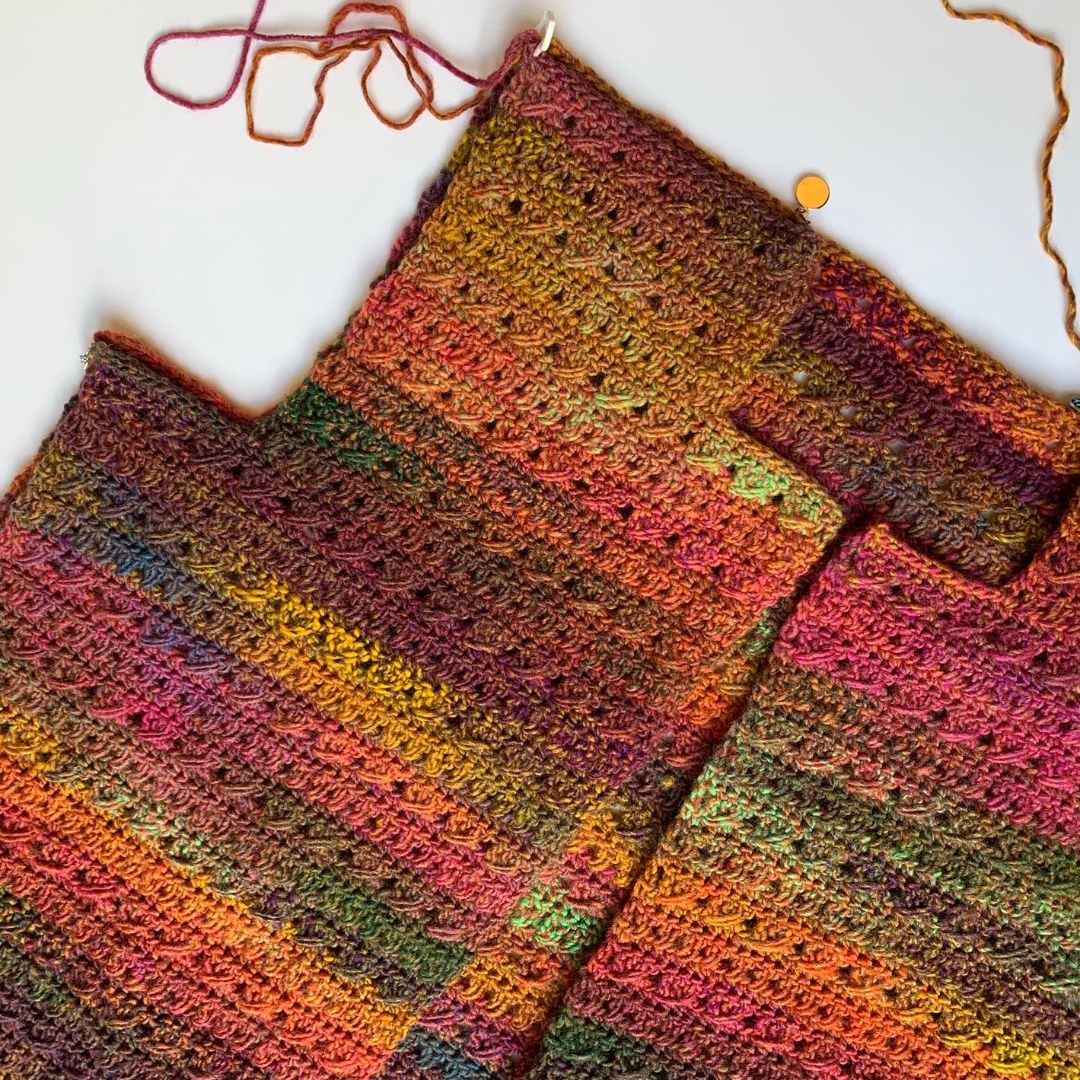
The square neck option was the original neckline created for the Cable & Crossed Cardigan and this section of the pattern will reverse the neckline from the left panel to ensure that both panels will be joined with the right side of the crochet fabric facing.
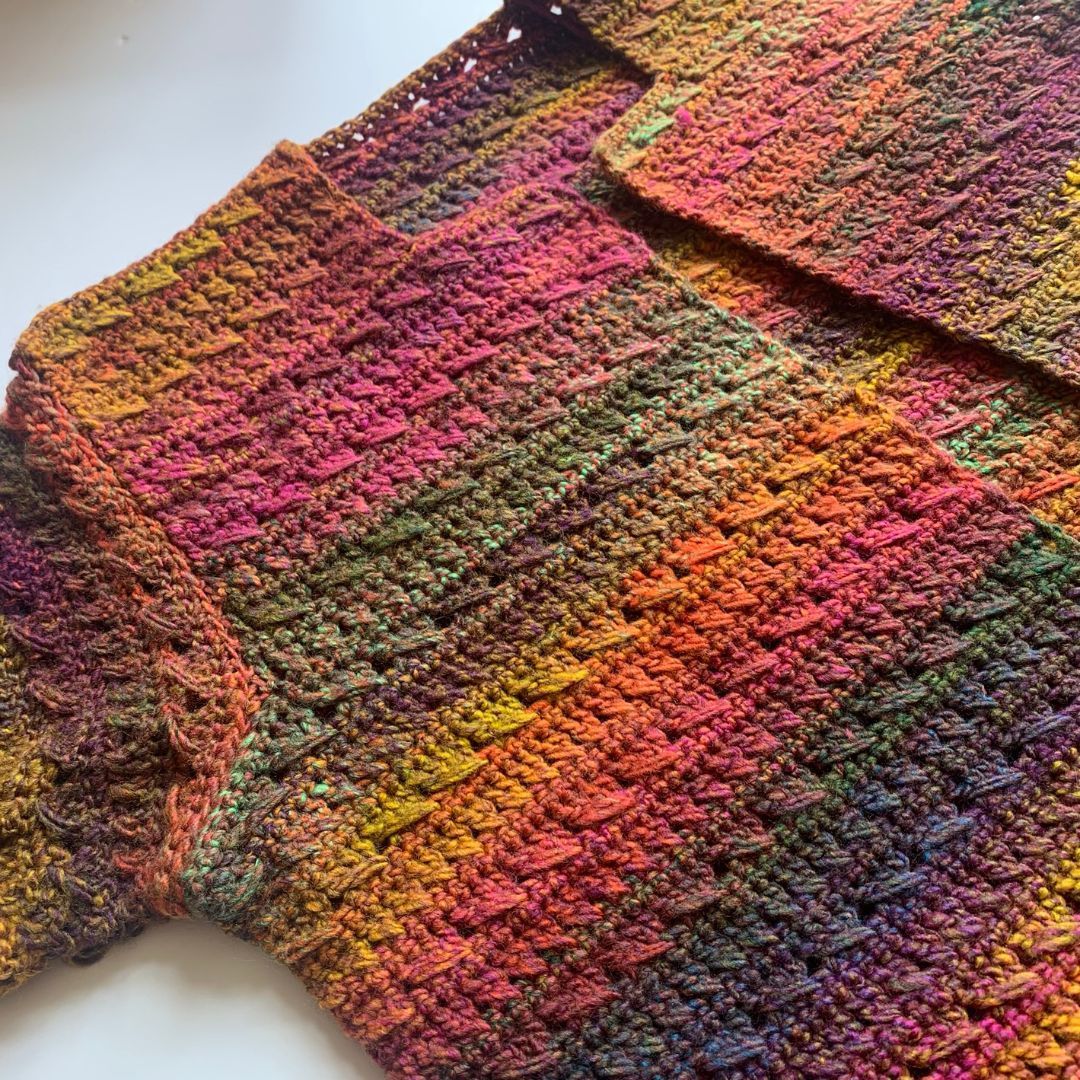
There are not many crochet stitches that are truly reversible, meaning that the stitches look slightly different on one side than the other. The "pretty" side of the stitch is usually the right side of the crochet fabric.
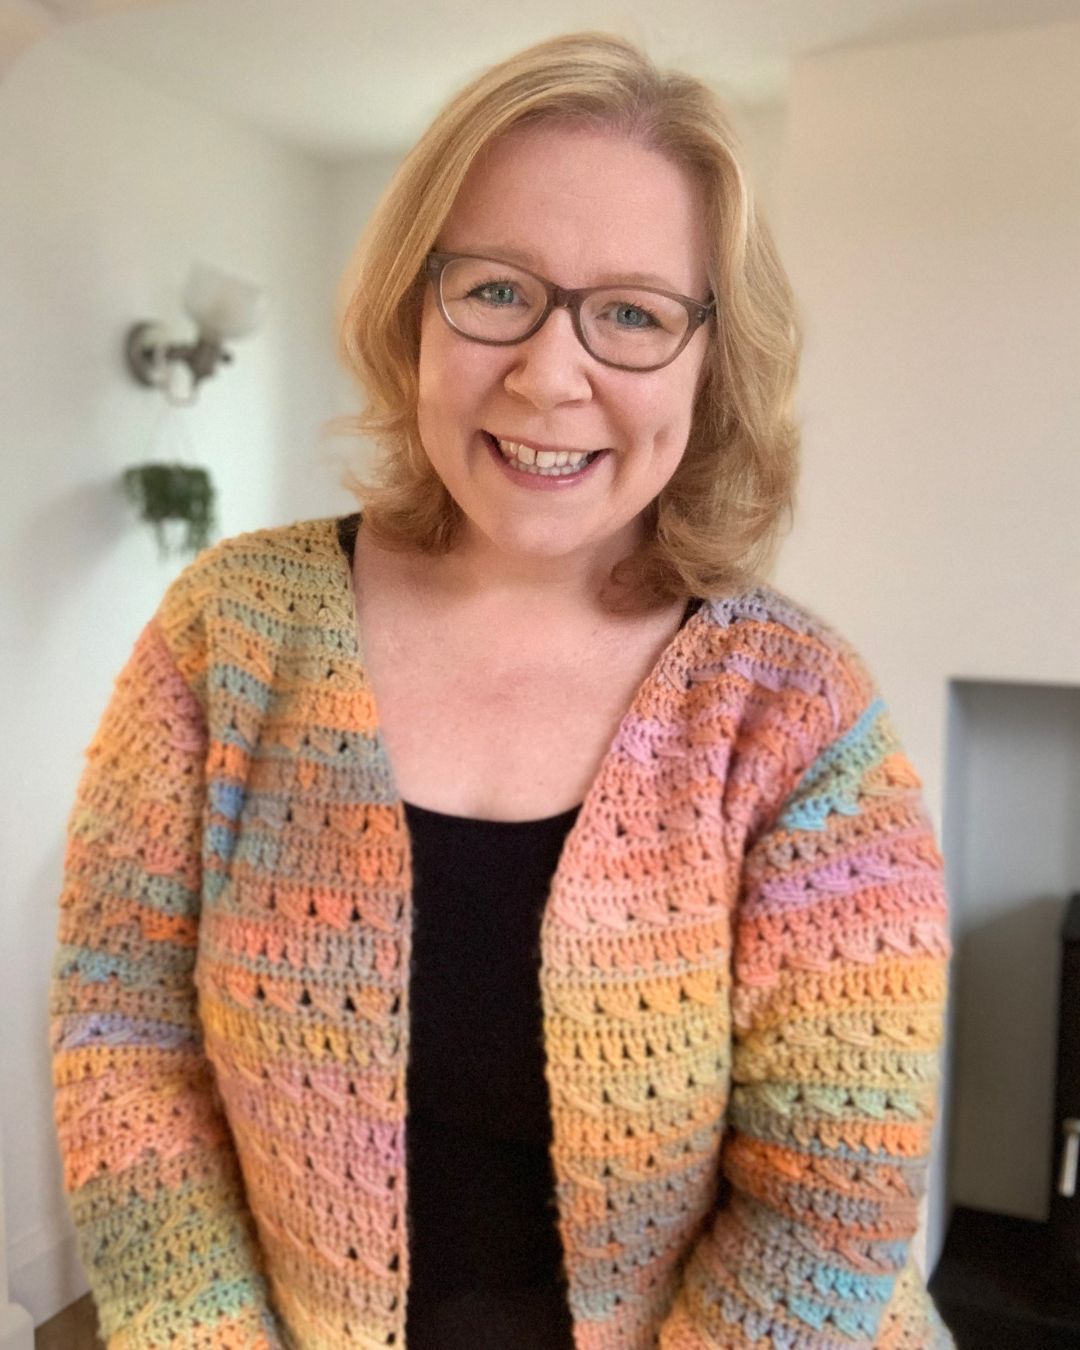
In the case of the Cable & Crossed Cardigan, the right side of the fabric is where the featured stitches face - so the single crochet rows are the wrong side. This ensures that when we join the front panels to the back panel, all the cable stitches will run in the same direction as shown in the photo below.
JOIN THE CAL
The Cable & Crossed Cardigan pattern will be releasing as a crochet along, with a different section of the pattern releasing each week.
There is never any pressure to keep up with the releasing of the pattern sections - but it can be fun to try! Below you will find a list of when the pattern elements will release.
Cable & Crossed CAL Schedule
- Make your swatch - click here for the pattern at the end of the article
- Back Panel - Click here for the back panel pattern
- Front Panel - Click here for the front panel
- Left Panel Square neck - Click here
- Left Panel V-Neck - Click here
- Right Panel V-Neck - Click here
- Sleeves - releasing 26th April
- Joining - releasing 3rd May
Each pattern section will have it's own video tutorial to help you complete your cardigan with absolute confidence.
Sign Up and Don't Miss Out!
If you want to be in the know when a new section of the pattern releases, complete the form below and I'll send you an email the minute the next section is available.
What size are you making?
A silly reminder to create the same style of neckline on both your front panels - this pattern is for the square neck option - click here for the V-neck option.
Take a moment to go through the pattern and note where the stitch counts for your size will be written - they will be in the following size order:
- XS (S, M, L, XL, 2XL, 3XL, 4XL, 5XL)
Where - (the dash)is used, this means no stitches are worked for this size and you should continue on to the next part of the pattern, as directed. You will find this used in the pattern sections for the neckline options and the sleeves.
Pattern Details | Woman's Crochet Cardigan Pattern
Skill Level: Advanced Beginner/Intermediate
Materials:
- Aran weight yarn - see Size chart for estimated yarn amounts
- I used Sirdar Jewelspun Aran (200g /500m, 100% acrylic) in shade Setting Sun
- 5.5mm Crochet Hook
- Scissors
- Tapestry needle
- Stitch Markers x 6
Optional
- Hook & eye closing
Abbreviations - US TERMS
st(s) - stitches
ch - chain
sc - single crochet
sc2tog - single crochet 2 stitches together
fsc - foundation single crochet
dc - double crochet
dc2tog - double crochet 2 stitches together
cable - cable stitch
dec cable - decrease cable stitch
cdc - crossed double crochet
RS - right side
WS - wrong side
YO - yarn over
Get the Printable Pattern
If you prefer to print your crochet patterns, you can purchase from any of my pattern shops for an instant download to print and save this pattern.
Pattern Notes
- Get in touch if you need any help completing the pattern - [email protected]
- This pattern is worked 5 parts, from bottom up, sewn together using mattress stitch worked in to the back loop only
- Back panel
- Front panels x 2
- Sleeves x 2
- ch 1 at the beginning of the rows DO NOT count as a stitch.
- ch 3 at the beginning of the rows DOES count as a stitch.
- Take a moment to go through the pattern and highlight the stitch counts for your size which will be written in size order. e.g XS (S, M, L, XL, 2XL, 3XL, 4XL, 5XL). Where - is used, this means no stitches are worked for this size
Special Stitches
fsc -foundation single crochet
Click here for a video explaining how to crochet a foundation single crochet
- Skip the next stitch
- dc into next 3 stitches
- YO, insert hook into skipped stitch
- Pull up loop to height of dc
- (YO, pull through two loops), 2 times to complete stitch
dec cable - decrease cable stitch
- Skip the next st
- dc into next
- dc2tog (YO, insert hook into next, YO, bring up loop, YO pull through first 2 loops) 2 times, YO, pull through remaining 3 loops
- YO, insert hook into skipped stitch
- Pull up loop to height of dc
- (YO, pull through two loops), 2 times to complete stitch
- Skip the next stitch
- dc into next
- dc into skipped stitch working in front of previous dc
Gauge
16 sts and 10 rows = 4 inches (10cm) in pattern using a 5.5mm hook. Use a larger or smaller crochet hook to obtain the correct tension.
See below for pattern for gauge.
Pattern for Right Square Neck | Cable & Crossed Cardigan
Shaping the Armholes
Shaping the Armholes
Row 1: Ch 3, cable across 6 (7, 7, 8, 9, 10, 10, 11, 12) times, dc in next, turn, leave remaining stitches unworked - 2 dc, 6 (7, 7, 8, 9, 10, 10, 11, 12) cables
Row 2: Ch 1, sc in each across, turn - 26 (30, 30, 34, 38, 42, 42, 46, 50) sc
Row 3: Ch 3, cdc across to last, dc in last, turn - 2 dc, 12 (14, 14, 16, 18, 20, 20, 22, 24) cdc
Row 4: Repeat Row 2
Rows 5-8 (8, 12, 12, 12, 12, 16, 20): Repeat Rows 1-4 a further 1 (1, 2, 2, 2, 2, 2, 3, 4) times - 26 (30, 30, 34, 38, 42, 42, 46, 50) sc
Continue to Shaping the Square Neck
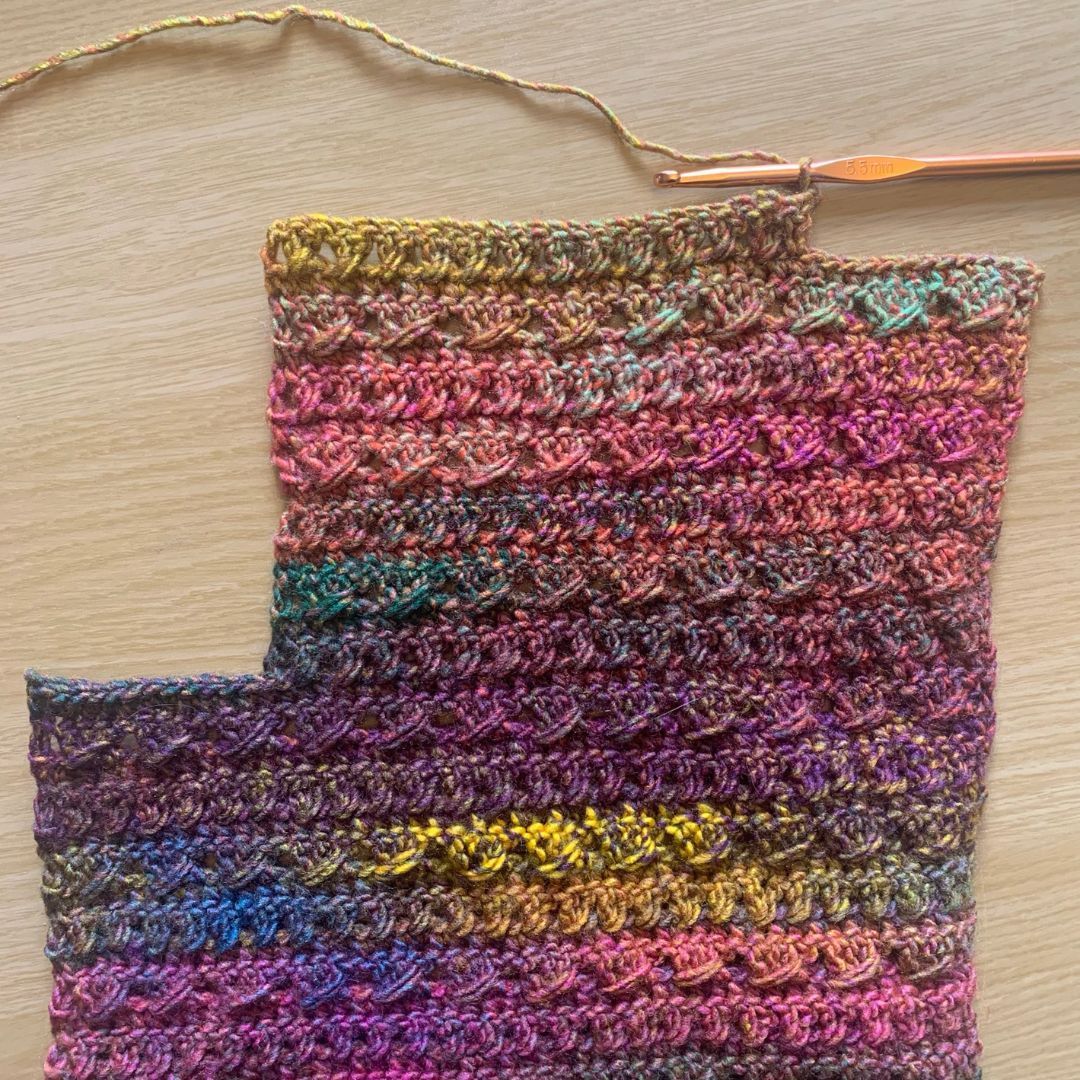
Shaping the Square Neck
Shaping the Square Neck
Row 1. RS: Join in 9th (9th, 13th, 13th, 13th, 13th, 17th, 17th, 17th) st, ch 3, cable across to last, dc in last, turn - 2 dc, 3 (4, 4, 5, 6, 7, 7, 8, 9) cables
Row 2: Ch 1, sc into each st across, turn - 14 (18, 18, 22, 26, 30, 30, 34, 38) sc
Row 3: Ch 3, cdc across to last, dc in last, turn - 2 dc, 6 (8, 8, 10, 12, 14, 14, 16, 18) cdc
Row 4: Repeat Row 2
Row 5: Ch 3, cable across row to last, dc in last, turn - 2 dc, 3 (4, 4, 5, 6, 7, 7, 8, 9) cables
Rows 6-8: Repeat Rows 2-4
Fasten off, weave ends and block to size
What's Next?
The next part of the pattern to release will be sleeves - There will be 2 of these to make
- Click here to view the sleeves pattern
The sleeves pattern is released on 26th April and the link will be live from this date.
About the Autor
Hi, I'm Fiona, the hands behind Cosy Rosie Crochet - the place to learn to crochet as you make!
With over four years of hands-on experience leading in-person crochet workshops since 2018 and designing and publishing my own patterns since 2019, I bring a wealth of expertise of sharing crochet techniques.....
Cosy Rosie UK Crochet Blog
All Cosy Rosie UK patterns and articles are ©2024 by Fiona Field and are for your personal use only. You may sell items you personally make by hand from these patterns. Feel free to share the link to this post or use the social sharing links to share on social media. You may not redistribute this copyrighted content to any website or internet discussion group. Thank you for supporting indie artisans!
Cosy Rosie UK is a participant in the Amazon Services LLC Associates Program, an affiliate advertising program designed to provide a means for sites to earn advertising fees by advertising and linking to amazon.com
