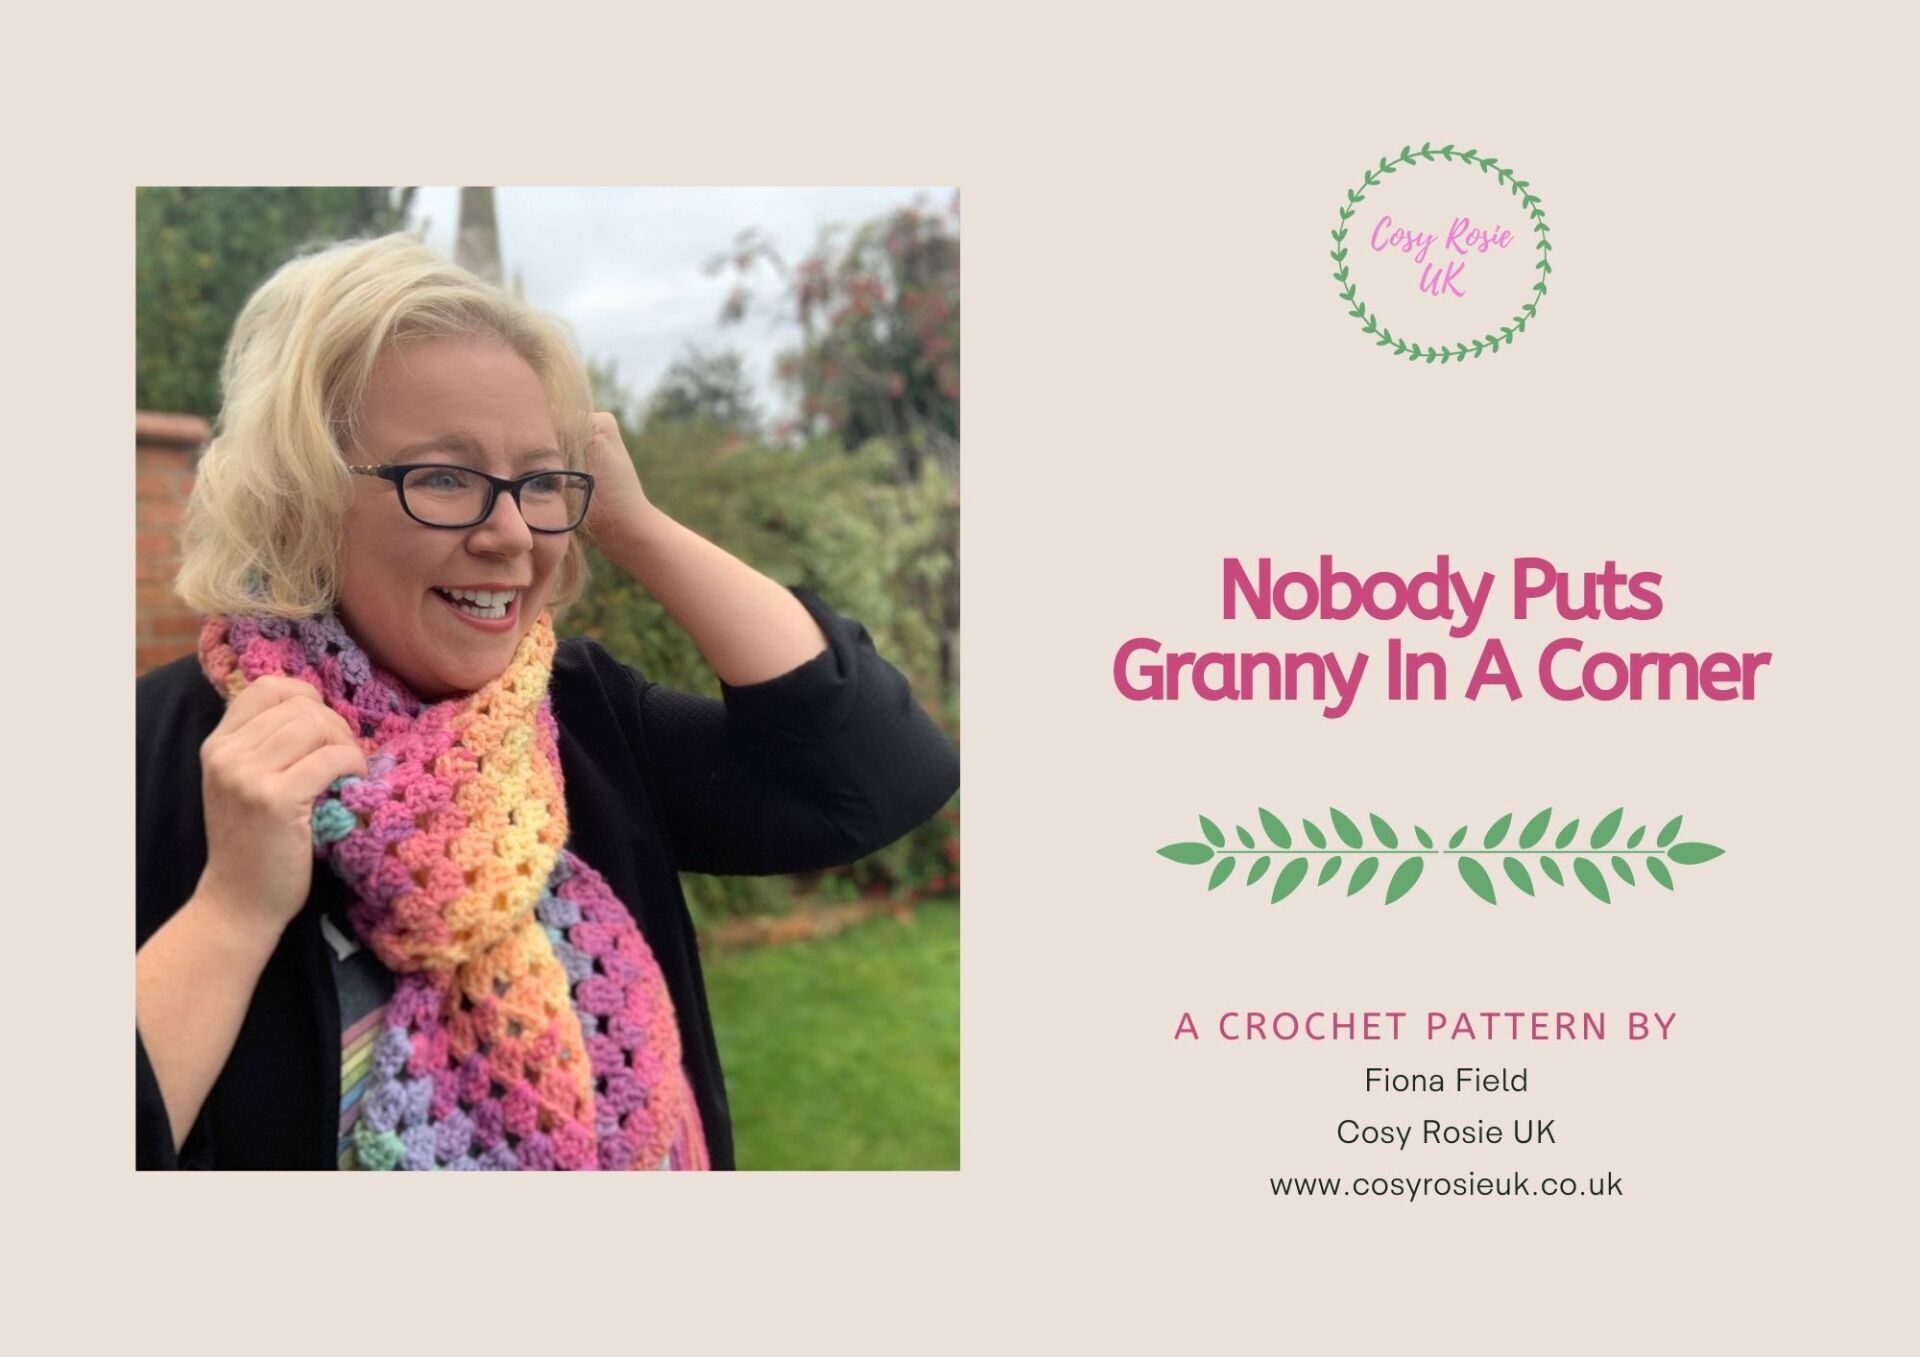
C2C crochet pattern – Granny Stitch Scarf
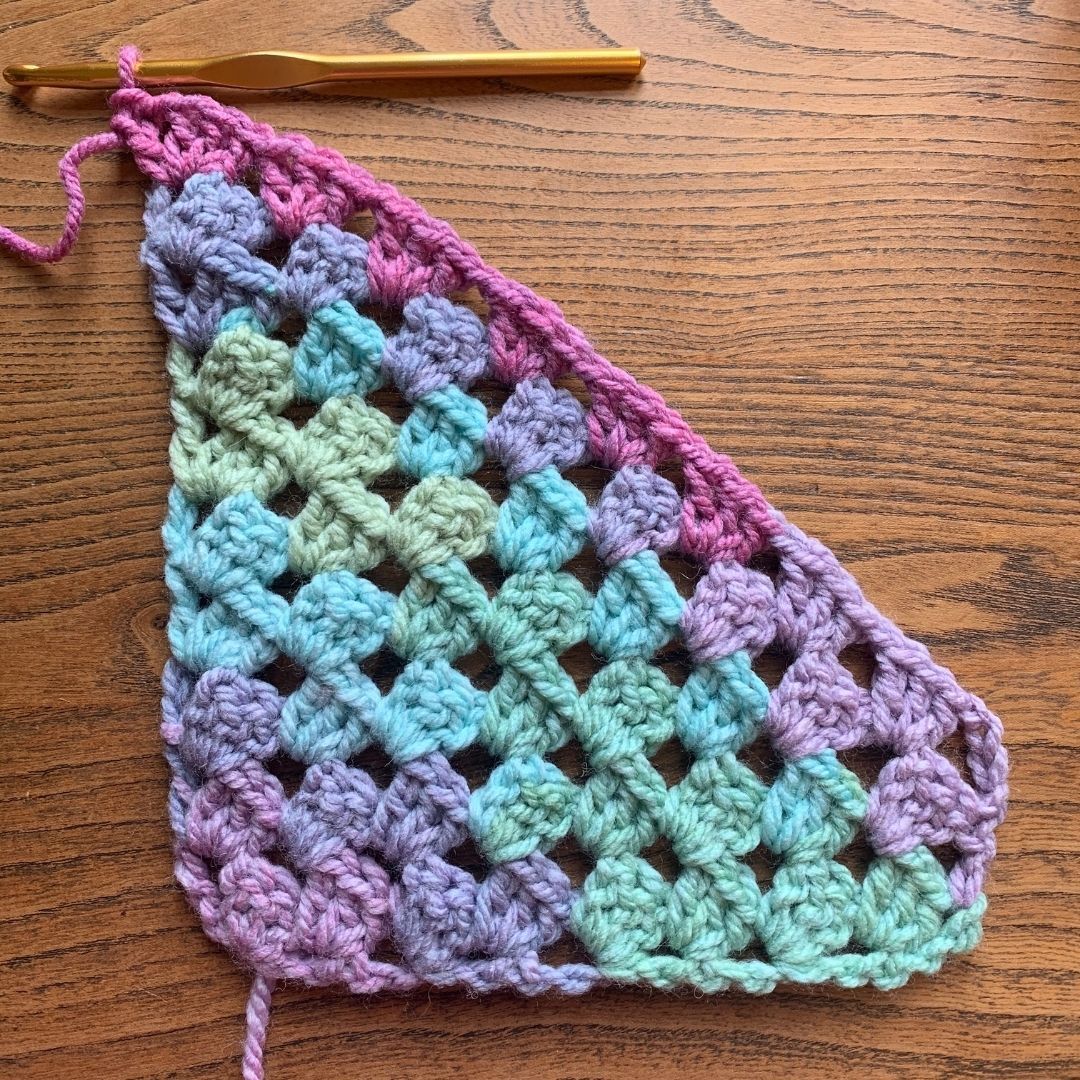
This C2C crochet pattern is very similar to the traditional corner to corner projects, except that it uses the granny stitch instead of the double stitch. Just like standard C2C crochet patterns, you start from the lower corner and add on blocks of the stitches on in each row.

Please note that some of the links in my blog are affiliate links. I may earn a small commission if you purchase via these links, but the price you pay is not affected
C2C Crochet Pattern – Granny Stitch Scarf | Premium Crochet Patterns
This easy to follow C2C crochet pattern will take you through step by step how to increase and decrease your C2C stitches.
Working the granny stitch in stripes is one of my favourite things to do! If you’ve never tried it, check out my granny stripes blanket by clicking here. This pattern is worked in stripes too, but it’s worked from the lower corner up to the top corner!
If you’ve made a C2C pattern before using double crochet, you may be familiar with how to the stitches are worked in blocks and how the number of blocks are increased in each row until you have the width of the project you want.
Once you have the width you want, you simple stop increasing the number of blocks and work the same number of blocks on each row until you’ve reached the length you want. Then you decrease the number of block to finish the final row of the project.
I love how the C2C crochet patterns make the most of any variegated yarn – I think it’s the best pattern show off the colours in those magic skeins of yarn!
This pattern works up quickly and includes a detailed photo tutorial to ensure that you will complete this project without any issues!
Purchase the Printable PDF Pattern
You can download your own printable PDF copy of the Nobody Puts Granny in the Corner Scarf pattern from either my Etsy Shop or Ravelry Shop.
Click the button below to purchase from your favourite retailer.
Skill Level: Advanced Beginner
Materials:
- 3 balls Hayfield Spirit Chunky (10g/169 yards) I used Shade 408
- 6mm Crochet hook
- Tapestry needle
- Scissors
CLICK HERE TO GET YOUR YARN FROM LOVECRAFTS
Pattern Notes:
- Whatever your skill level with crochet, I would always recommend reading through this pattern before beginning. Get in touch if you need any help completing the pattern.
- This pattern is worked in rows creating granny blocks in the chain spaces created in the previous row
- Ch4 at the beginning of the rows DO count as a Treble Crochet stitch and a chain 1
Finished Size
20cm wide x 210cm long (8in wide x 82 Inch long)
Gauge
4 stitches and 4 rows = 4in (10cm) over Granny Stitch (3dc, ch 1) using 6cmm crochet hook. Use a larger or smaller crochet hook to obtain the correct tension.
Abbreviations – US Terms (UK in brackets)
St(s) – Stitches
Ch – Chain
Ch Sp – Chain Space
Dc (Tr) – Double Crochet (Treble Crochet)
3dc (3Tr) – Work 3 double (treble) crochet into the same stitch or chain space, can also be referred to as the Granny Stitch
Inspirational Images!
As always, this pattern would not be complete without the help of my fabulous pattern testers. They have helped me ensure that the pattern is correctly sized for all along with ensuring that the pattern can be easily followed regardless of your crochet skill level.
Below, you will find the photos of just 3 of my beautiful testers who have kindly shared pictures of their finished projects to inspire us with their colours choices they made.

Dara

Gill

Fiona
Corner to Corner Granny Stitch Tutorial
How to crochet this C2C Granny Stitch Scarf
Make a magic circle (adjustable ring)
Row 1: Ch 4 (counts as dc & ch 1), working into the centre of the ring, (3dc, ch 1, dc), turn. (1 Granny Block, 2 Ch-1 sp)


Row 2: Ch 4, (3dc, ch 1) in ch-1 sp under ch, , (3dc, ch 1, dc) in last ch-1 sp, turn. (2 Granny Blocks, 3 ch-1 sp)


Row 3: Ch 4, (3dc, ch 1) in ch-1 sp under ch, (3dc, ch 1) in next ch-1 sp, (3dc, ch 1, dc) in last, turn. (3 Granny Blocks, 4 Ch-1 Sp)
Row 4: Ch 4, (3dc, ch 1) in ch-1 sp under ch, (3dc, ch 1) in each ch-1 sp across to last, (3dc, ch 1, dc) in last, turn. (4 Granny Blocks, 5 Ch-1 Sp)
Rows 5-8: Repeat Row 4. The number of Blocks & Ch-1 Sps will increase by 1 in each row.
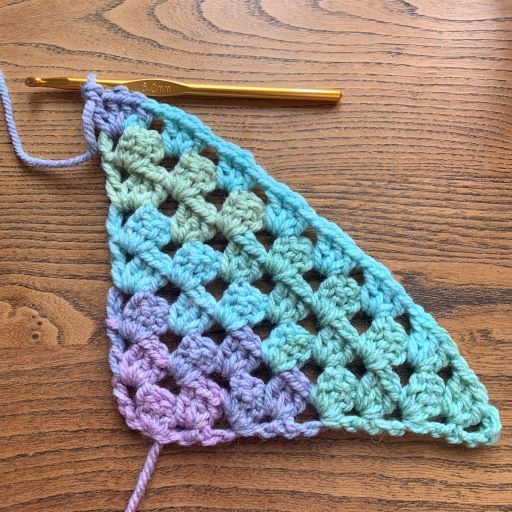
Creating a C2C Granny Rectangle
Row 9: Ch 4, (3dc, ch 1) in ch-1 sp under ch, (3dc, ch 1) in to each ch-1 sp across to last, dc in last, turn. (8 Granny Blocks, 9 Ch-1 Sp)
Row 10: Ch 4, skip ch1- sp under ch, (3dc, ch 1), in next and each to last ch-1 sp, (3dc, ch 1, dc), in last, turn. (8 Granny Blocks, 9 Ch-1 Sp)
Number of blocks will remain the same.
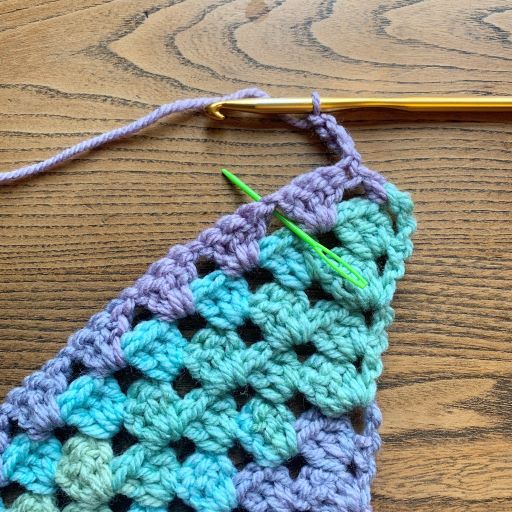
Rows 11-84: Repeat Row’s 9 & 10.
Pattern Tips:
- To count your rows, simply count the granny blocks up one side, starting from the yarn tail.
- Place a stitch marker in every 20 rows, so you don’t have to keep counting them all.
Decreasing your C2C Granny Stitch
Once your scarf (or project) is long enough, continue to Row 85, ensuring you are ending on a repeat of Row 10 to create a flat edge to form the top of the scarf.
To continue to increase the length of your scarf, keep repeating Rows 9 & 10, ensuring you end your repeat on a Row 10.
Row 85: Ch 4, skip ch-1 sp under ch, (3dc, ch 1) in each ch-1 sp across to last, dc in last, turn. (7 Granny Blocks, 8 Ch-1 Sp)
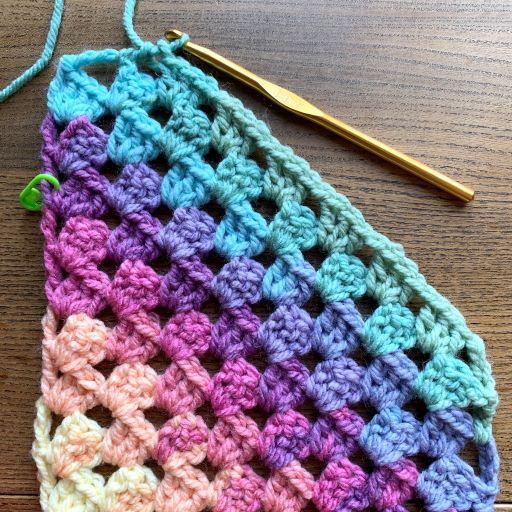
Rows 86-91: Repeat Row 85. The number of Blocks & Ch-1 Sps will decrease by 1 in each row.
Fasten off after Row 91 and weave in ends.
