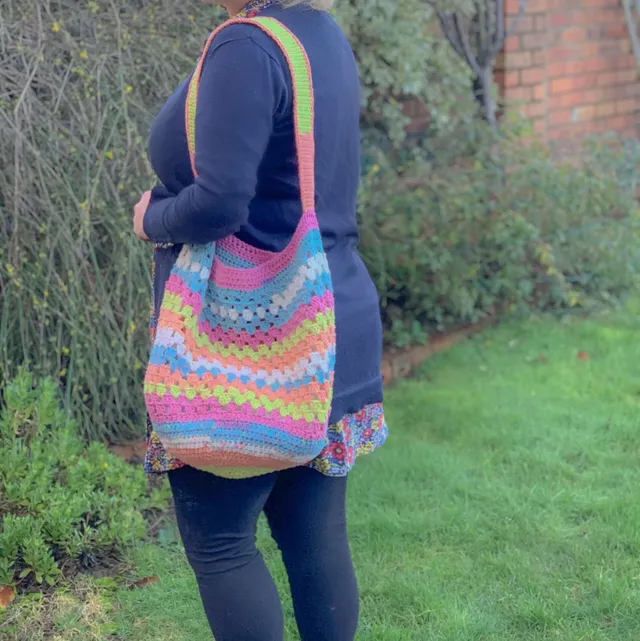
Crochet Cable Scarf Pattern
Put those post stitches to work and create a diamond cover scarf with this crochet cable scarf pattern.

Wrapped Up In Diamonds Crochet Cable Scarf
Crochet cable stitches can create the most wonderful textures in your crochet projects and they should not be feared at the thought they are complicated. This crochet cable scart pattern uses only front post stitches to create waves of diamonds on the right side of the fabric, with taller than usual stitches.
The cable stitches are worked using a taller than normal stitch for a couple of reasons:
- taller stitches makes it a quicker project to work up
- the taller stitches creates a looser fabric making the scarf comfortable to wear
Purchase the Printable PDF Pattern
The premium, printable version of this pattern also includes a full cable stitch chart for you to follow. You can purchase a printable copy of this crochet pattern by clicking the button below to purchase from your favourite retailer or you can purchase ALL 3 patterns in the Wrapped Up in Diamonds Collection
Are crochet cable stitches hard to make?
Crochet cable stitches look overly complicated, but the hardest thing is making sure you are inserting your hook around the correct post or working into the correct stitch.
The Wrapped Up in Diamonds scarf (and the corresponding beanie and sweater) only uses post stitches that are worked on the right side of the fabric, so the challenge of knowing which side to work them is eliminated. If you have ever worked a post stitch ribbing on a project, you are more than half way there to tackling crochet cable stitches.
You can read more about crochet cables by clicking the button below, which takes you though recognising the post of a stitch, and how to insert your hook to work either a front post or a back post stitch.
What Yarn is best for crochet cable stitches?
Cable stitches are created mainly for their texture, but that can make a solid colour a good choice to allow the crochet cable stitches stand out more. Darker, solid colours may not show the texture as well as a lighter colour choice.
For this crochet cable scarf pattern, I opted for a light, cream shade that also features neeps with bright colours in it – it reminded me of my favourite school dinner pudding! For the Wrapped Up in Diamonds Sweater, I created one version in a self-striping yarn as did one of the pattern testers and it looked great! So don’t be afraid to use a yarn that is variegated or self-striping.

You can use any yarn fibre; all my samples in the Wrapped Up in Diamonds collection were made using 100% acrylic yarn to ensure they could be easily cared for, with their simple washing instructions.
Crochet Cable Scarf Pattern Details
Materials
- 585m of any Aran/worsted (Size 4) yarn – I used Knitcraft Everyday Aran in shade Cream Tweed, 100% acrylic (100g/195m)
- 5mm crochet hook
- scissors
- darning needle
Abbreviations – US terms
- St(s) – stitch(es)
- ch – chain
- sc – single crochet
- dc – double crochet
- FP Etr – front post extended treble crochet
- FP Etr-V – front post extended treble crochet V stitch
- FP Etr-T – front post extended treble crochet T stitch
- TC – turning chain
- RS – right side
- YO – yarn over
Gauge
Gauge is not essential for this pattern
Pattern notes
- Please read through the entire pattern before beginning, regardless of skill level. Please contact me ([email protected]) if help is needed to understand any part of pattern
- This scarf is worked in turned rows
- The post stitches are worked around the post in the previous row
- Beginning ch 3 counts as st
Finished Size
- 58″ long by 8″ wide excluding Fringe
- The length can be increased by continuing the pattern repeat, ensuring you end on a row with cable pattern worked
Special Stitches
- Etr = extended treble crochet
- YO 2 times, insert hook where indicated, YO, pull through 1st loop on hook, [YO, pull through 2 loops] 3 times
- FP Etr = front post extended treble crochet
- YO 2 times, insert hook from front to back to front again around indicated st, yo and pull up a loop, YO, pull through one loop on hook, [YO, pull through 2 loops on hook] 3 times
- Skipped st on current row behind FP Etr unless otherwise indicated.
- FP Etr T = extended front post treble T-stitch
- YO 2 times, insert hook around post st 1 stitch behind, 2 rows below
- YO, pull through 1st loop on hook
- [YO, pull through 2 loops] 2 times (1st part of st made)
- YO hook 2 times, insert hook around post st 1 stitch ahead, 2 rows below, 1 stitch ahead
- YO, pull through 1st loop on hook
- [YO, pull through 2 loops] 2 times, YO, pull through remaining 3 loops
- FP Etr-V – front post treble V-stitch
- Skip next st, FP Etr around next post st 2 rows below, dc in next (in line with post st 2 rows below), FP Etr around same post st as 1st FP Etr worked
Crochet Cable Scarf Pattern Video Tutorial

How to make this crochet cable scarf pattern
Row 1: Ch 31, dc in 4th ch from hook and each across, turn – 29 dc
Row 2: Ch 3 (counts as dc), dc in next and each across, turn – 29 dc
Row 3. RS: Ch 3, [FP Etr around dc post 2 rows below] 2 times, dc in next, [FP Etr-V around dc post 2 rows below, dc in next, FP Etr around dc post 2 rows below, dc in next] 3 times, FP Etr-V around dc post 2 rows below, dc in next, [FP Etr around dc post 2 rows below] 2 times, dc in TC, turn – 10 dc, 7 FP Etr, 4 FP Etr-V

Row 4: Repeat Row 2
Row 5: Ch 3, [FP Etr around post 2 rows below] 2 times, dc in next, [dc in next, FP Etr-T, dc in next, FP Etr-V around post sts 2 rows below] 3 times, dc in next, FP Etr-T, dc in next 2, [FP Etr around post 2 rows below] 2 times, dc in TC, turn – 12 dc, 4 FP Etr, 4 FP Etr-T, 3 Etr-V

Row 6: Repeat Row 2
Row 7: Ch 3, [FP Etr around post 2 rows below] 2 times, dc in next, [FP Etr-V around post st 2 rows below, dc in next, FP Etr around posts 2 rows below, dc in next] 3 times, FP Etr-V around post st 2 rows below, dc in next, [FP Etr around post 2 rows below] 2 times, dc in TC, turn – 18 dc, 3 FP Etr-T, 8 FP Etr

Row 8: Repeat Row 2
Row 9: Ch 3, [FP Etr around post 2 rows below] 2 times, dc in next, [FP Etr-V around post 2 rows below, dc in next, FP Etr around posts 2 rows below, dc in next] 3 times, FP Etr-V around post 2 rows below, dc in next, [FP Etr around post 2 rows below] 2 times, dc in TC, turn – 10 dc, 7 FP Etr, 4 FP etr-V

Row 10-151: Repeat Rows 4-9 a further 24 times, ending last repeat on repeat of Row 7
Do not turn or fasten off – Continue to Edging
Scarf Edging
worked in the round
Round 1: Continuing with RS facing, rotate to work into row ends,ch 1, work 2 sc evently across each row end to corner, (sc, ch 2, sc) in corner, rotate to work across other side of beginning ch, sc in each across to next corner, (sc, ch 2, sc) in corner, rotate to work across row ends, work 2 sc evently across each row end to next corner, (sc, ch 2, sc) in corner, rotate to work across top of last row, sc in each st across to last, (sc, ch 2) in last, sl st to 1st to join.
Fasten off, weave ends, continue to Fringe

Fringe
Cut 120 6″ strands
Insert hook into 1st corner, gather 4 strands of yarn, lining up ends, fold strands in half and use hook to bring through 4-strand loop through corner, bring all 8 ends through loop, and pull ends to secure fringe
Repeat working through every 2nd st across to next corner – Repeat for other end of scarf
Purchase the Printable PDF Pattern
The premium, printable version of this pattern also includes a full cable stitch chart for you to follow. You can purchase a printable copy of this crochet pattern by clicking the button below to purchase from your favourite retailer or you can purchase ALL 3 patterns in the Wrapped Up in Diamonds Collection