Granny Circle Crochet Cushion
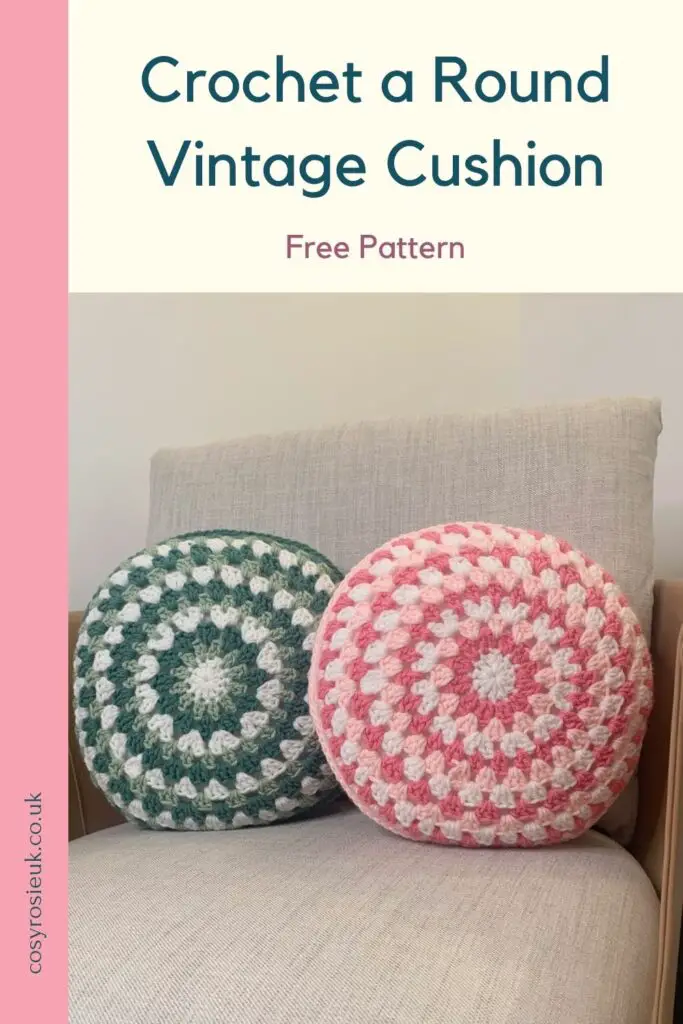
Add a spot of vintage style to any room with this granny circle crochet cushion pattern. This pattern is designed with beginners in mind and created using the granny stitch in the round.
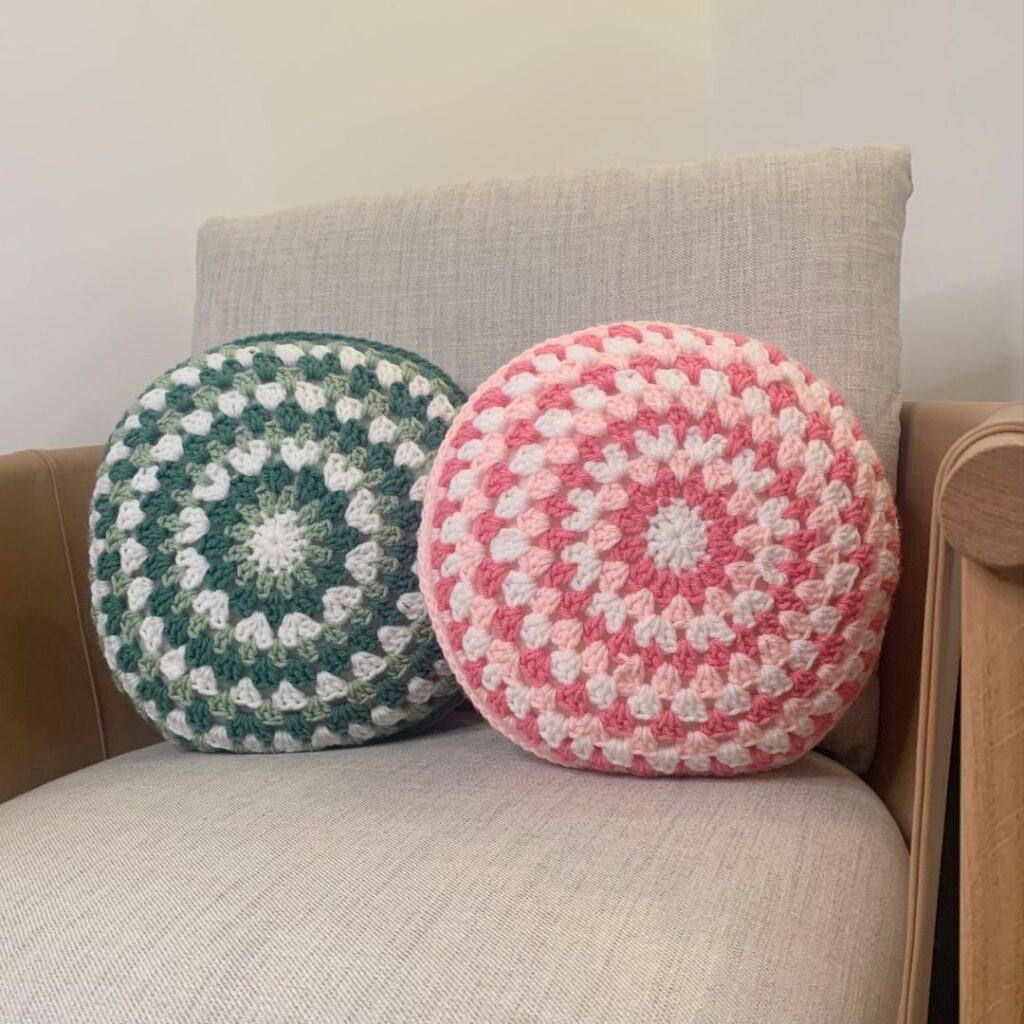
Round Crochet Pillow Pattern
People may occasionally think that crochet is just for granny’s but when it comes to vintage style, granny has got it right!
I have created so many different patterns that are inspired by styles of a-time-gone-by, simply because the colours we use to create them creates a more modern look – if you were to work this pattern up in brown and cream, it would scream “Welcome to the ’70’s!!”
Not that I’m saying you shouldn’t choose those colours, but you can also opt to make this pattern in 3 colours that compliment your home decor, for a dose of vintage style that will look timeless in any room in your home.
Pin this Pattern for Later
Vintage Stitches Are a Win!
You will find many different patterns that use the granny stitch on this website, mainly because it’s simple shape works in so many projects, and also because it lends itself to creating that vintage look.
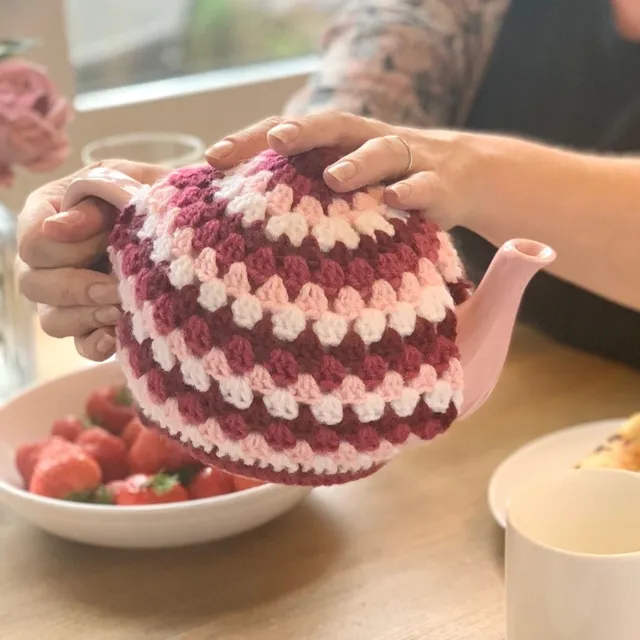
The Running Rings Around Granny collection continues to grow every year. The first pattern that I created a crochet granny circle using this technique of working the granny stitch in the round was the vintage tea cosy pattern.
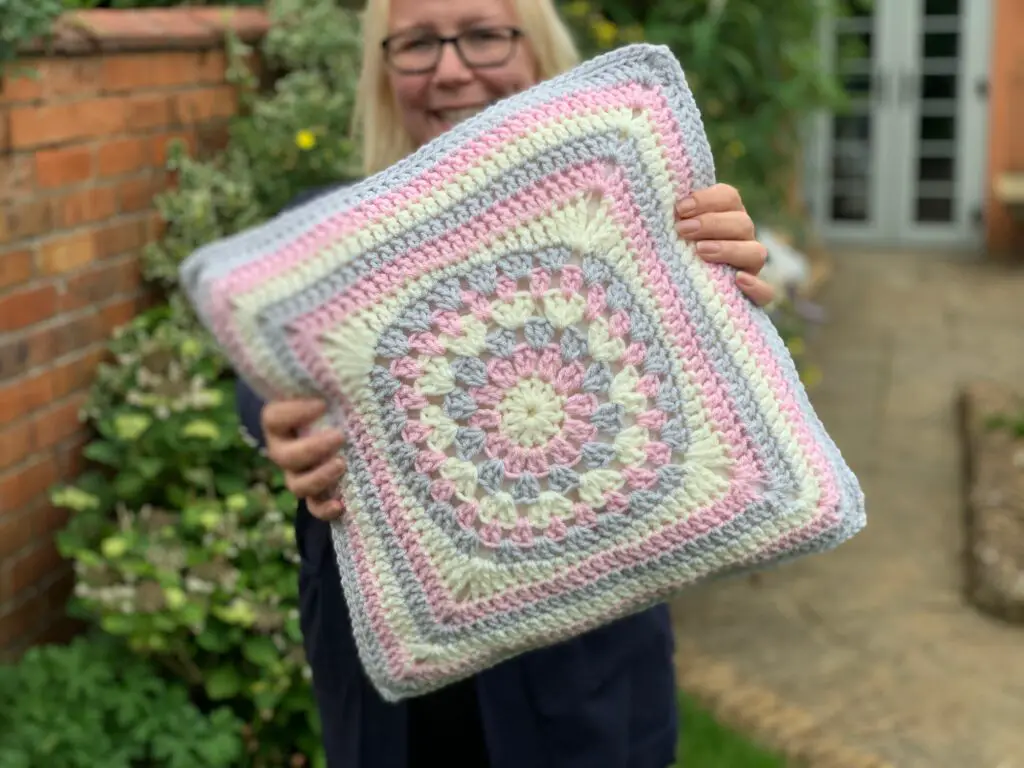
This lead onto my first ever crochet along, where the Running Rings Cushion pattern was released. The granny circle to square pattern remains popular and is one of my most viewed YouTube tutorials and best selling patterns.
This crochet granny circle crochet cushion pattern is simply a continuation of the middle of the original cushion design, and I’m certain this wont be the last time I use this technique in a pattern.
Purchase the Printable Pattern
If you’d prefer to follow this pattern without Ad’s getting in the way, you can purchase the printable pattern from your favourite pattern shop by clicking the button below:
Materials for this Granny Circle Crochet Cushion
The yarn I used for this pattern was a chunky/size 5 100% acrylic yarn from Lovecrafts called Paintbox Yarns. This yarn remains for go-to great value yarn for everyday projects – I’ve used it in so many different projects and also in different yarn weights too.
I love that there are over 50 different colours to choose from and the consistency in quality is a big plus in my book. It washes really well and as yet, I’ve not experienced any excessive pilling on my projects.
I have stitched up this pattern in 2 different colourways, one in pinks and the other in greens and they both look fabulous!
I used a 14″ round cushion pad that I sourced from Amazon – click here to see the ones I bought . They were (and remain still) super plump which is just what I want for a project that is going to be used a lot!
Pattern Details | Granny Circle Crochet Cushion
Materials:
- 310m chunky/Size 5 yarn, 100% acrylic yarn
- I used Paintbox Yarns Simply Chunky (100g/3.5oz 136m/149yds) in the following 3 shades
- A – Paper White (300) – 80m
- B – Pistachio (324) – 105m
- C – Sage (326) – 125m
- I used Paintbox Yarns Simply Chunky (100g/3.5oz 136m/149yds) in the following 3 shades
- 6mm crochet hook
- Scissors
- 14” round cushion pad
Abbreviations – US Terms
st(s) – stitch(es)
sl st – slip stitch
ch – chain
ch sp – chain space
sc – single crochet
dc – double crochet
RS – Right Side
Pattern Notes
- Please read through the entire pattern before beginning, regardless of skill level. Please contact me ([email protected]) if help is needed to understand any part of pattern
- This cushion cosy is worked by making 2 panels, in joined rounds, which are then joined around the cushion pad
- It is recommended to fasten off before joining the next colour, when changing the colour in every round
- Beginning Ch 1 DOES NOT count as a stitch
- Beginning Ch 3 DOES count as a stitch
Finished Size – to fit 14″ round cushion pad
Gauge – 6.5” measured after Round 5 in pattern with 6mm hook. Use a larger or smaller crochet hook to achieve the correct size
Inspirational Projects
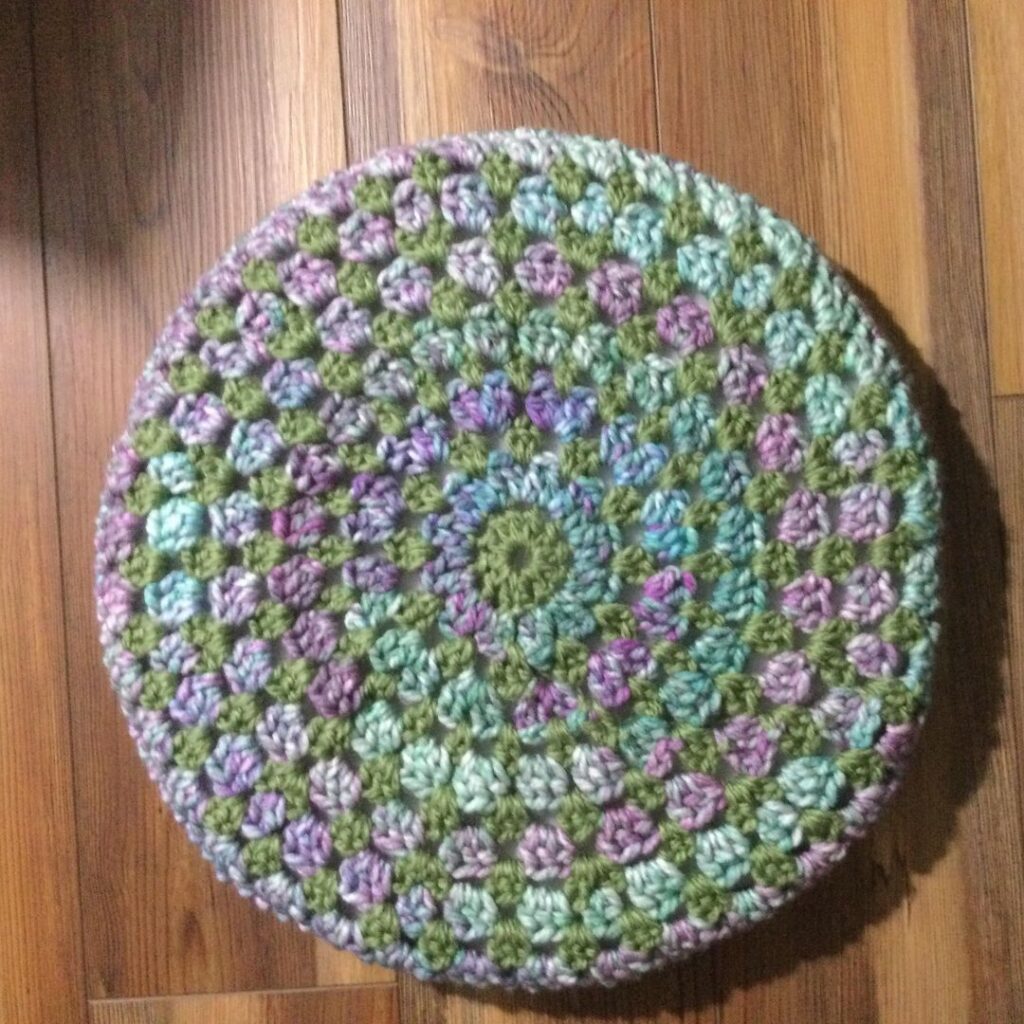
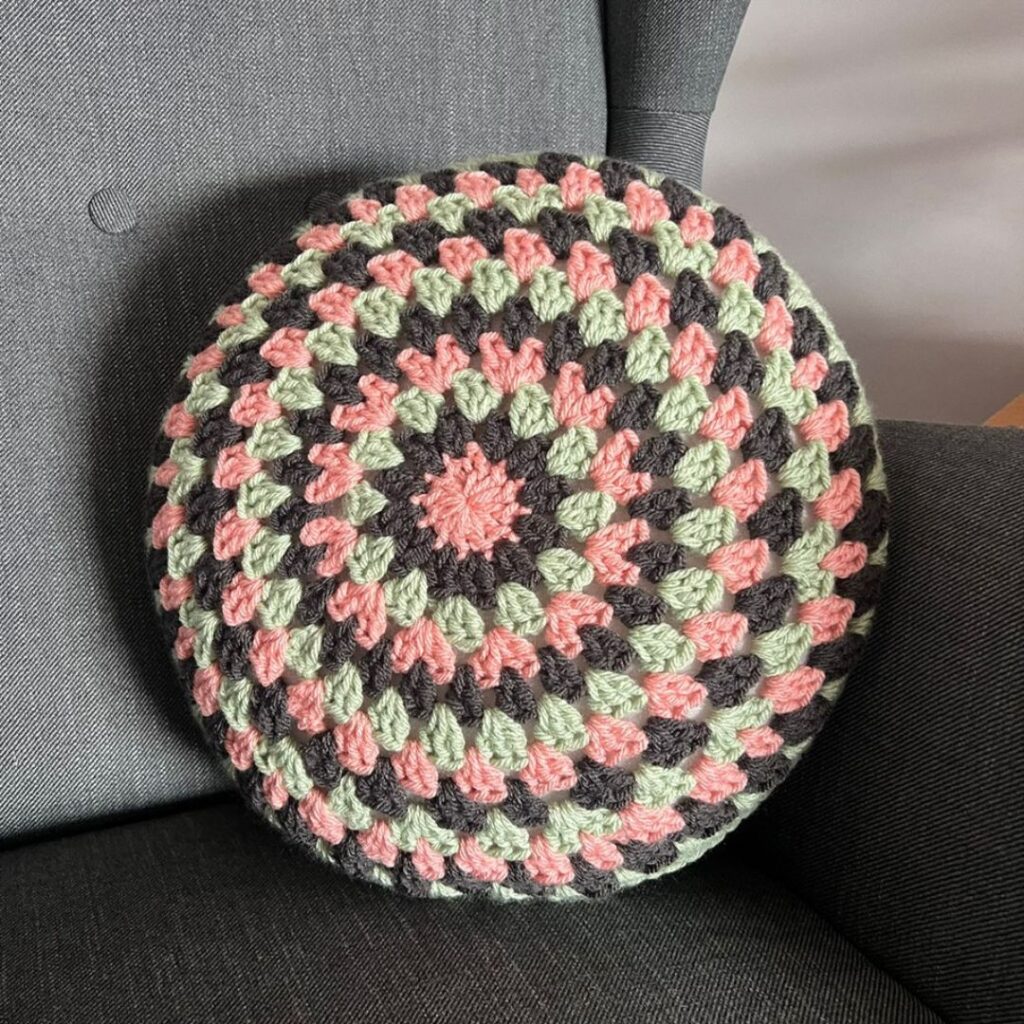
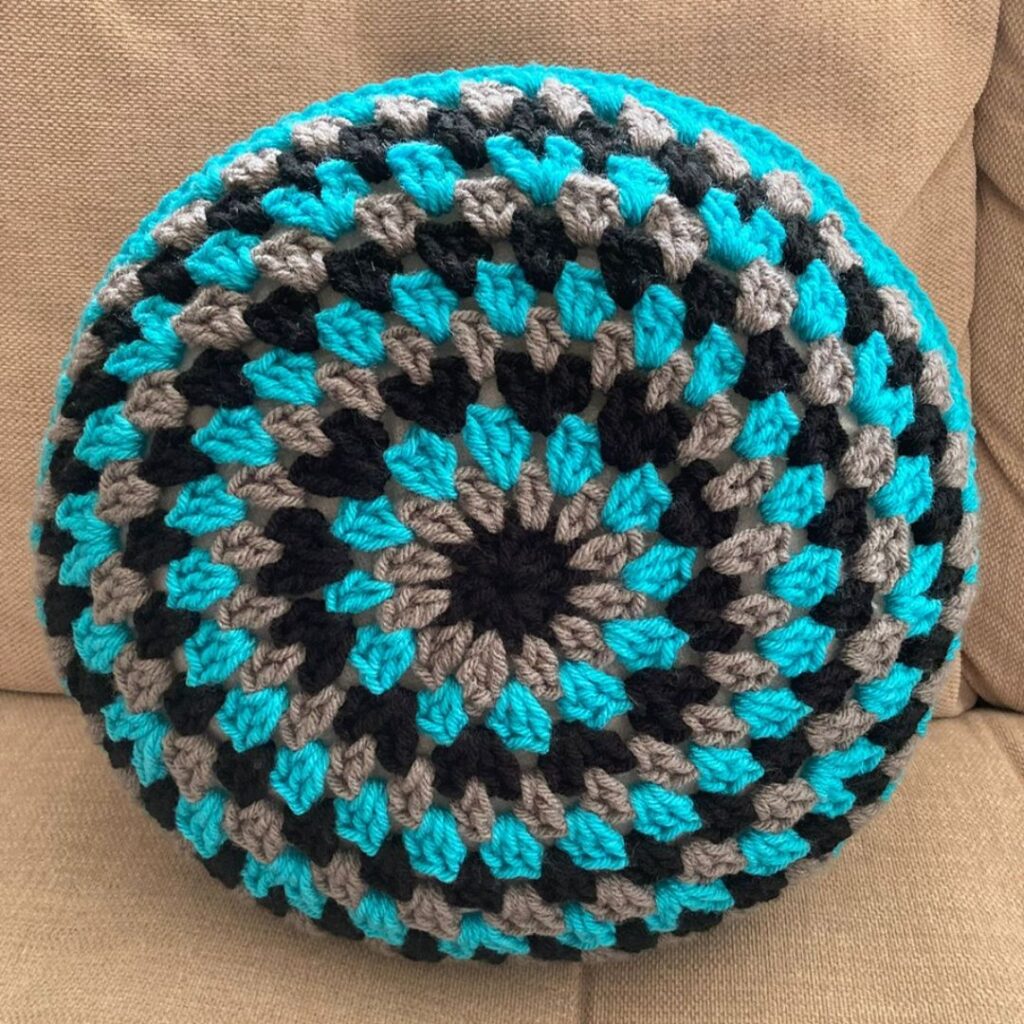
Below are some of the crochet granny circle cushion projects completed by my wonderful pattern testers who kindly work up my patterns, checking for accuracy, and ease to follow the pattern.
Crochet Granny Circle Cushion Video Tutorial
How to make a granny circle crochet cushion
Make 2
Round 1: RS. With A, ch 4, sl st to 1st to create ring, ch 3 (counts as st), 11 dc into centre of ring, join – 12 dc
Round 2: With B, join in any st, ch 3, dc in same, 2 dc in each around, join – 12 2dc groups
Round 3: With C, join between any pair of dc posts, ch 3, 2dc in same as ch 3, *3dc in space between each 2dc around; repeat from * to end, join – 12 3dc groups
Round 4: With A, join between any 3dc group, ch 3, 3dc in same, 4dc in space between each 3dc group around, join – 12 4dc groups
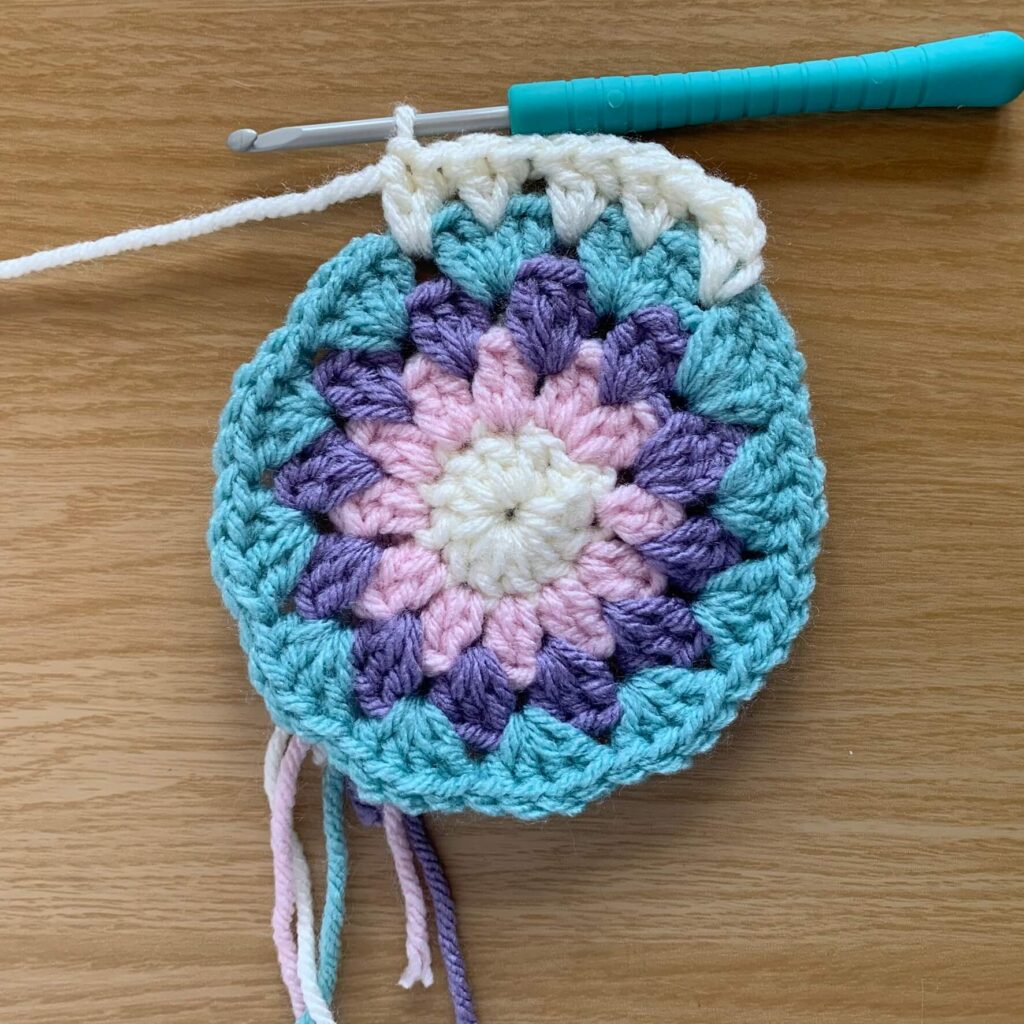
Round 5: With B, join between any 4dc group, ch 3, dc in same, *2dc between 2nd and 3rd post of next 4dc group, 2dc in space between each 4dc group; repeat from * to end, join – 24 2dc group
Round 6: With C, join between any dc group, ch 3, 2dc in same, 3dc between each dc group around, join – 24 3dc clusters
Round 7: With A, repeat Round 6
Round 8: With B, repeat Round 6
Round 9: With C, join between any 3dc group, ch 3, 2dc in same, *4dc between next 3dc group, 3dc between next 3dc group; repeat from * around to last space, 4dc between last 3dc group, join – 12 3dc clusters, 12 4dc clusters
Round 10: With A, join between space before any 4dc group, ch 3, 2dc in same, *2dc between 2nd and 3rd post of next 4dc group, 3dc in space between next 3dc group 2 times; repeat from * around, join – 24 3dc group, 12 2dc group
Round 11: With B, join between any 3dc group, ch 3, 2dc in same, 3dc between each 2dc and 3dc group around, join – 36, 3dc group
Round 12: With C, repeat Round 11
Round 13: Continuing with C, ch 1, sc in same and in top of each st around, join – 108 sc
Fasten off 1st panel, weave ends
DO NOT fasten off 2nd panel, weave remaining ends, continue to Seaming
Seaming
Position 2 panels, wrong sides together, ensuring 3dc groups from Round 12 are aligned
Round 1: Continuing with C, ch 1, working through both panels, sc in each st around, inserting cushion pad before seam is closed, join to first sc
Fasten off, weave remaining ends
Purchase the Printable Pattern
If you’d prefer to follow this pattern without Ad’s getting in the way, you can purchase the printable pattern from your favourite pattern shop by clicking the button below:
Pin This Pattern for Later
