Granny Stitch Corner to Corner Square
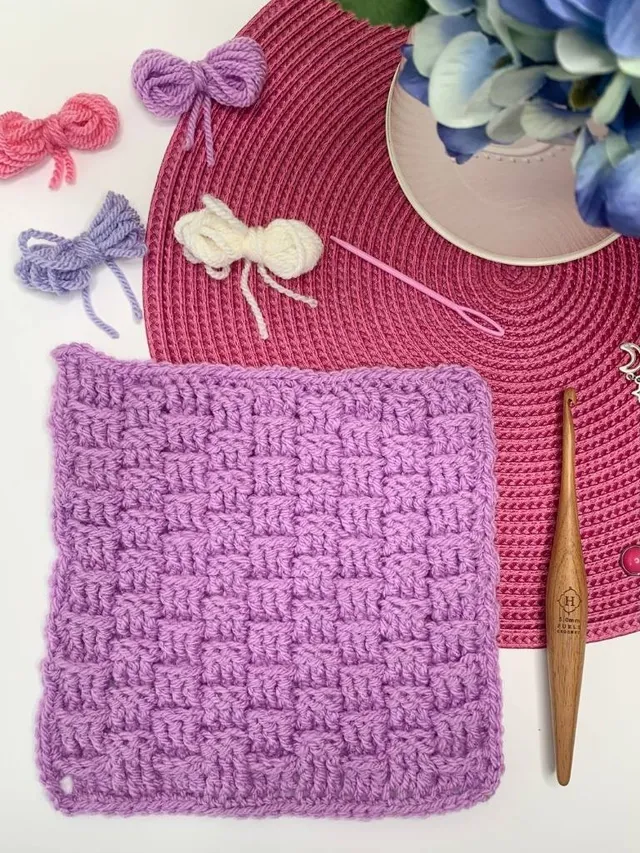
This blanket square uses the granny stitch corner to corner square technique to create a unique granny square that could be used to create a whole blanket.

Strawberry Sundae Granny Square
The Strawberry Sundae stitch pattern has been calling out to be transformed into a blanket and what better way than to switch it up and rotate the pattern 45 degrees to make it a corner to corner pattern.
My love of working with the granny stitch remains as strong as ever, and unlike my patterns that use just the granny stitch with the corner to corner technique, this stitch pattern add the granny spike stitch and the v stitch in to create a lightly textured finish.
This stitch pattern has featured in a number of patterns, including the Strawberry Sundae Table Runner and Coaster, and the Strawberry Sundae Hexagon Cardigan too.
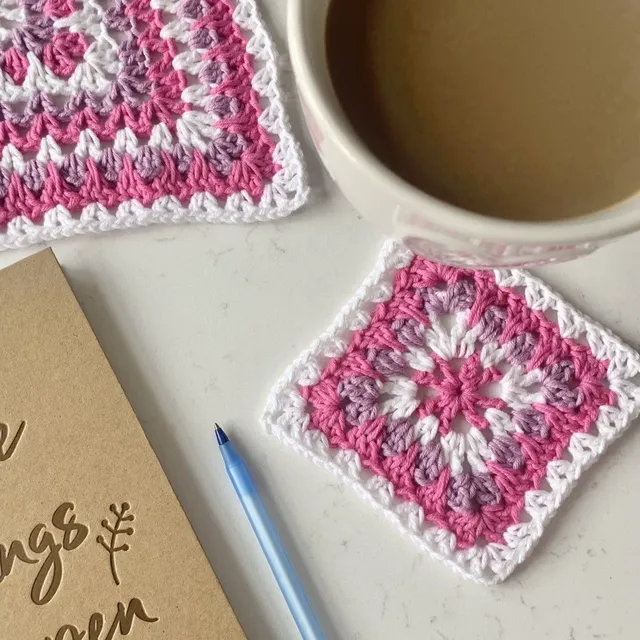
Granny Stitch Sampler Blanket CAL
This granny stitch corner to corner square pattern was designed for the Granny Stitch Sampler Blanket that is a collaborative design hosted by Madame Stitch. 12 designers have each designed a 12″ blanket square that create the most stunning blanket when completed.
Each week, 3 of the blanket square patterns are releasing and they will be free-to-view on the designers website. If you prefer to print your patterns, you can opt to purchase the pattern bundle, which includes all 12 of the square designs, the joining instructions, and the edging instructions ready for you to print right now.
This pattern is featuring in the event on Friday 18th October 2024 and you can take 50% off the usual price of the individual pattern for the Strawberry Sundae C2C Square, and as a bonus you’ll also receive instructions to create a rectangular blanket using the same stitch pattern. The pattern is on sale with 50% off until midnight BST 20th October 2024
Pattern Details | Granny Stitch Corner to Corner Square
Materials
- 90m (98 yds) any worsted/Aran weight yarn
- I used Paintbox Yarns Simply Aran, 100% acrylic (100g/3.5oz, 184m/201yds in the following 2 shades
- A Champagne White (202)
- B Candy Floss Pink (249)
- I used Paintbox Yarns Simply Aran, 100% acrylic (100g/3.5oz, 184m/201yds in the following 2 shades
- 5mm Crochet hook
- Tapestry needle
- Scissors
Abbreviations – US Terms
- st(s) – stitch(es)
- ch – chain
- ch sp – chain space
- sc – single crochet
- dc – double crochet
- 3dc-spike – granny spike stitch
- dtr – double treble
- v-st – v stitch
- MC – magic circle
- NC – next colour
- RS – right side
- TC – turning chain
- YO – yarn over
Pattern Notes
- Whatever your skill level with crochet, I would always recommend reading through this pattern before beginning. Get in touch if you need any help completing the pattern.
- This pattern is worked in turned rows from the corner
- Beginning ch-4 counts as (dc, ch 1) throughout
Finished Size – 12″ square
Gauge – 4 3dc and 6 rows = 4in (10cm) in pattern using 5mm crochet hook. Use a larger or smaller crochet hook to obtain the correct tension
Special Stitches
v-st = (dc, ch 1, dc) in indicated sp/st
3dc-spike = dc in sp between 3-dc group, long dc in ch-1 sp of v-st 2 rows below, dc in same sp as first dc
long dc = yo, insert hook in ch-1 sp 2 rounds below, yo, pull loop up to height of current round, [yo, pull through 2 loops] 2 times
dtr = double treble (triple) crochet – Wrap yarn around hook 3 times, insert hook into ch-sp indicated, YO, bring up loop (five loops on the hook), (YO, pull through 2 loops) 4 times
Video Tutorial | Granny Stitch Corner to Corner Square
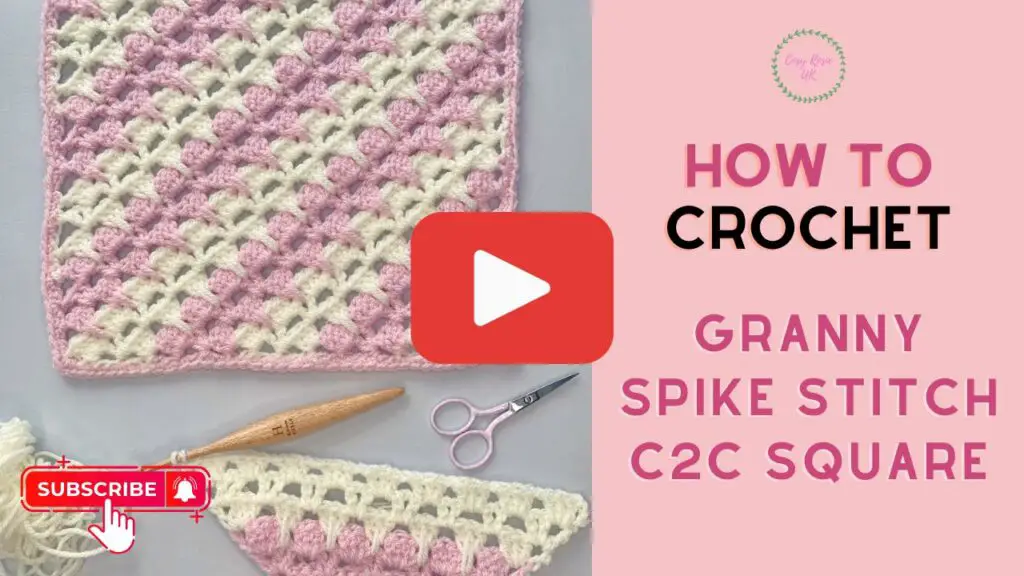
Pattern | Strawberry Sundae C2C Square
Row 1. RS: With A, make a MC, ch 4 (counts as dc, ch 1), working into the centre of the ring, (3dc, ch 1, dc), turn – 2 dc, 2 ch-1 sps, 1 3dc
Row 2: Ch 4, (v-st, ch 1) in ch-1 sp under ch 4, skip 3 dc, (v-st, ch 1, dc) in last ch-1 sp, turn – 2 dc, 3 ch-1 sps, 2 v-st
Row 3: Ch 4, (3dc, ch 1) in ch-1 sp under ch 4, (3dc, ch 1) in next ch-1 sp between v-st, (3dc, ch 1, dc) in last ch-1 sp, turn – 2 dc, 4 ch-1 sps, 3 3dc
Row 4: With B, ch 4, (3dc, ch 1) in ch-1 sp under ch 4, [3dc spike in next ch-1 sp, ch 1] 2 times, (3dc, ch 1, dc) in last ch-1 sp, turn – 2 dc, 5 ch-1 sp, 2 3dc spike, 2 3dc
Row 5: Ch 4, (v-st, ch 1) in ch-1 sp under ch 4, (v-st, ch 1) in each ch-1 sp across to last, (v-st, ch 1, dc) in last, turn – 2 dc, 6 ch-1 sp, 5 v-st
Row 6: Ch 4, (3dc, ch 1) in ch-1 sp under ch 4, (3dc, ch 1) in each ch-1 sp between v-st to last, (3dc, ch 1, dc) in last, turn – 2 dc, 7 ch-1 sps, 6 3dc
Row 7: With A, ch 4, (3dc, ch 1) in ch-1 sp under ch 4, (3dc spike, ch 1) in each ch-1 sp across to last, (3dc, ch 1, dc) in last, turn – 2 dc, 8 ch-1 sp, 5 3dc spike, 2 3dc
Row 8: Ch 4, (v-st, ch 1) in ch-1 sp under ch 4, (v-st, ch 1) in each ch-1 sp across to last, (v-st, ch 1, dc) in last, turn – 2 dc, 9 ch-1 sp, 8 v-st
Row 9: Ch 4, (3dc, ch 1) in ch-1 sp under ch 4, (3dc, ch 1) in each ch-1 sp between v-st to last, (3dc, ch 1, dc) in last, turn – 2 dc, 10 ch-1 sps, 9 3dc
Rows 10-12: With B repeat Rows 7-9 – 2 dc, 13 ch-1 sps, 12 3dc after Row 12
Rows 13-15: With A, repeat Rows 7-9 – 2 dc, 16 ch-1 sps, 15 3dc after Row 15
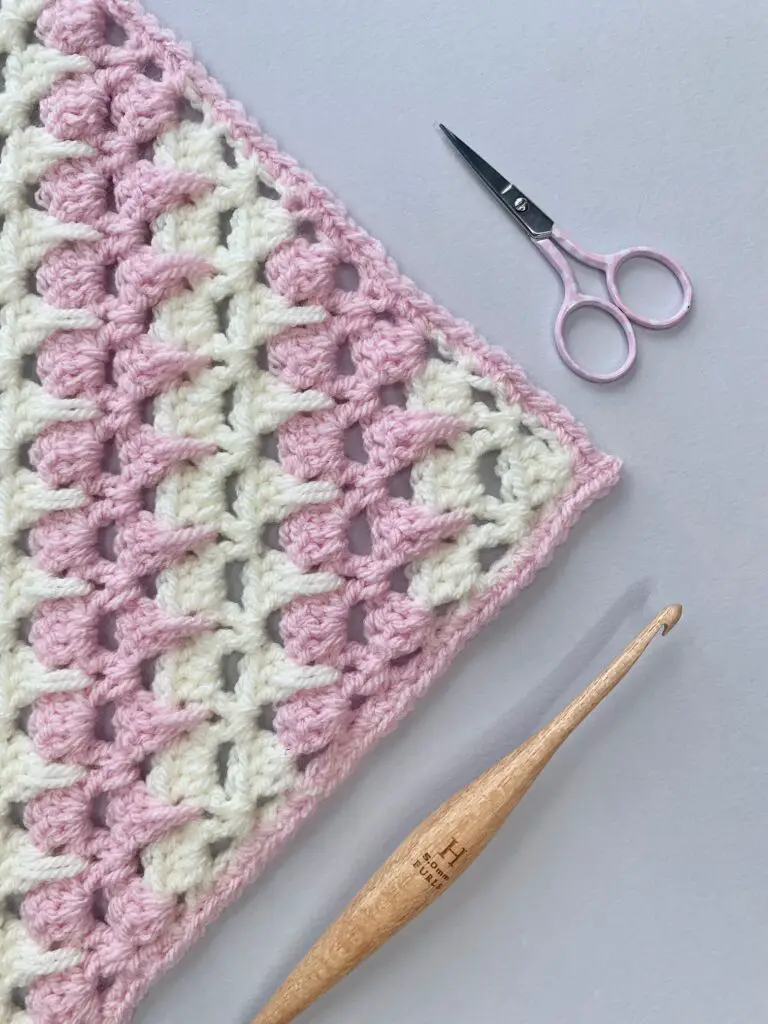
Decrease on both ends begins here
Row 16: With B, ch 4, skip ch-1 sp under ch 4, (3dc spike, ch 1) in each ch-1 sp across to last, dc in last, turn – 2 dc, 15 ch-1 sp, 14 3dc spike
Row 17: Ch 4, skip ch-1 sp under ch 4, (v-st, ch 1) in each ch-1 sp across to last, dc in last, turn – 2 dc, 14 ch-1 sp, 13 v-st
Row 18: Ch 4, skip ch-1 sp under ch 4, (3dc, ch 1) in each ch-1 sp between v-st to last, dc in last, turn – 2 dc, 13 ch-1 sps, 12 3dc
Rows 19-21: With A, repeat Rows 16-18 – – 2 dc, 10 ch-1 sps, 9 3dc
Rows 22-24: With B, repeat Rows 16-18 – 2 dc, 7 ch-1 sps, 6 3dc
Rows 25-27: With A, repeat Rows 16-18 – 2 dc, 4 ch-1 sps, 3 3dc
Row 28: With B, repeat Row 16 – 2 dc, 3 ch-1 sp, 2 3dc spike
Row 29: Ch 4, skip ch-1 sp under ch 4, (dc, dtr, dc, ch 1) in next ch-1 sp, dc in last, do not turn
Continue to edging
Edging – worked in the round
Round 1: Continuing with B, ch 1, rotate to work across row ends, work 2 sc across each row end to next corner, (sc, ch 2, sc) in corner; repeat from * a further 3 times, join to first sc to join
Fasten off, weave ends
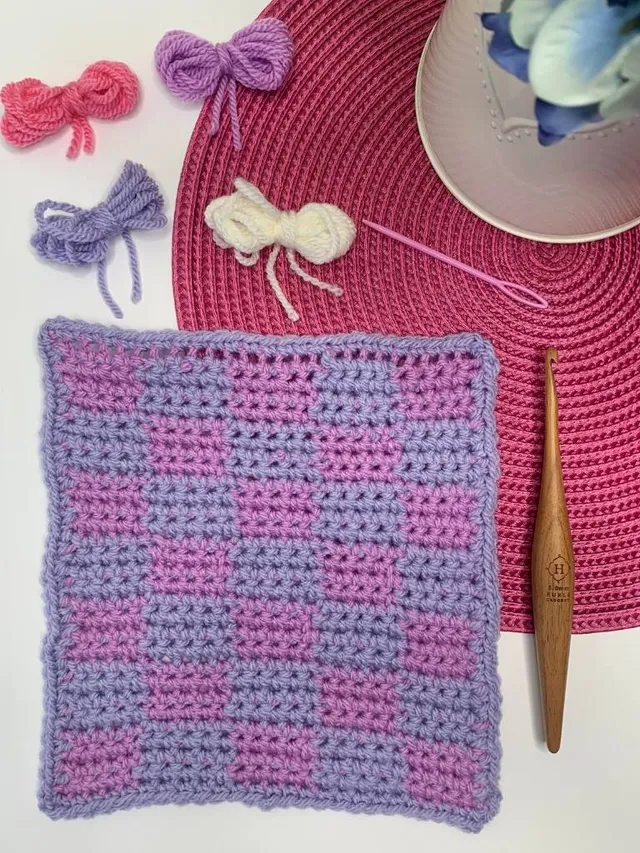
A huge thank you to my lovely pattern testers who tested this and the rectangle c2c blanket version that can be found in the printable PDF version of the pattern.
Below are images of their finished projects
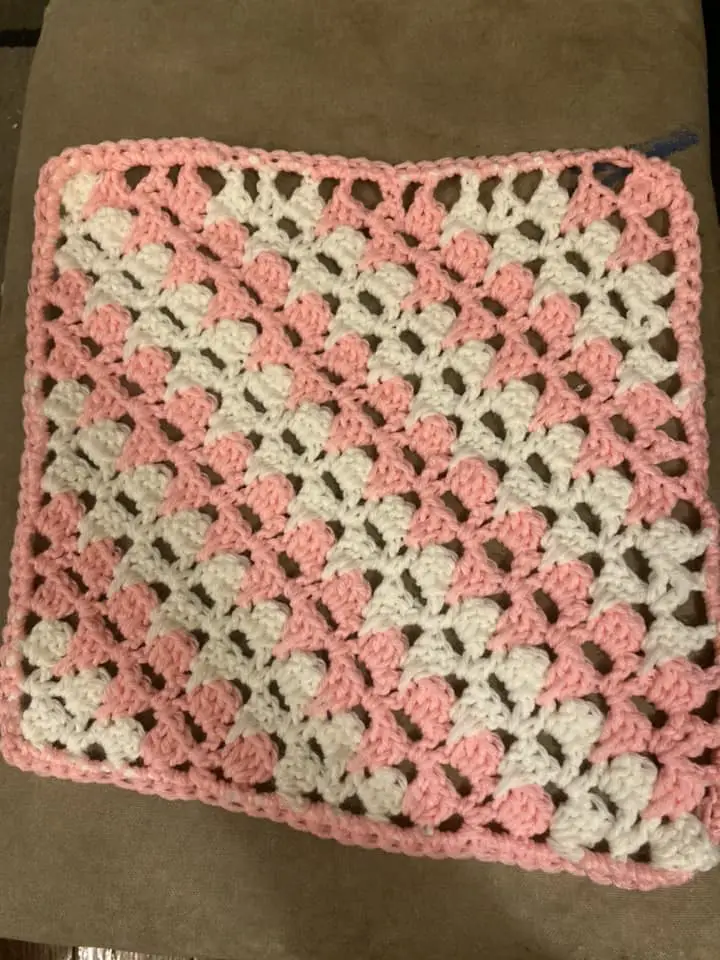


If you’d like to create a rectangle blanket version of the blanket square, you can find all the instructions in the printable pattern available in my pattern shops



Hi Fiona! I love this c2c granny stitch square. I’ve watched the video, bought the pattern and I’m thinking it would make a lovely shawl, so I’ll give it a go!
Thanks for your creativity and sharing your art!
That’s a great idea! Let me know how you get on!