Tiny Tea Pot Crochet Amigurumi Keychain Free Pattern
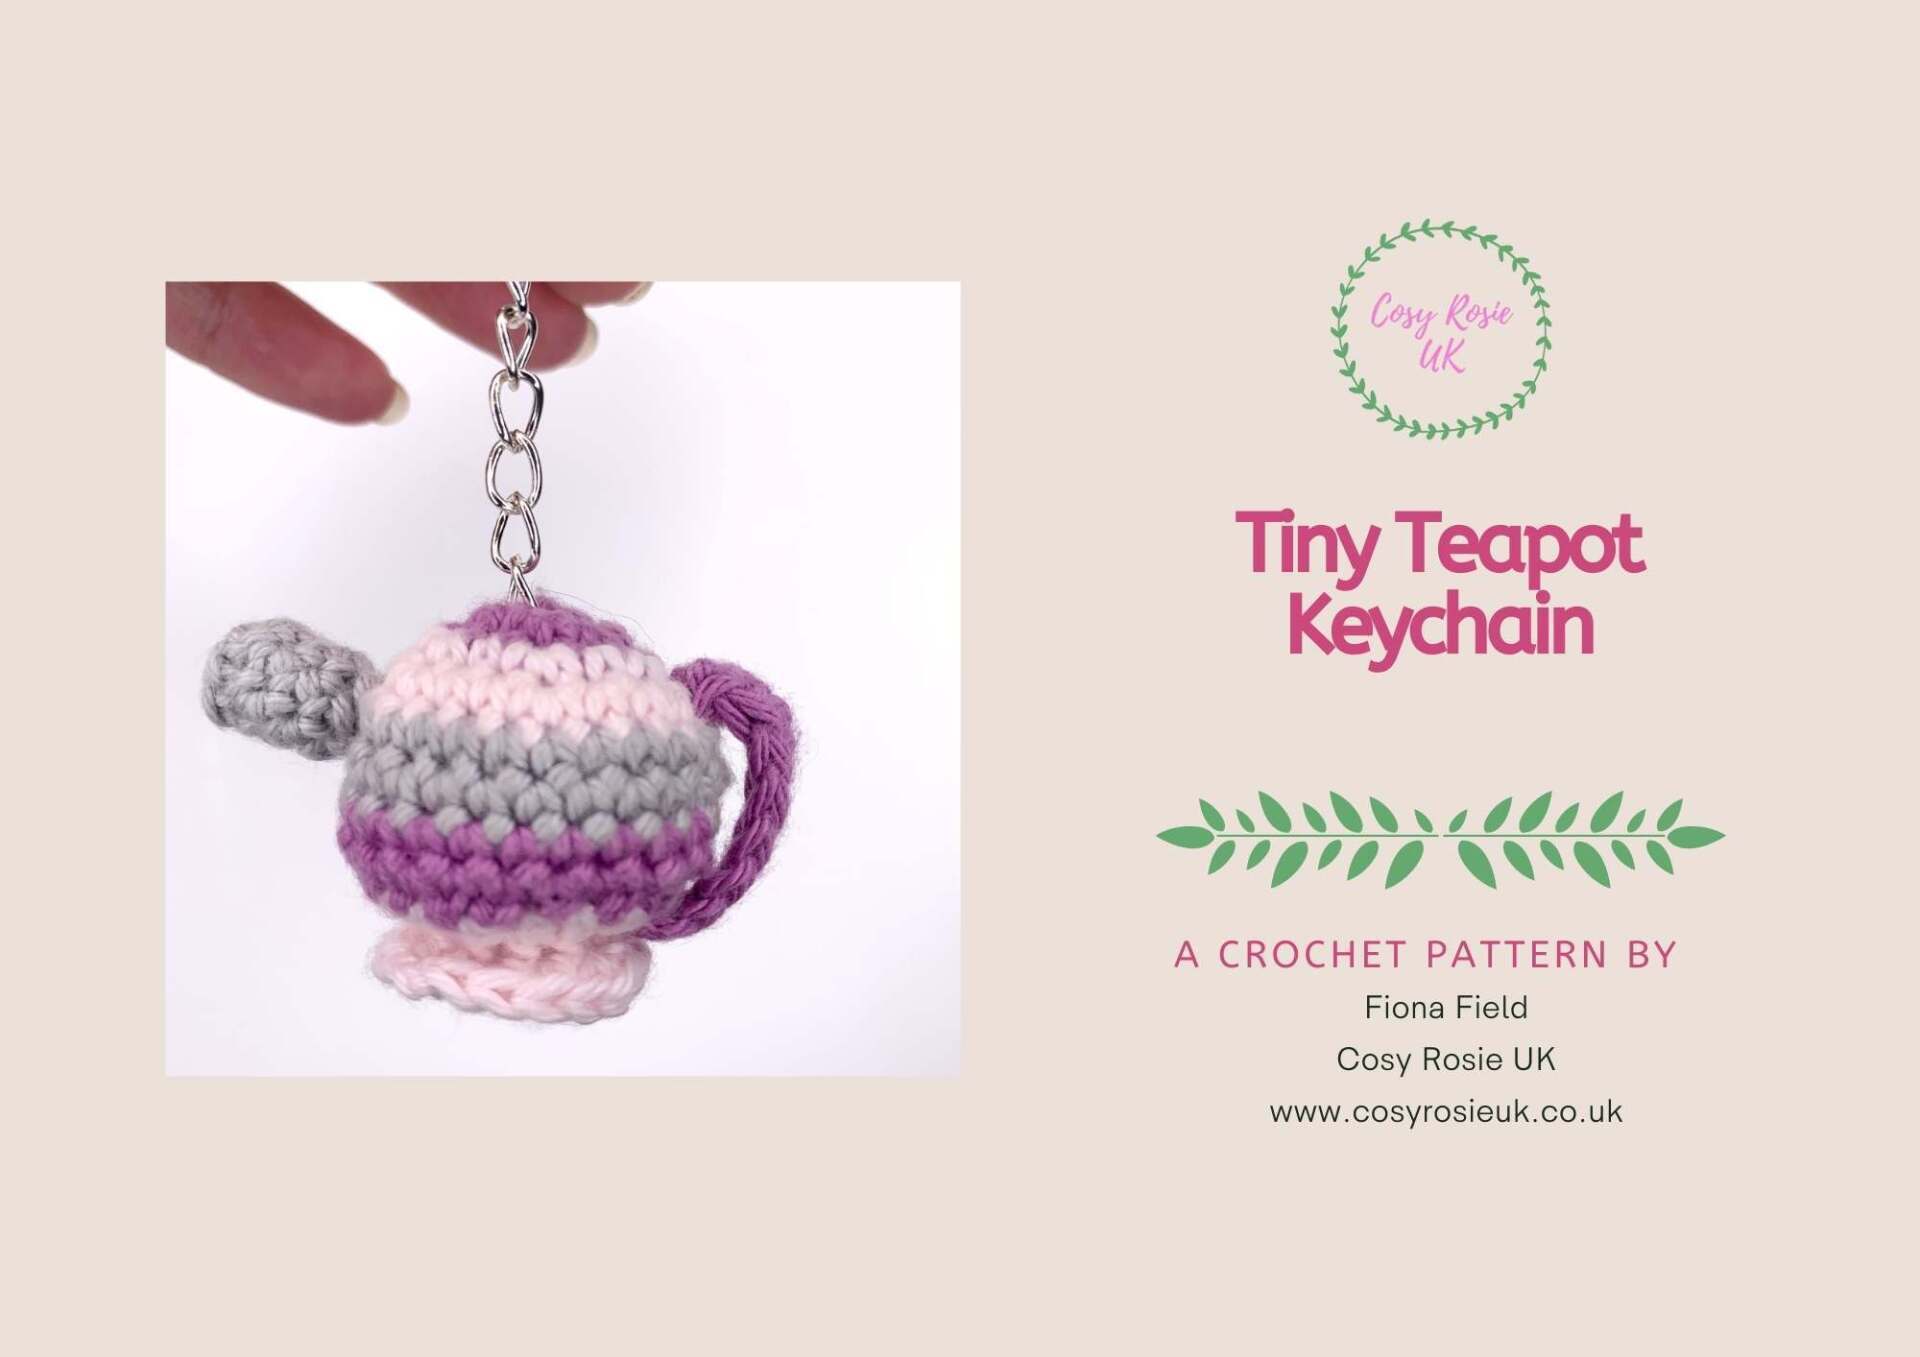
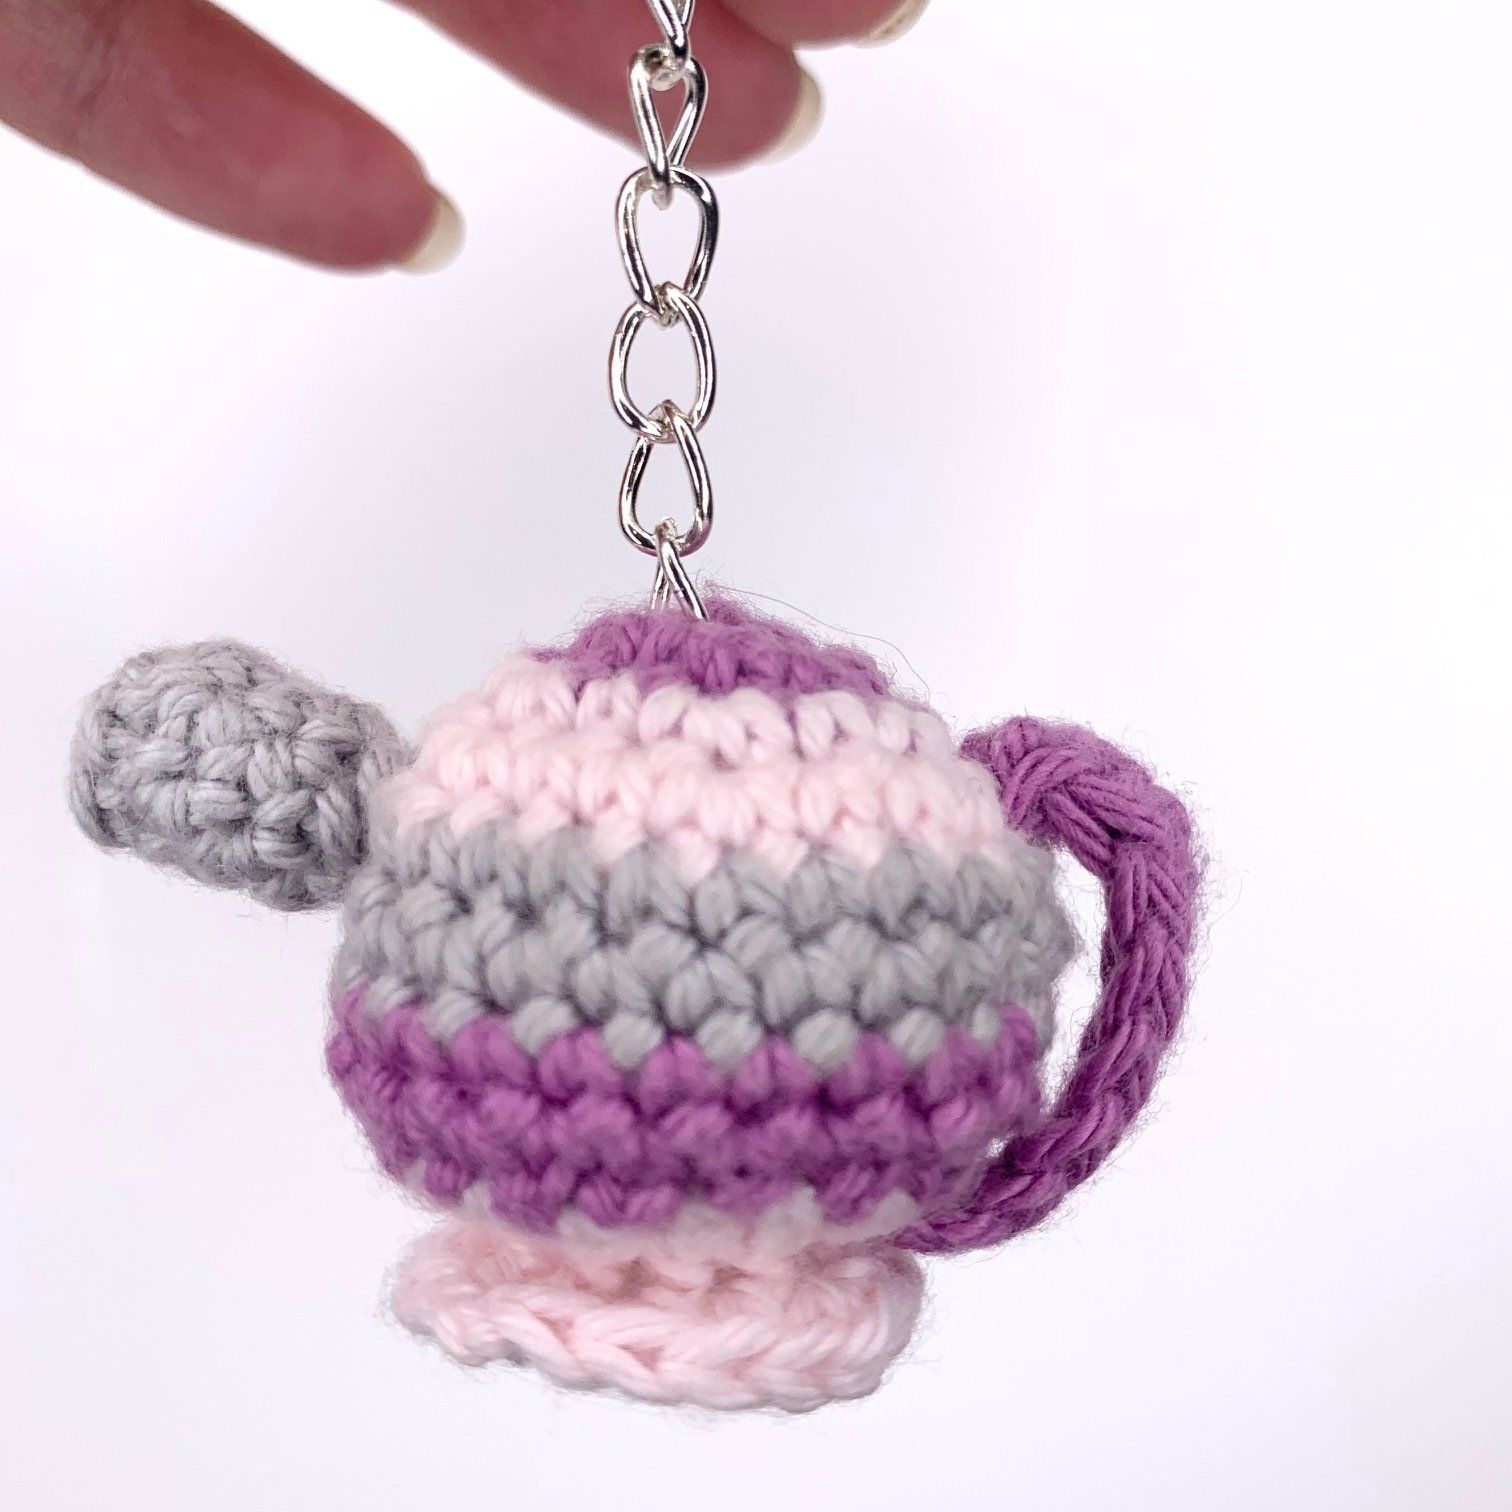
Make your own tiny tea pot with this free crochet keychain pattern. This amigurumi style crochet pattern is easy to follow with a full video tutorial. It’s the perfect little gift for all those tea lovers out there!
Please note that some of the links in my blog are affiliate links. I may earn a small commission if you purchase via these links, but the price you pay is not affected
Tiny Teapot Keychain Crochet Pattern | Free Crochet Patterns
As a born and bred British person, I have been brought up on a diet of tea and cake!
In fact, I’ve spent many afternoons, putting the world to rights over a cup of tea, with my closest friend since we went to school together!
This crochet pattern is 100% inspired by her good friendship and all the laughs we’ve had over the last (nearly) 30 years since secondary school. I’m sure her mum used to wonder were all the biscuits went after I’d been round!
This tiny amigurumi teapot keychain would make a perfect gift for any tea lovers as an addition to a packet of their favourite blend of tea and a new mug for them to pour their cuppa from.
Plus, the practical factor of the round shape makes it even easier to find your keys in the depths of your handbag!
You’ll find the free crochet pattern to make your own tiny teapot below.
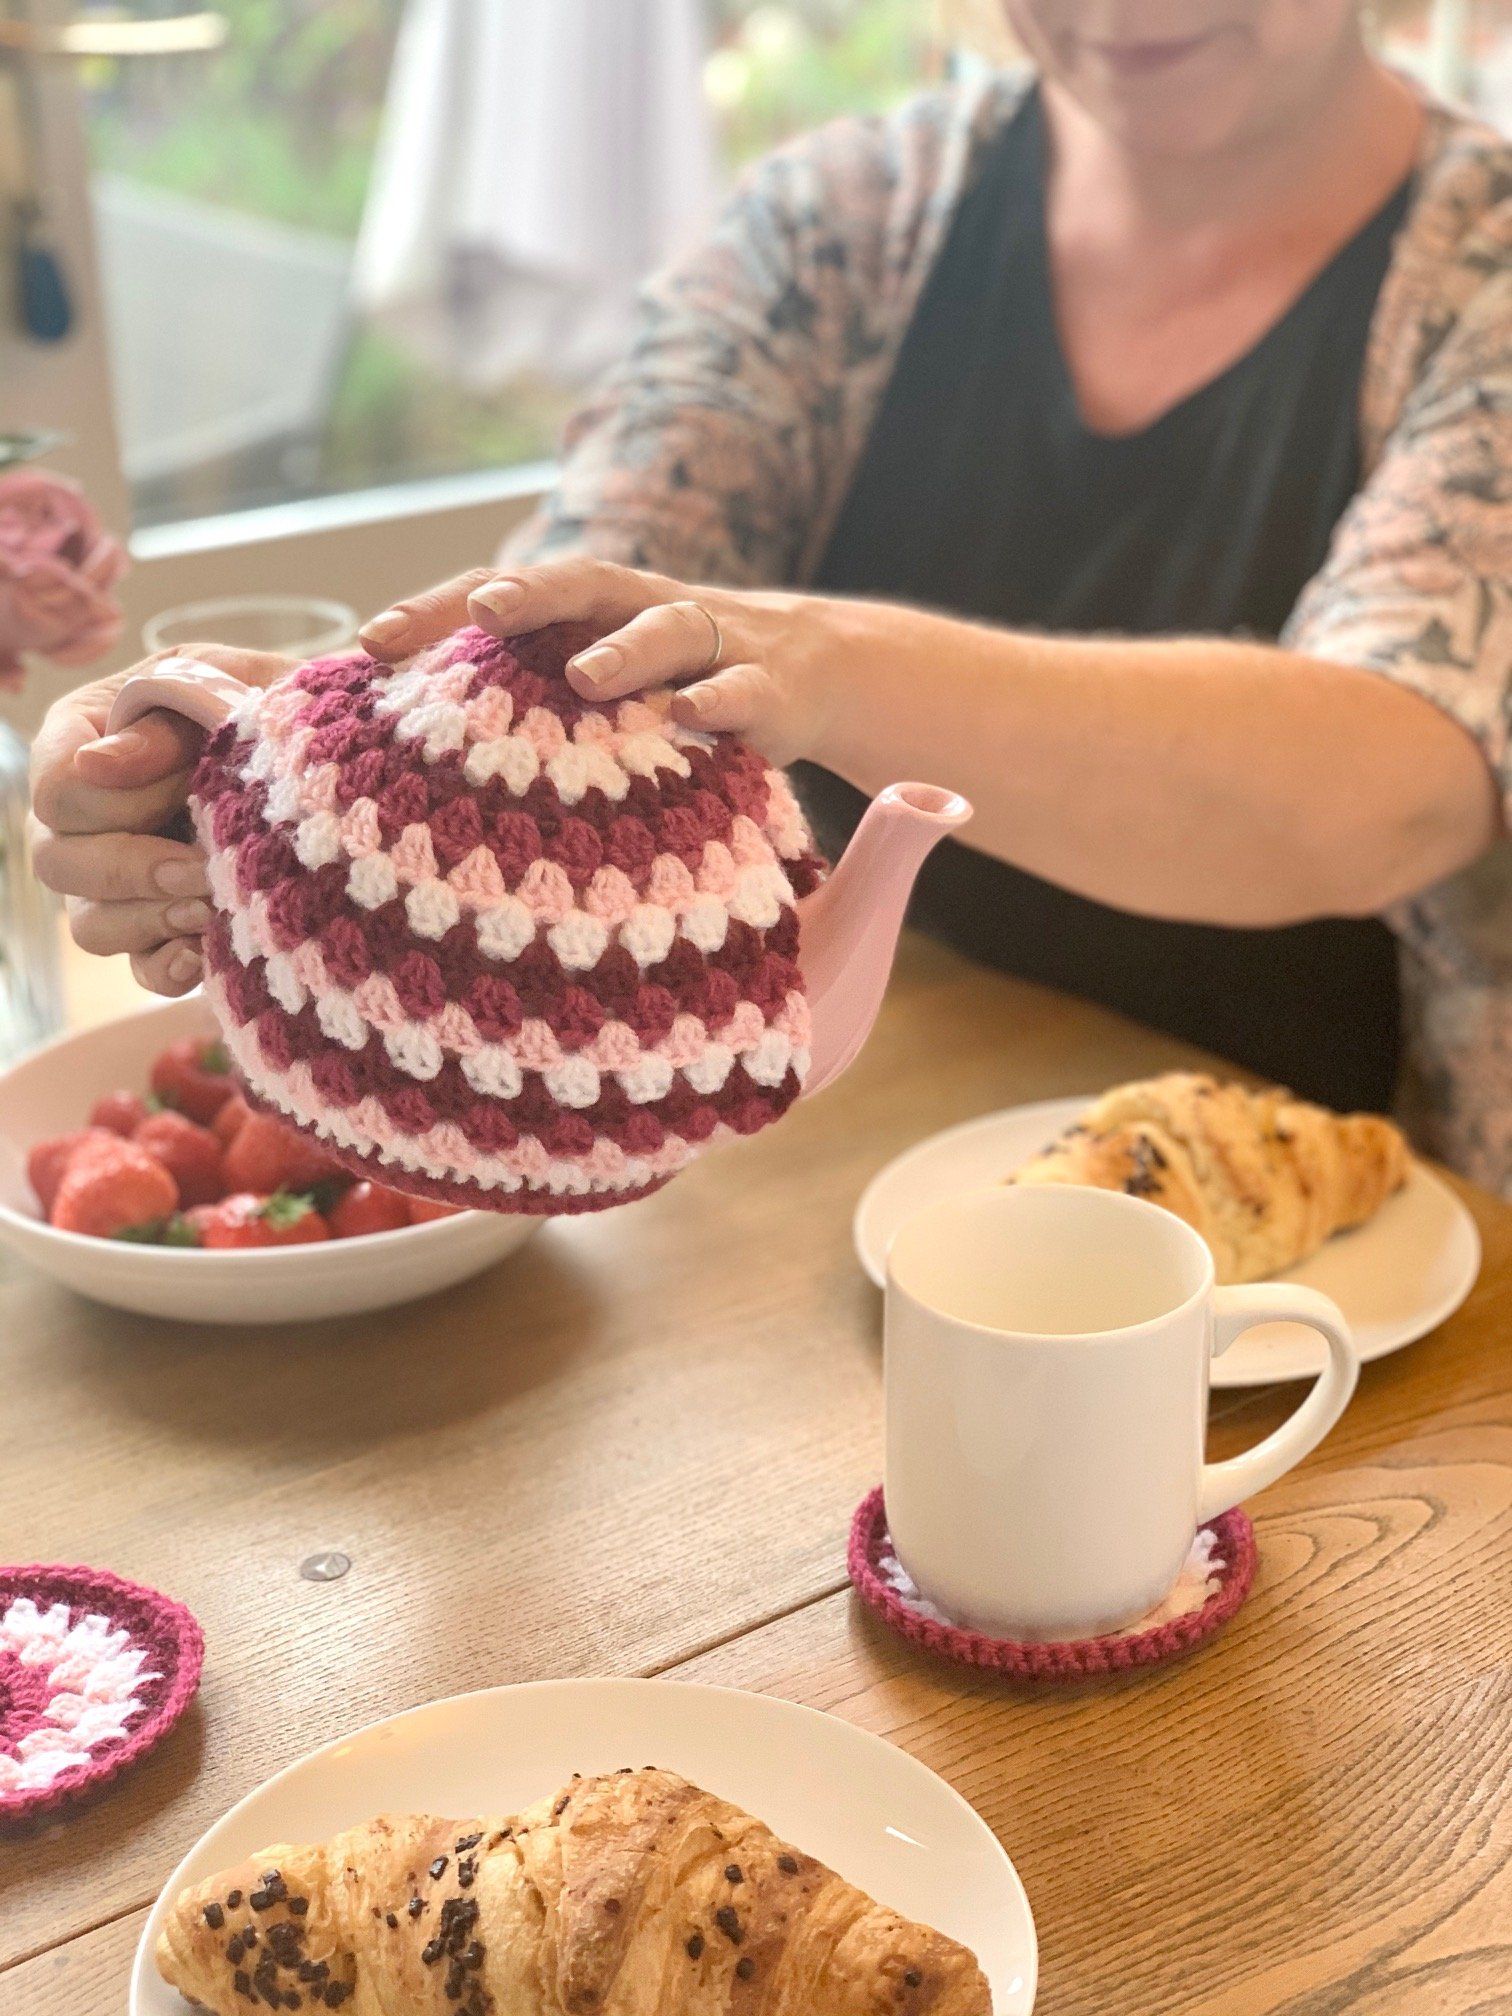
This amigurumi teapot is not my first foray into the world of crochet teapot accessories. I have 2 designs for you to you own crochet teapot cozy -the one pictured above is my absolute favourite.
Click here to find out more about the Running Rings Around Granny Teapot Cosy
Click here to find out more about the Easy Crochet Teapot Cosy
Purchase the Printable PDF Pattern
You can download your printable PDF copy of the Tiny Teapot Keychain pattern from both my Etsy Shop or Ravelry Shop – Click the button below to purchase.
Tiny Teapot Keychain
Skill Level: Easy
Materials:
To complete this project you will need:
- 100% Cotton DK (size 3) yarn – I used PaintBox Yarns Simply Cotton (50g/125m) in various shades
- 3.5mm Crochet Hook
- Scissors
- Tapestry needle
- Poly Fill/toy stuffing
- Keyring and chain
- Stitch Marker
Abbreviations: US terms
St(s) Stitches
Ch Chain
Sc Single Crochet
2Sc Work 2 single crochet in the same stitch
Inv Dec decrease 2 stitches into 1 using an invisible decrease
Gauge:
- Gauge is not essential for this project
Finished Size:
- 1 inch tall
Pattern Notes:
- Whatever your skill level with crochet, I always recommend reading through this pattern before beginning. Get in touch if you need any help completing the pattern.
- This pattern is worked in the round with the base of the teapot worked onto the teapot and the handle and spout sewn on.
- Ch1 at the beginning of the rows DO NOT count as a stitch.
How to make this Tiny Teapot Amigurumi Crochet Pattern
Working into a magic ring
Round 1: Ch1, Sc into the centre of the magic circle 6 times. Sl St into top of 1st Sc to join. (6)
Round 2: Ch1, 2Sc into each St around. Sl St into top of 1st Dc to join. (12)
Round 3: Ch1, *Sc, 2Sc*, repeat between * and* to end of round. Sl St into top of 1st Sc to join. (18)
Round 4: Ch1, *Sc, Sc, 2Sc*, repeat between * and * to end of round. Sl St into top of 1st Sc to join. (24)
Rounds 5 – 8: Ch1, Sc into each St around. Sl St into top of 1st Sc to join. (24)
Round 9: Ch1, *Sc, Sc, Inv Dec*, repeat between * and * to end of round. Sl St into top of 1st Dc to join. (18)
Round 10: Ch1, *Sc, Inv Dec*, repeat between * and * to end of round. Sl St into top of 1st Sc to join. Stuff your teapot. (12)
Place marker between the posts of any stitch to help with adding the base.
Round 11: Ch1, Inv Dec into each stitch around. Sl St into top of 1st St to join. Fasten off and weave through stitches to close hole. Bury ends. (6)
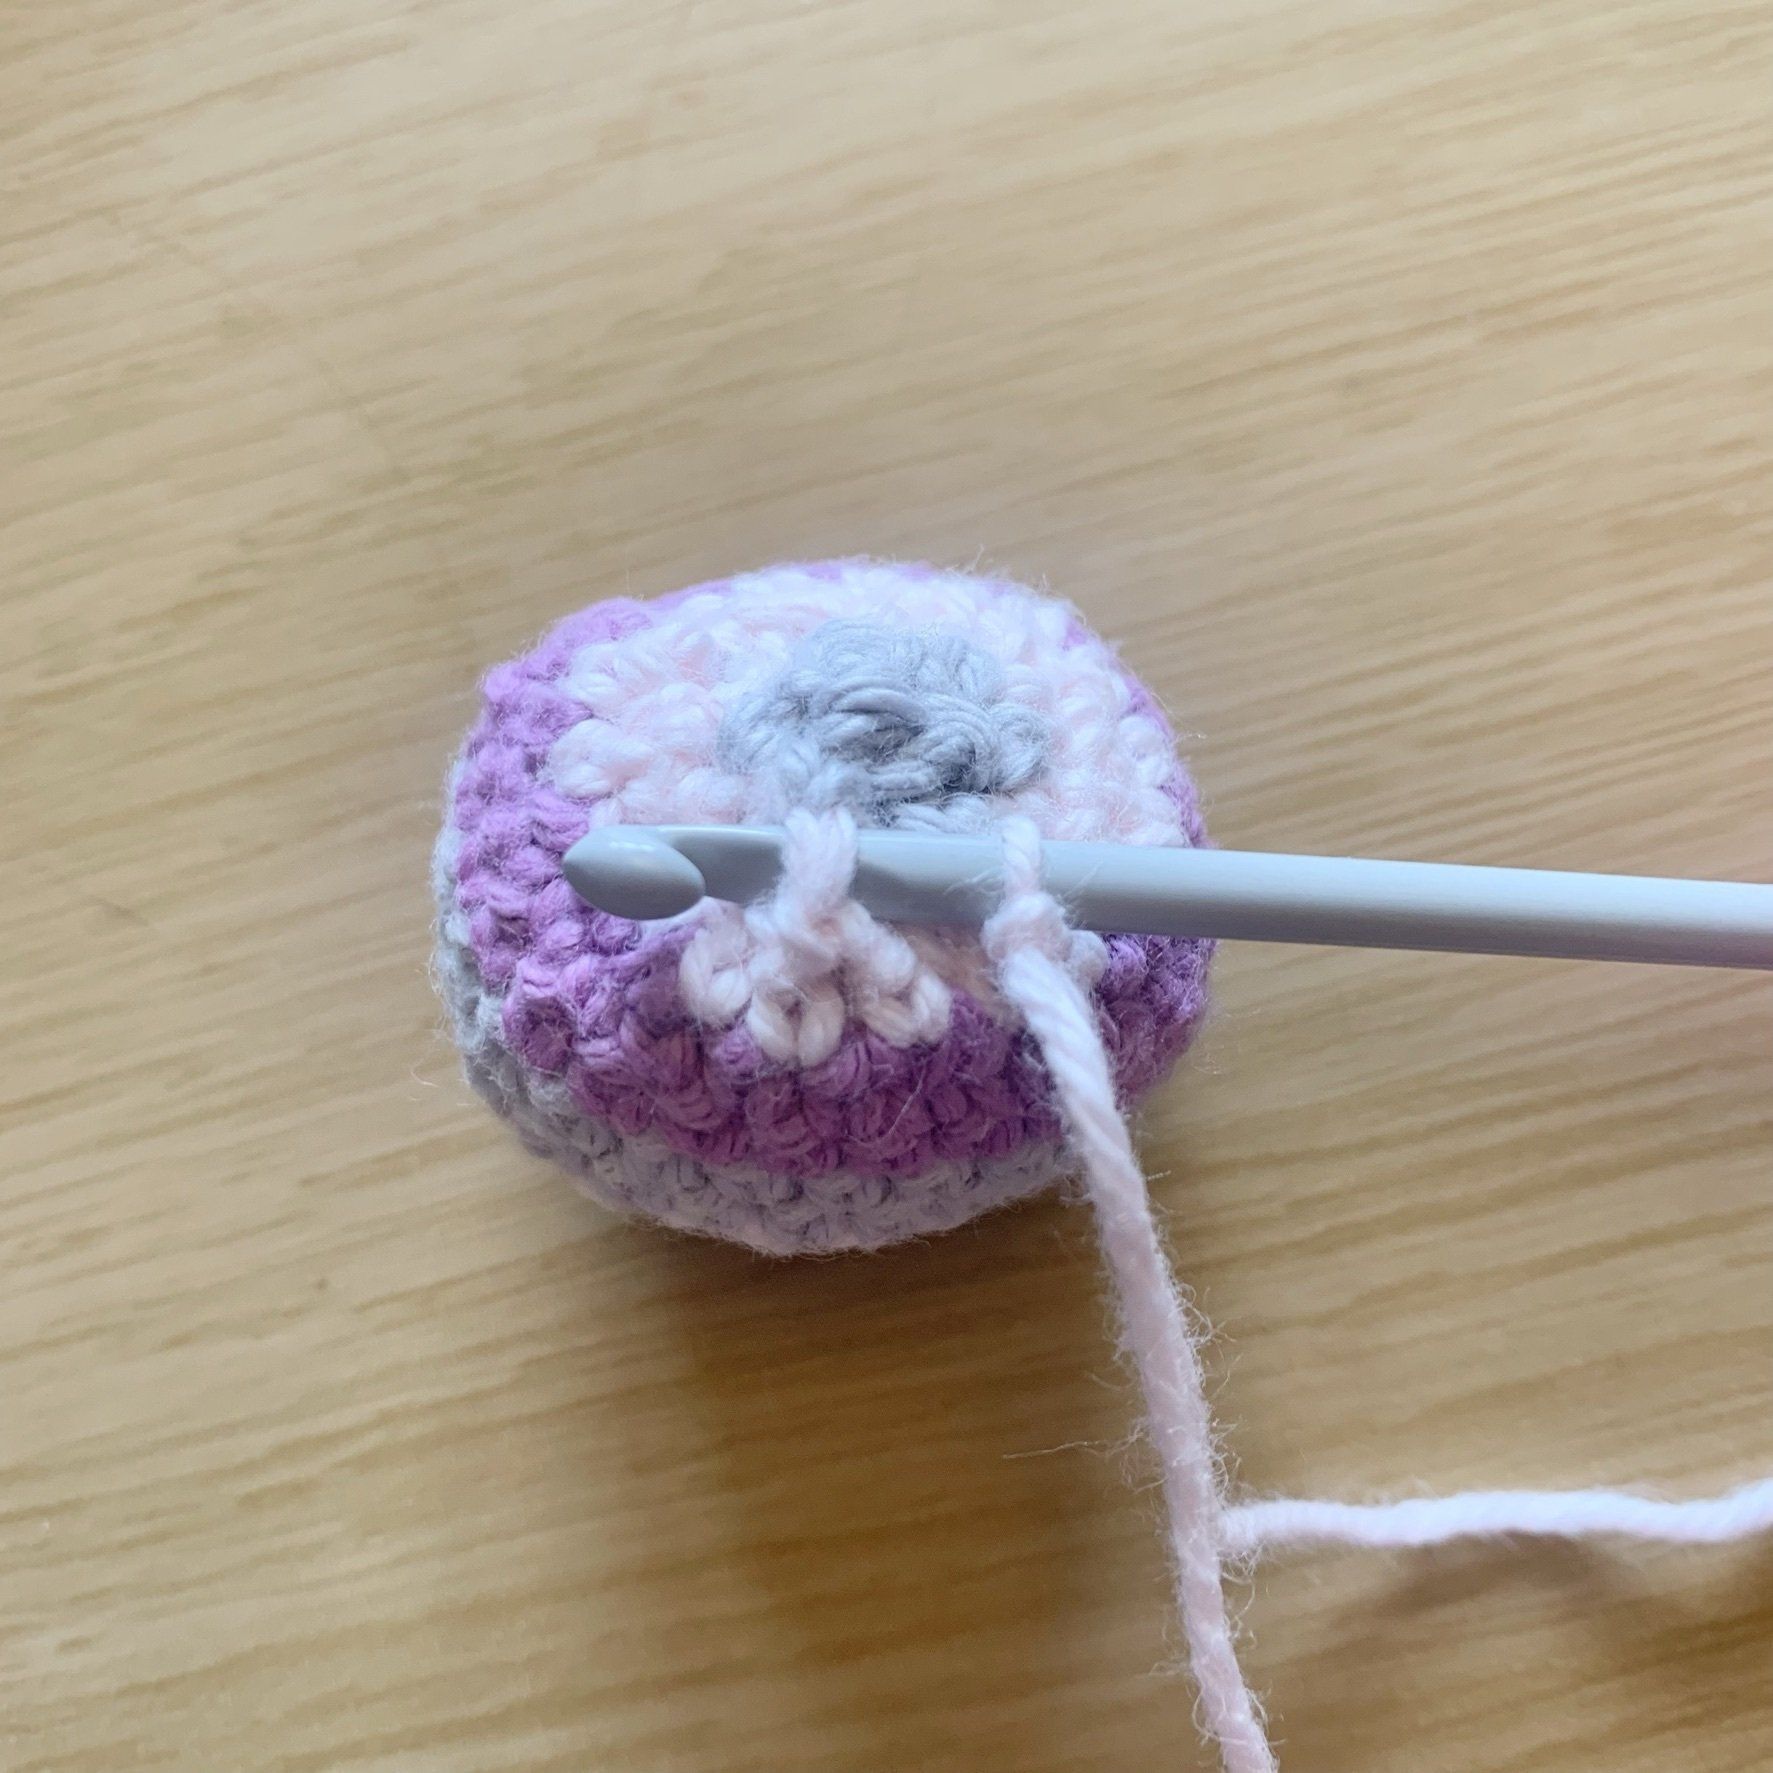
Add Base of Tea Pot
Rejoin yarn into Round 10, where stitch marker was placed, in between any 2 stitches.
Round 1: Ch1, Sc around the post of each stitch around. Sl St into top of 1st Dc to join. (12)
Round 2: Ch1, *Sc, 2Sc*, repeat between * and * to end of round. Sl St into top of 1st Sc to join. Fasten off and weave in ends. (18)
Make Spout
Working into a Magic circle
Round 1: Ch1, Sc 4 times into centre of magic circle. Sl St into top of 1st Dc to join. (4)
Round 2: Ch1, *Sc, 2Sc*, repeat between * and * twice. Sl St into top of 1st Sc to join. (6)
Round 3: Ch1, Sc into BLO in each St around. Sl St into top of 1st Sc to join. (6)
Rounds 4 & 5 : Ch1, Sc into each St around. Sl St into top of 1st Sc to join. Fasten off and pull on starting yarn to bring the spout in on itself. (6)
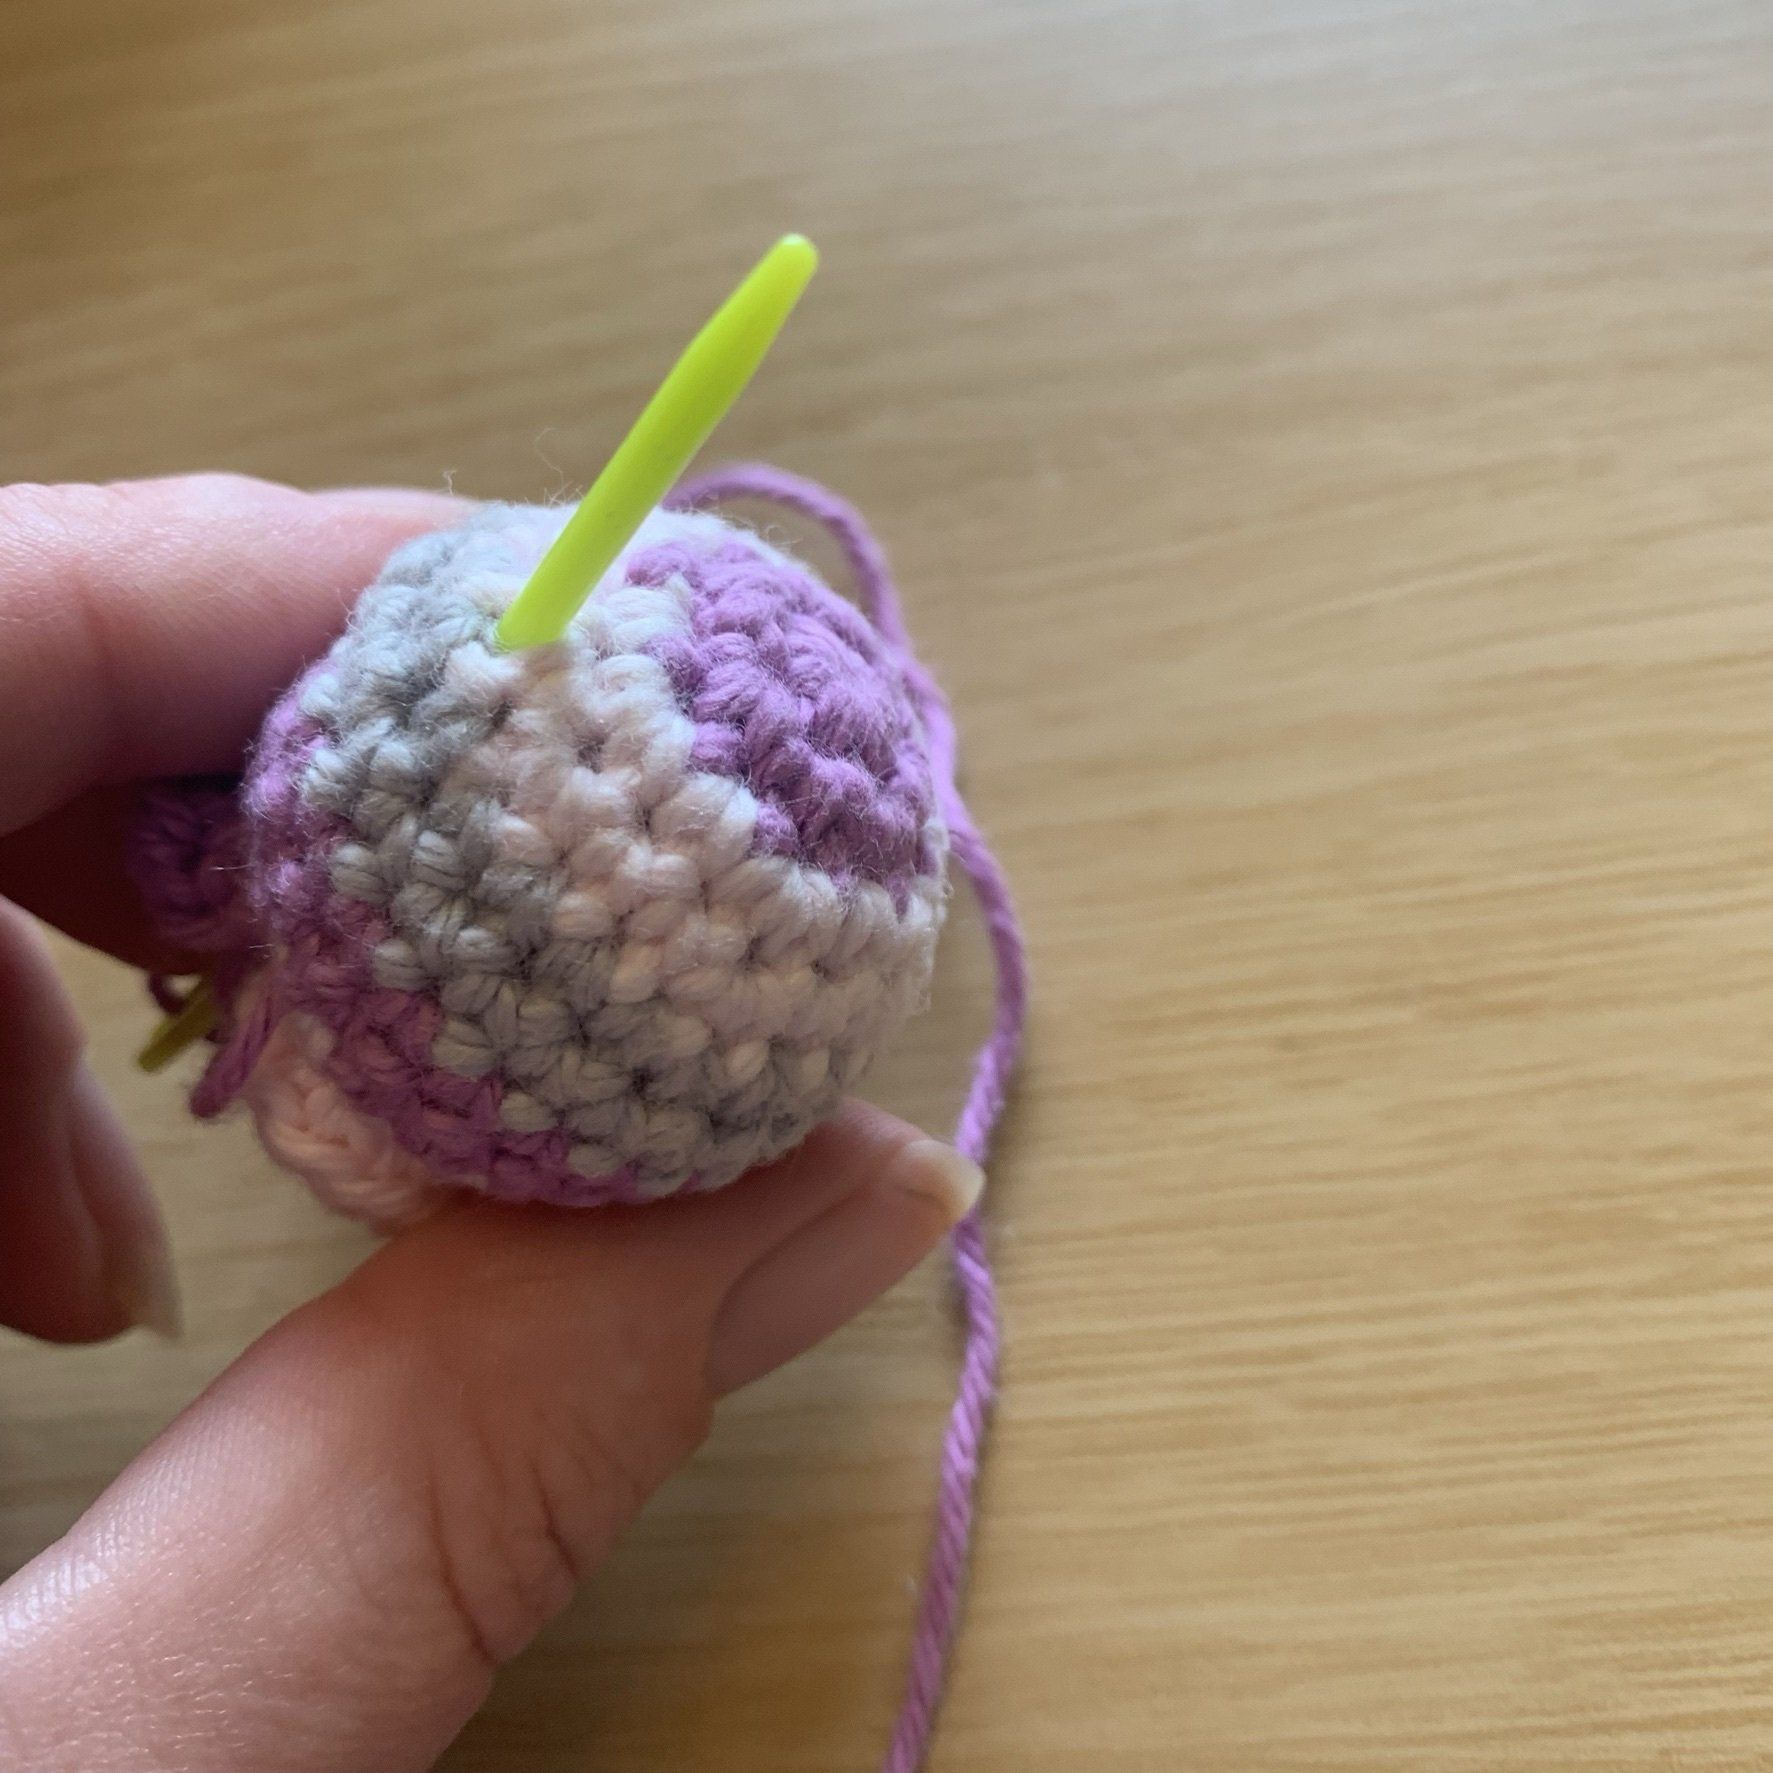
Sew on spout between Rows 4 & 5 of the teapot.
Make the Handle
Ch10
Row 1: Sc into each chain across. Fasten off. (9)
- Sew on the bottom part of the handle directly opposite the Spout, and into top of the Base of Teapot.
- Sew the top of the handle in between Rows 4 & 5.
Weave in all remaining ends and attach chain and keyring.
