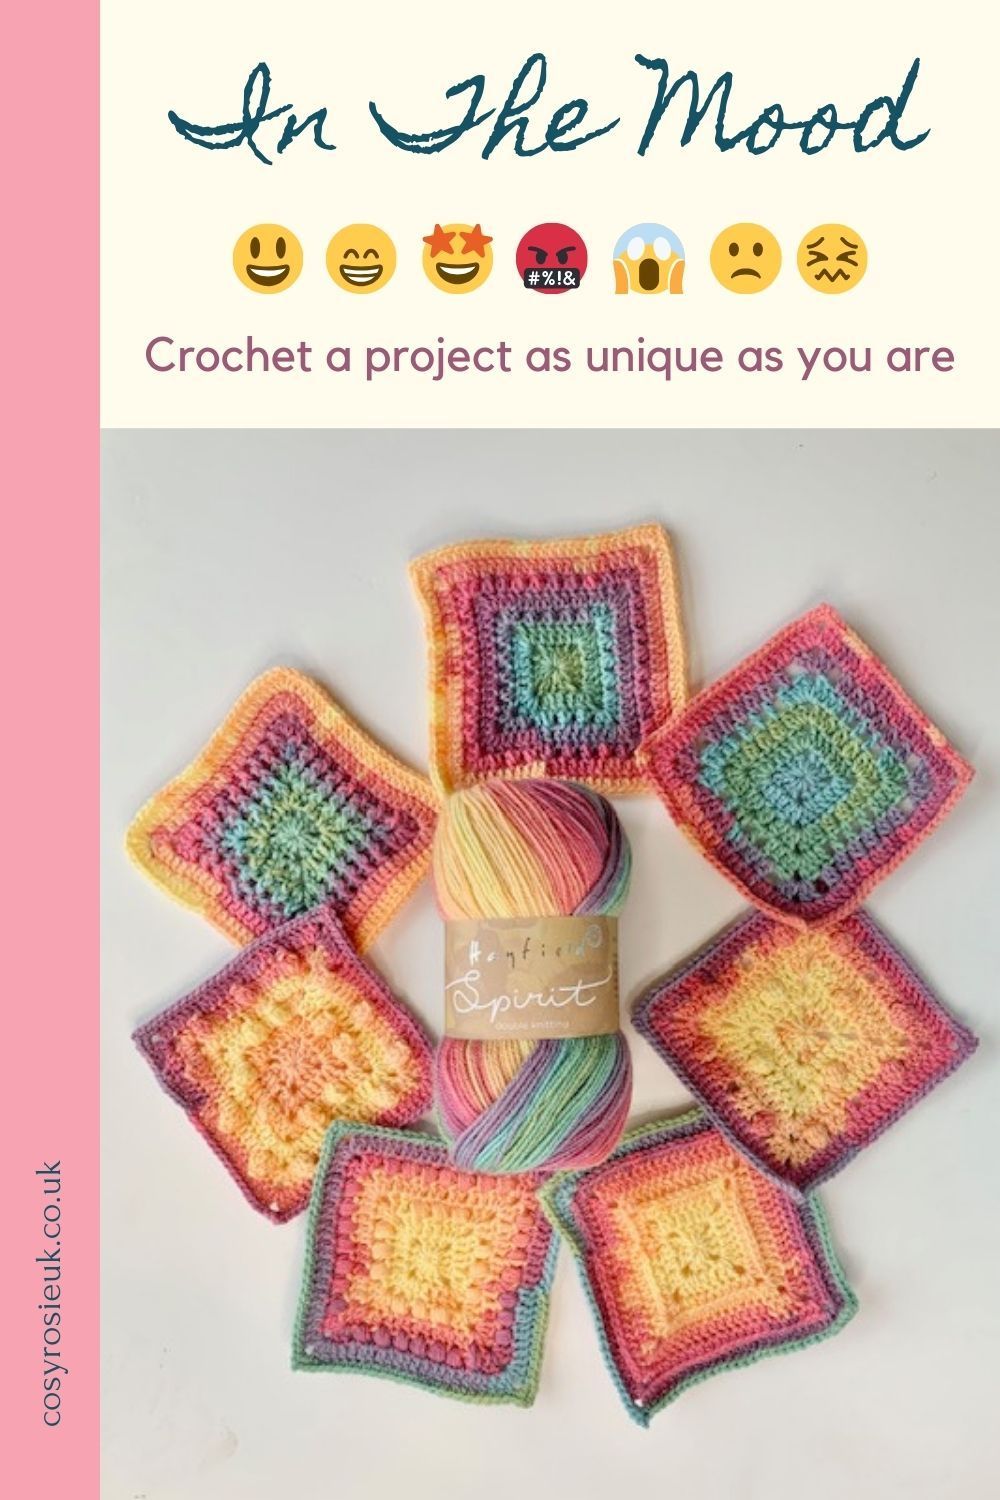
Crochet Mood Blanket In The Mood
This free crochet mood blanket pattern is a great alternative to a crochet temperature blanket where instead of following the temperature, you track your moods and use them to create a unique crochet blanket.
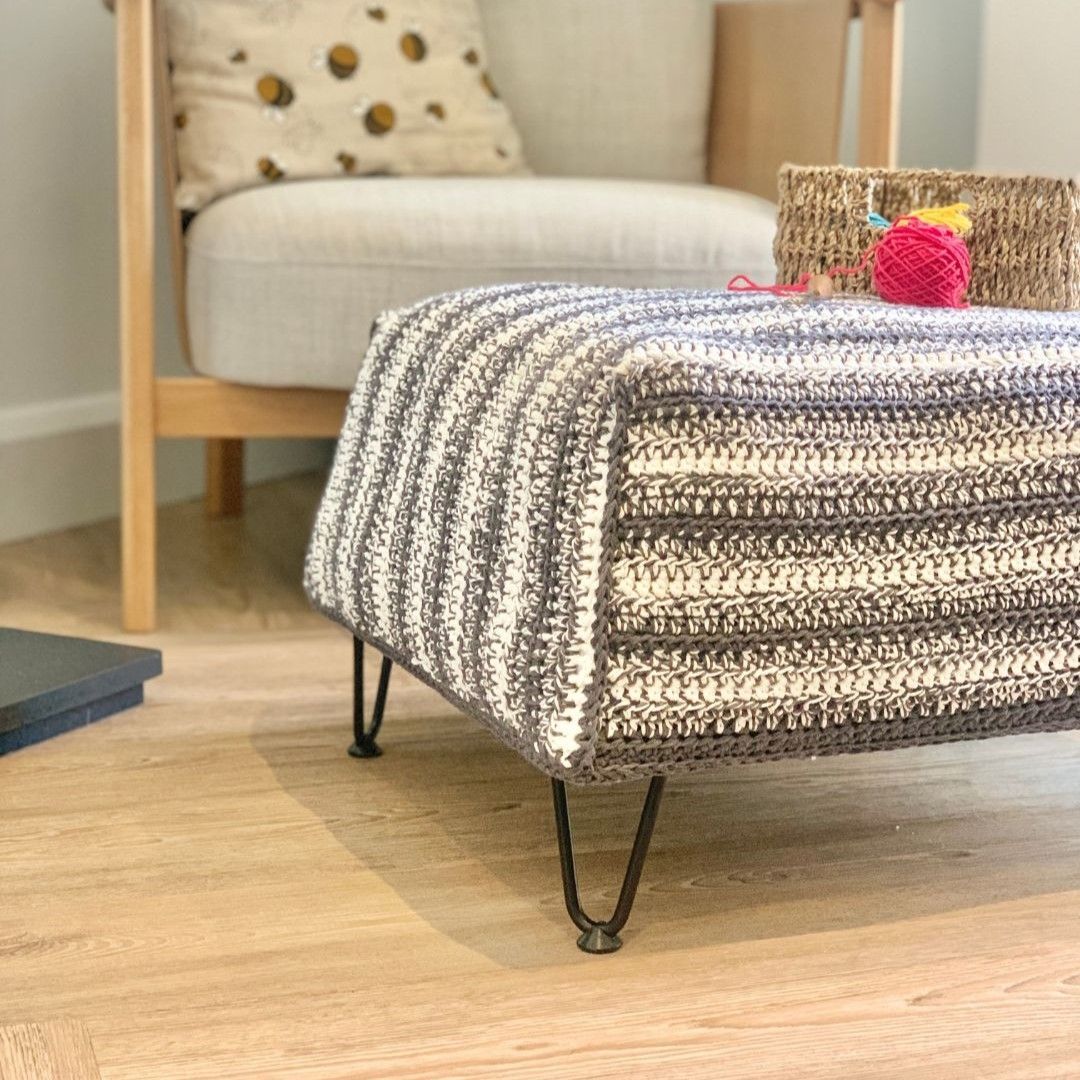
In the Mood Crochet Mood Blanket
In the Mood is designed to encourage you to track your moods and use your crochet skills to create a personalised crochet granny square project that you can be proud of.
There are 4 different patterns you can follow, each using crochet stitches that are linked to a mood or emotion.
You can choose from:
- Crochet Triangle Shawl Pattern by Me' 'n' My Hook
- Crochet Rectangle Wrap Pattern by Me' 'n' My Hook
- Crochet Granny Square Pattern by Cosy Rosie UK
- Crochet Blanket, worked in rows by Cosy Rosie UK
How it works | In The Mood
1. Choose Your Project
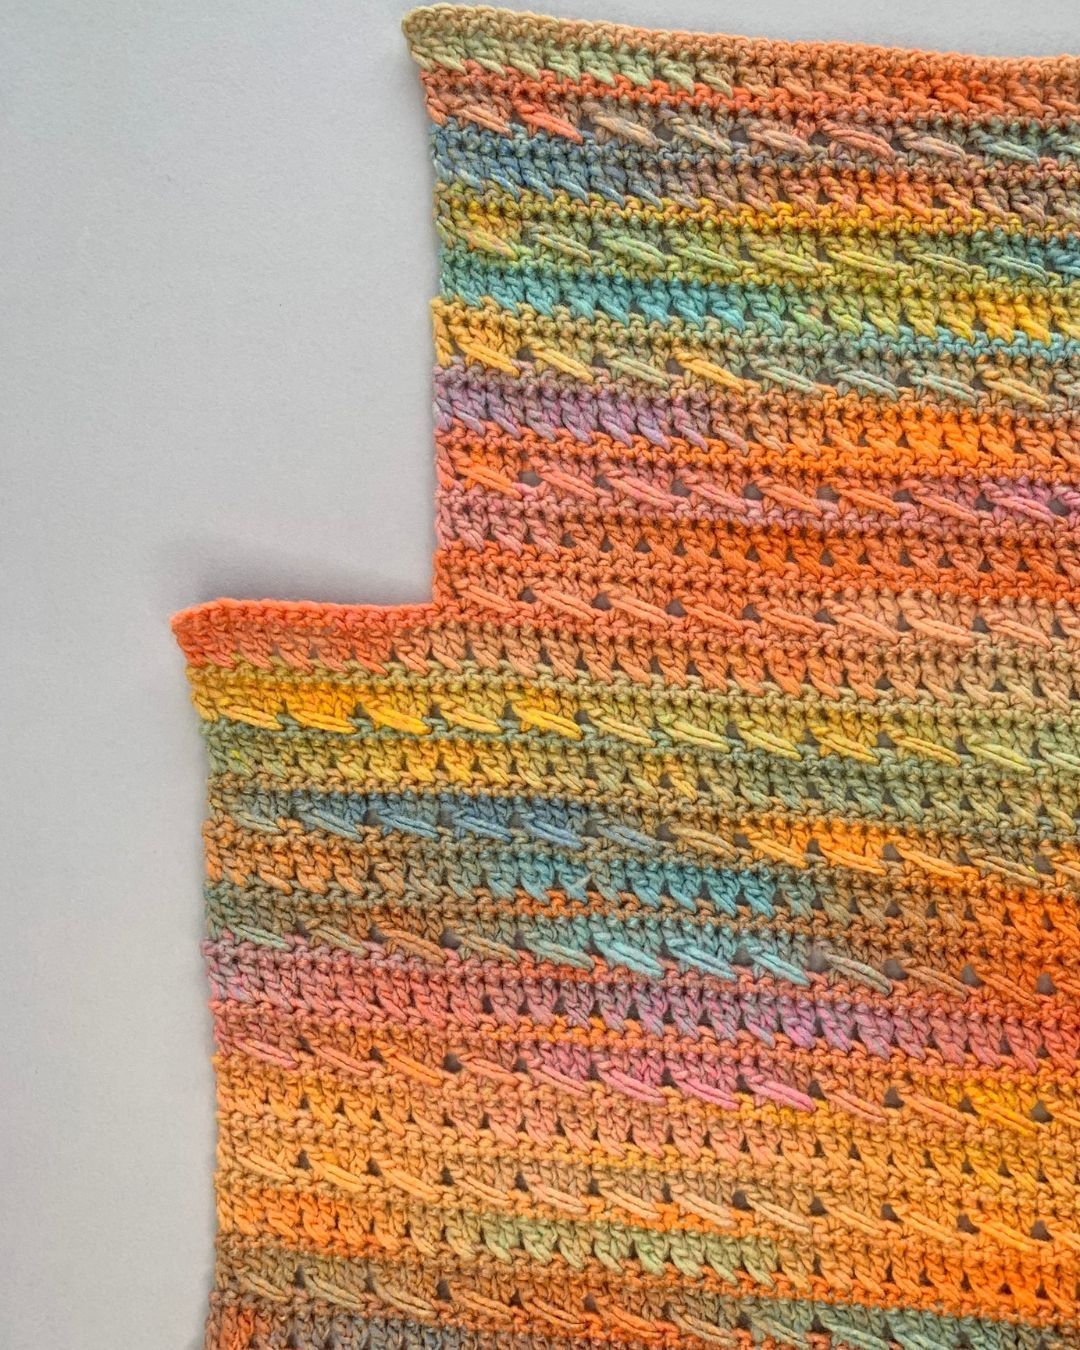
The pattern on this page shows you how to create your In The Mood Blanket which is worked in turned rows.
The stitches you make are determined by your mood tracker, which you will assess each week.
2. Track Your Mood
Sign up to receive motivational emails along with my regular newsletter using the form below, and you'll receive a printable mood tracker to record your moods over the next 12 months.
Purchase All 4 of the In The Mood Printable Patterns
Upgrade and purchase the In The Mood Pattern Bundle and you'll be able to download and print all 4 variations of the In The Mood patterns.
Click the button below to purchase the In the Mood Bundle, and you'll have instant access to download and print each of the 4 patterns.

3. Get Stitching
Once you've completed your Weekly In The Mood Tracker, you'll assess your overall mood for the week and scroll down to follow that part of the pattern written below to crochet your mood blanket.
In The Mood Blanket
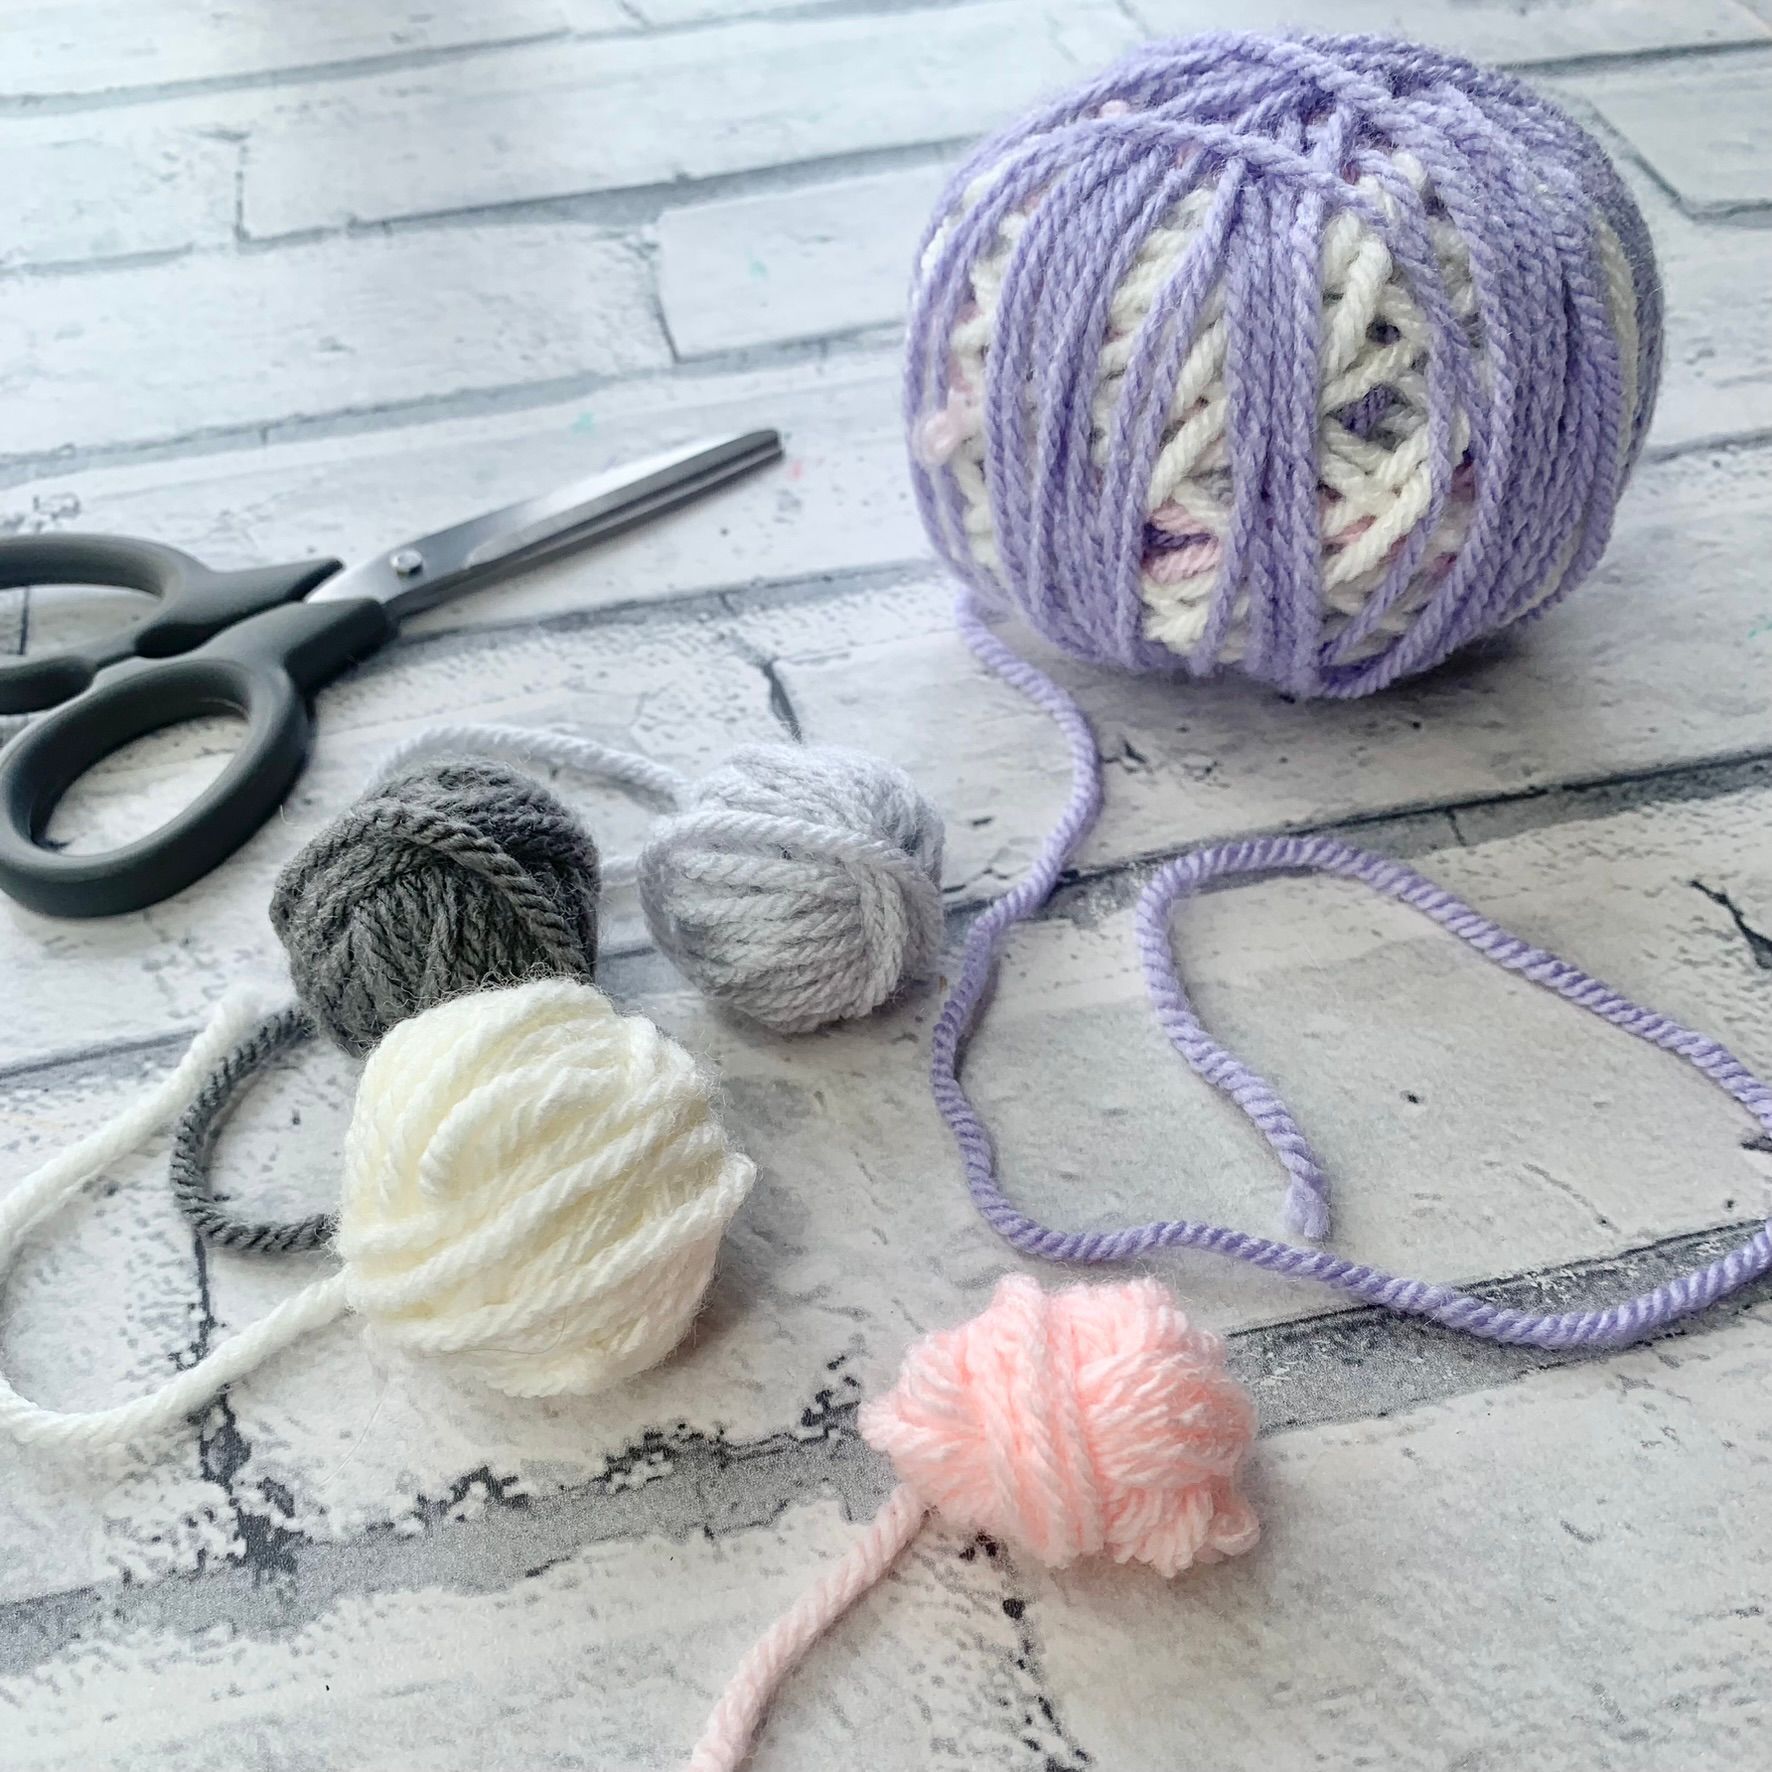
Materials
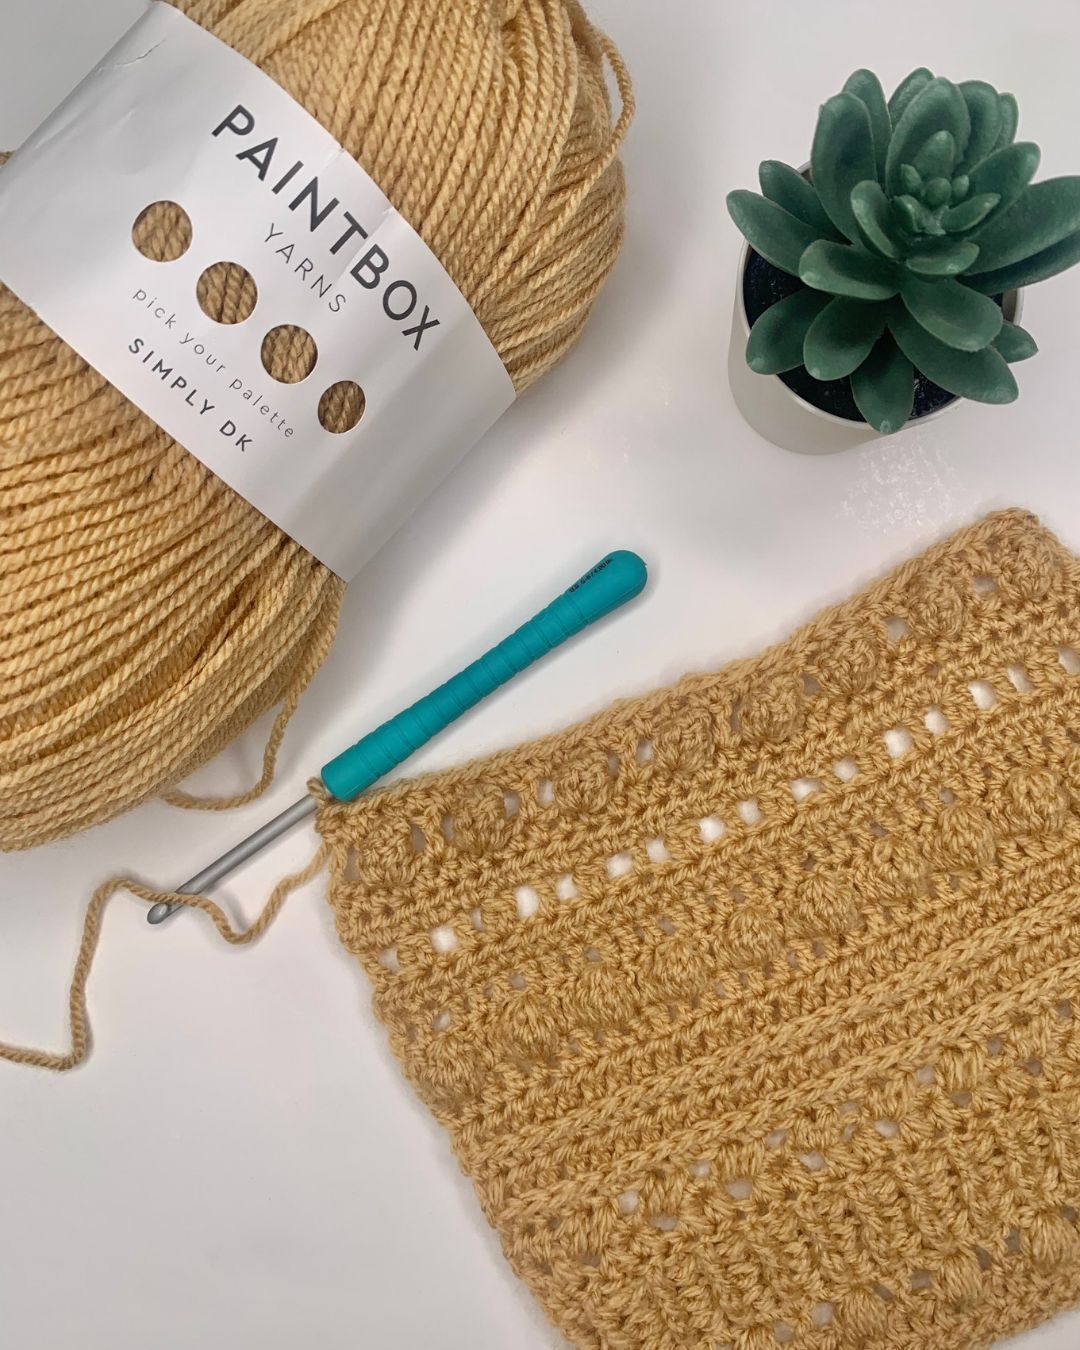
- Any DK/Size 3 yarn - I used used Paintbox Yarns Simply DK, 100% acrylic, 100g (3.5oz) 276m/302 yds in shade 108, Light Caramel
- estimated maximum of 2700m to blanket
- 4mm Crochet Hook
- Scissors
- Tapestry needle
Finished Size
- Finished blanket size is 36" x 56" plus border
Abbreviations - US Terms
st(s) - stitches
ch - chain
ch sp - chain space
sc - single crochet
hdc - half double crochet
ehdc - extended half double crochet
phdc - paired half double crochet
dc - double crochet
2dc-cl - 2 double crochet cluster
fp dc - front post double crochet
bp dc - back post double crochet
puff - puff stitch
bobble - bobble stitch
pc - popcorn stitch
YO - yarn over
Pattern Notes
- Whatever your skill level with crochet, it’s to recommend read through this pattern before beginning. Email [email protected] if you need any help completing the pattern.
- Using the weekly mood tracking, record your mood each day and assign an overall mood for the week to indicate which square to make
- Beginning ch 1 DOES count
- Beginning ch 2 DOES NOT count
- Beginning ch 3 DOES count
- Beginning ch 4 counts as dc, ch 1
- This blanket is worked in turned rows.
Special Stitches
The image below shows a list of the special stitches used and the mood associated with the special stitch - see below for special stitch instructions.
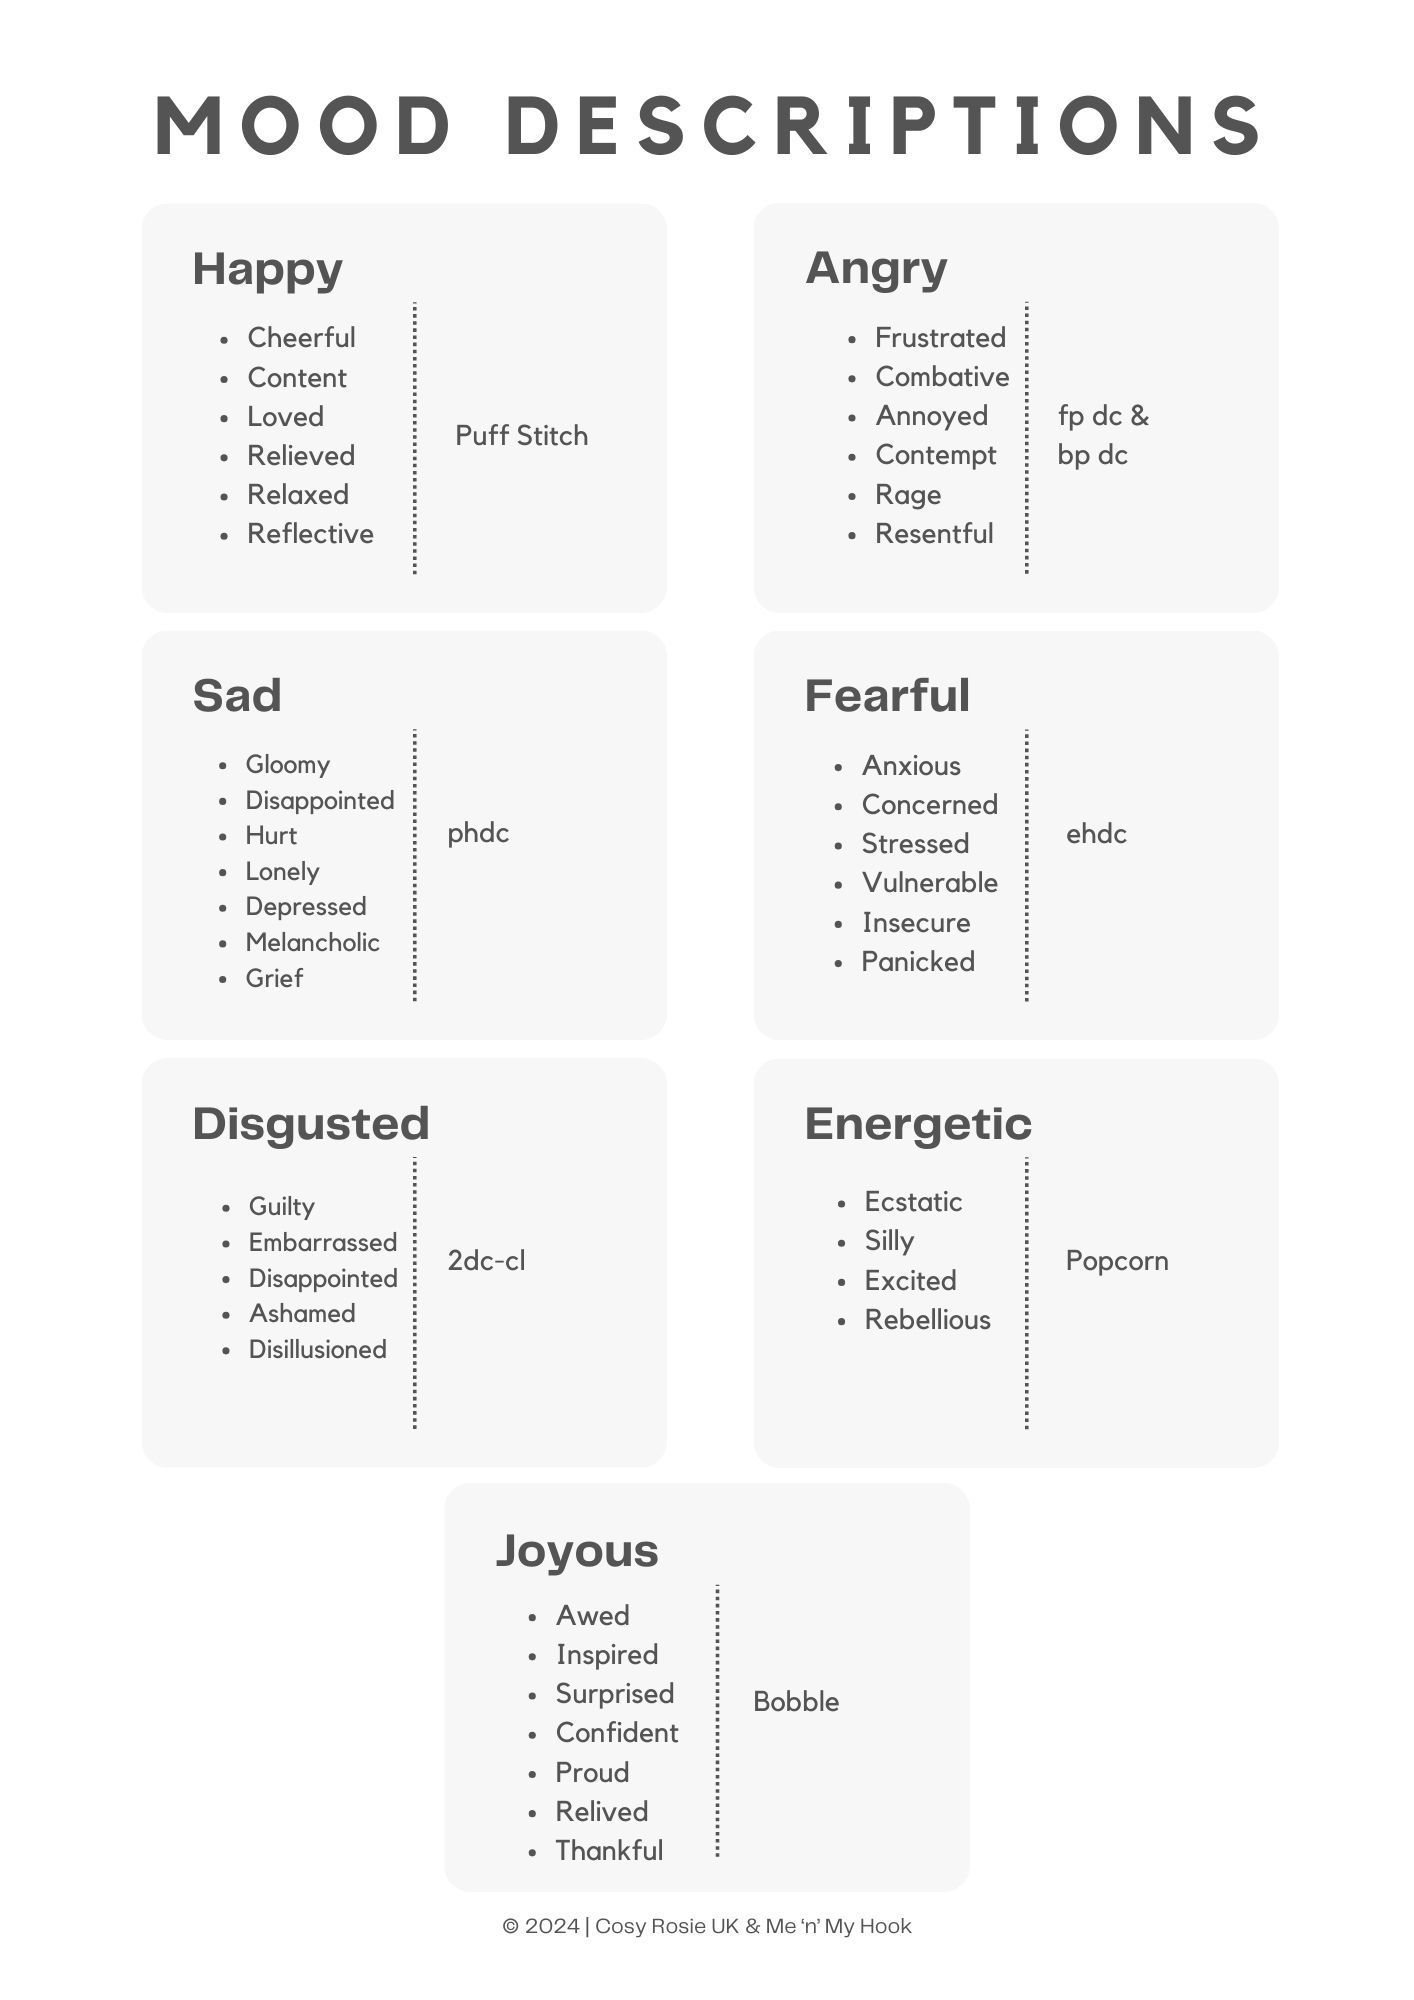
Special Stitches
phdc = paired half double crochet
- YO, insert hook into same st as last worked,
- YO, pull up loop,
- YO, insert hook in next st,
- YO, pull up loop, YO, pull through all loops on hook
ehdc = extended half double crochet
- YO, insert hook in stitch indicated, bring up loop,
- YO, pull through 1st loop on hook,
- YO, pull through remaining 3 loops on hook
fp dc = front post double crochet
- YO, insert hook around front of the post of the st below in the previous row, YO, bring up loop, YO, pull through 2 loops YO, pull through remaining loops.
bp dc = front post double crochet
- YO, insert hook around the back of post of the st below in the previous row, YO, bring up loop, YO, pull through 2 loops YO, pull through remaining loops
2dc-cl = 2 double crochet cluster
- YO, insert in st indicated, YO, bring up loop, YO, pull through 2 loops, YO insert hook in same st, YO bring up loop, YO, pull through 2 loops, YO, pull through all loops on hook.
puff = Puff stitch.
YO, insert into indicated, YO, bring up loop, [YO, insert hook in same, YO, bring up loop] 4 times, YO, pull through all 10 loops on hook, ch 1 to close
pc = popcorn stitch
- Work 5 double crochet into stitch indicated, pull up the loop of the last dc, remove hook, insert hook from back to front, into the stitch of the 1st dc made in the group of 5, insert hook through pulled up loop, secure loop on the hook, pull through loop on hook, ch 1 to close.
Note – pc is worked on right side
bobble = bobble stitch
YO, insert hook in indicated st, YO, bring up loop, YO, pull through 2 loops, (YO, insert hook in same st, YO bring up loop, YO pull through 2 loops) 4 times, YO pull through remaining loops, ch 1 to close
Note – closing ch 1 does not count as st.
How to change the finished size of your blanket
Each 3 row pattern section is designed to measure an estimated 1" - to increase the finished length, you can repeat the 3 row section.
The blanket has been designed so there the textured stitches all show on the right side of the blanket. To ensure the stitches are worked on the correct side, work the rows in full repeats, eg 3, 6 or 9 rows.
You could choose to repeat those Happy, Joyous and Excited rows each time you experience them, so they really stand out in the blanket.
To increase the width of the blanket, you will need to adjust the foundation chain.
The stitch multiple is 12 +1, +1 for the chain.
eg. any number divisible by 12 = 144 (192 or 228), plus 1 = 145 (193 or 228), plus 1 for the foundation chain = 146 (194 or 230) will allow all of the different mood rows to work.
Foundation Row | In The Mood Blanket
This Foundation Row should be completed before you start the 1st first row of your In The Mood Blanket.
Each Blanket Section is written to ensure that the textured stitches are show on the right side of your project.
Foundation Row: Ch 146, sc in each to end – 145 sc
In The Mood Blanket Video Tutorial
Happy Rows | In The Mood
The stitch assigned to Happy moods is the Puff Stitch - the texture it creates is seen on both sides of the pattern which is why it's one of my favourites.
Row 1: Ch 1 (does not count), hdc in same and each across, turn – 145 hdc
Row 2: WS. Ch 4 (does count as (dc, ch 1), skip next, puff in next, ch 1, skip next, dc in next, *ch 1, skip next, puff in next, ch 1, skip next, dc in next; repeat from * to end, turn – 36 puff stitch, 37 dc, 72 ch-1 sps
Row 3: Ch 1, hdc in same, hdc in ch-1 sp, hdc in top of puff, hdc in ch-1 sp, *hdc in top of dc, hdc in ch-1 sp, hdc in top of puff, hdc in ch-1 sp; repeat from * to last, hdc in last, turn – 145 hdc
Angry Rows | In The Mood
The stitch assigned to Angry moods are front post and back post stitches - my favourite way to make crochet ribbing.
You may find that your blanket pulls in a little once these rows are worked - don't stress over this, the edging will correct any pulling in,
Once you've got the hang of working around the posts of your stitches, you will fall in love with the repetitive nature of these stitches and the amazing texture they create.
Row 1: Ch 3 (counts as dc), *fp dc around next, bp dc around next; repeat from * to last 2 sts, fp around next, dc in last, turn – 2 dc, 72 fp dc, 71 bp dc
Row 2: Ch 3, *bp around next, fp around next; repeat from * to last 2 sts, bp around next, dc in last, turn – 2 dc, 71 fp dc, 72 bp dc
Row 3: Repeat Row 1
Sad Rows | In The Mood
The stitch assigned to Sad mood is Paired Half Double crochet.
This stitch is worked in the same way as a hdc decrease, worked across 2 stitches, but the unique way it is worked does not decrease the stitch count - it's magic!
Row 1: Ch 1 (does not count), hdc in same, *phdc (beginning in next), phdc (in same as last and next) ch 1; repeat from * to last 3, phdc (beginning in next), ch 1, hdc in last, turn - 95 phdc, 48 ch-1 sp, 2 hdc
Rows 2: Ch 1, hdc in same, hdc in ch-1 sp, *phdc (beginning in next and ch-1 sp), phdc (in ch-1 sp and next), ch 1; repeat from * to last 2, hdc in 2 last, turn - 94 phdc, 47 ch-1 sp, 4 hdc
Row 3: Ch 1, hdc in same, hdc in next, *hdc in ch-1 sp, hdc in top of next 2 phdc; repeat from * to last 2, hdc in last 2, turn – 145 hdc
Fearful Row | In The Mood
The stitch assigned to Fearful mood is the Extended Half Double Crochet.
This stitch has been used to showcase how facing our fears makes us stretch our own abilities - not always through choice, but in way's that can make us stronger.
The stitch has been combined with working in the 3rd loop to represent the wall we may put up to protect ourselves from scary situations too.
Row 1: Ch 1 (does not count), working in front 3rd loop, ehdc in same and each across, turn – 145 ehdc
Row 2: Ch 1, hdc in same and each across, turn – 145 hdc
Row 3:
Ch 1, working in front 3rd loop, ehdc in each across, turn – 145 sc
Disgusted Rows | In The Mood
The stitch assigned to disgusted moods is the 2 Double Crochet Cluster Stitch - another magic stitch, a little like the paired half double crochet.
It's a stitch that doesn't show up very often, hopefully like the moods that will mean you need to stitch this square.
Row 1: Ch 1 (does not count), hdc in each across, turn – 145 hdc
Row 2: Ch 4 (counts as dc, ch 1), *skip next, 2dc-cl in next, ch 1, skip next, dc in next, ch 1; repeat from * to end, ending last repeat with dc, turn – 36 2dc-cl, 37 dc, 72 ch-1 sps
Rows 3: Ch 1, hdc in same *hdc in ch-1 sp, hdc in top of 2dc-cl, hdc in next ch-1 sp, hdc in top of dc; repeat from * to end, turn – 145 hdc

Energetic Rows | In The Mood
The stitch assigned to Energetic mood is the Popcorn Stitch.
This highly textured stitch sits loud and proud above the fabric of the granny square, almost shouting out your high energy mood!
Row 1: Ch 1 (does not count), hdc in same and each across, turn – 145 hdc
Row 2: Ch 4 (counts as dc, ch 1), skip next, *popcorn in next, ch 1, skip next, dc in next, ch 1, skip next; repeat from * to end, ending last repeat with dc, turn – 36 popcorn, 37 dc, 72 ch-1 sps
Row 3: Ch 1, hdc in same, *hdc in ch-1 sp, hdc in top of popcorn, hdc in ch-1 sp, hdc in top of dc; repeat from * to end, turn – 145 dc
Joyous Bobble Stitch Granny Square | In The Mood
The stitch assigned to Joyous moods is the Bobble Stitch - a very special textured stitch, as the size of the bobble can be easily changed.
The bobble size created in this pattern is on the medium side, but the mood it represents is not a medium feeling!
It's a special mood that is reserved for special events, happenings and feelings.
Row 1: Ch 3 (counts as dc), dc in each across, turn – 145 dc
Row 2: Ch 3, *bobble in next, dc in next 2; repeat from * to last 2, bobble in next, dc in last, turn – 72 bobble, 73 dc
Row 3: Ch 3, dc in top of bobble, *dc in next 2, dc in top of bobble; repeat from * to last, dc in last, turn – 145 DC
Making it?
I am so excited that you're diving in and want to make your own In The Mood Project.
Take a moment to sign up and download your In The Mood Tracker using the form below.
Then come and share in the join the Cosy Rosie Community that you're taking part, sharing which pattern you'll be stitching up.
Purchase All 4 of the In The Mood Printable Patterns
You can download and print all 4 variations of the In The Mood patterns by purchasing the pattern bundle.
Click the button below to purchase the In the Mood Bundle, ready to download and print.
Pin it for Later
If you love Christmas Crochet patterns that add that handmade feel to the holidays, check out these pattern round ups:

About the Autor
Hi, I'm Fiona, the hands behind Cosy Rosie Crochet - the place to learn to crochet as you make!
With over four years of hands-on experience leading in-person crochet workshops since 2018 and designing and publishing my own patterns since 2019, I bring a wealth of expertise of sharing crochet techniques.....


Cosy Rosie UK Crochet Blog