Easy Crochet Slipper Socks
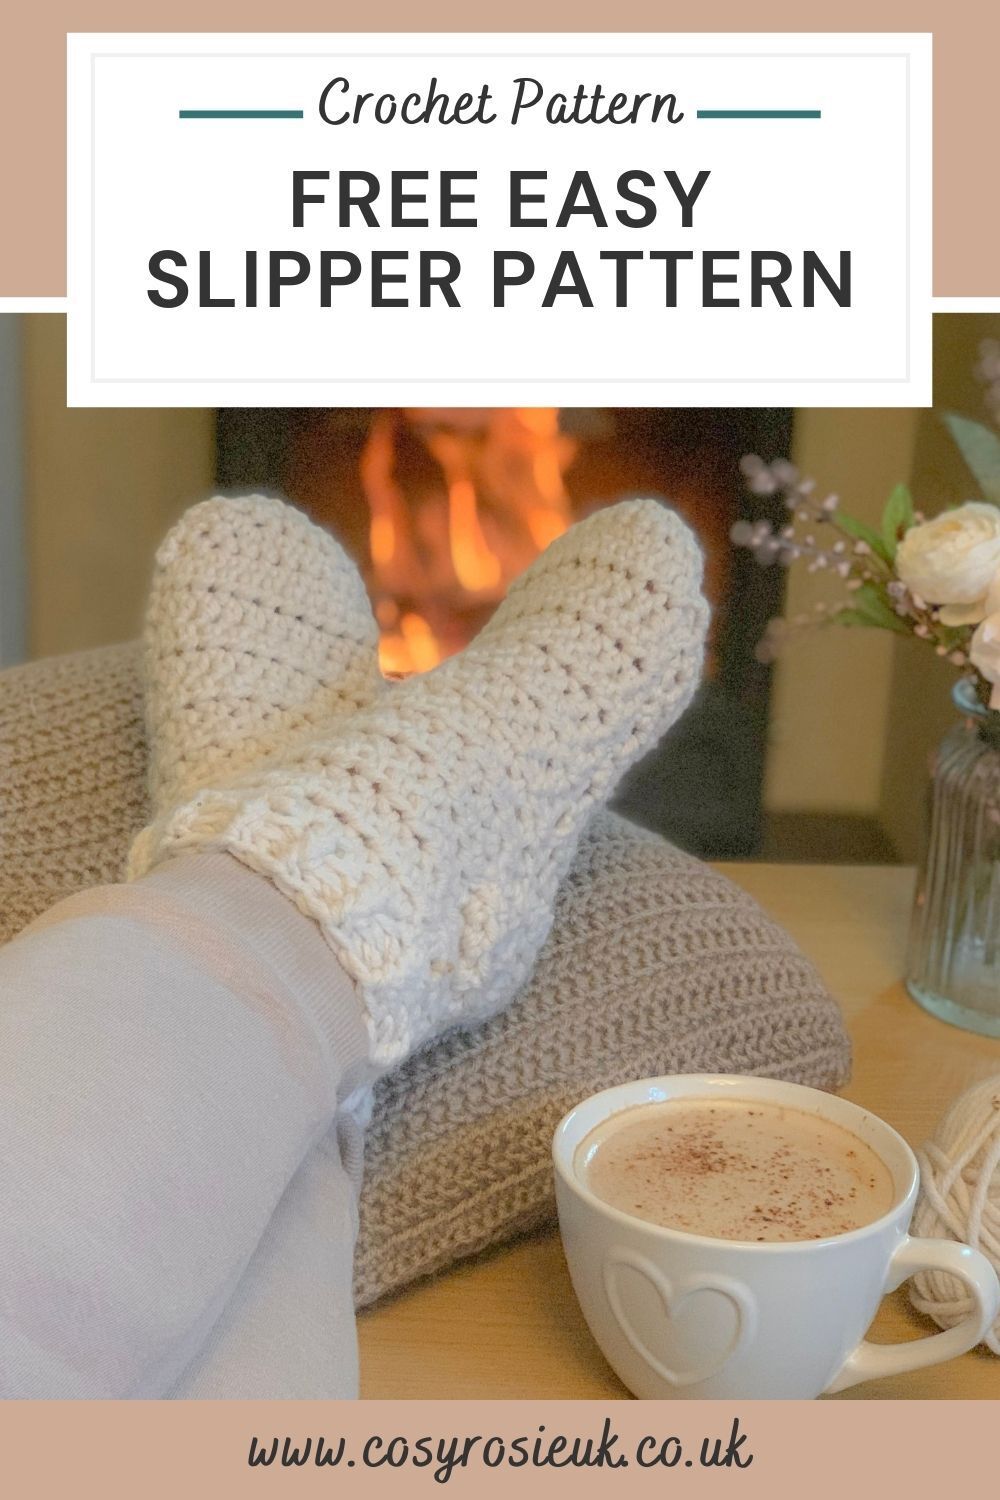
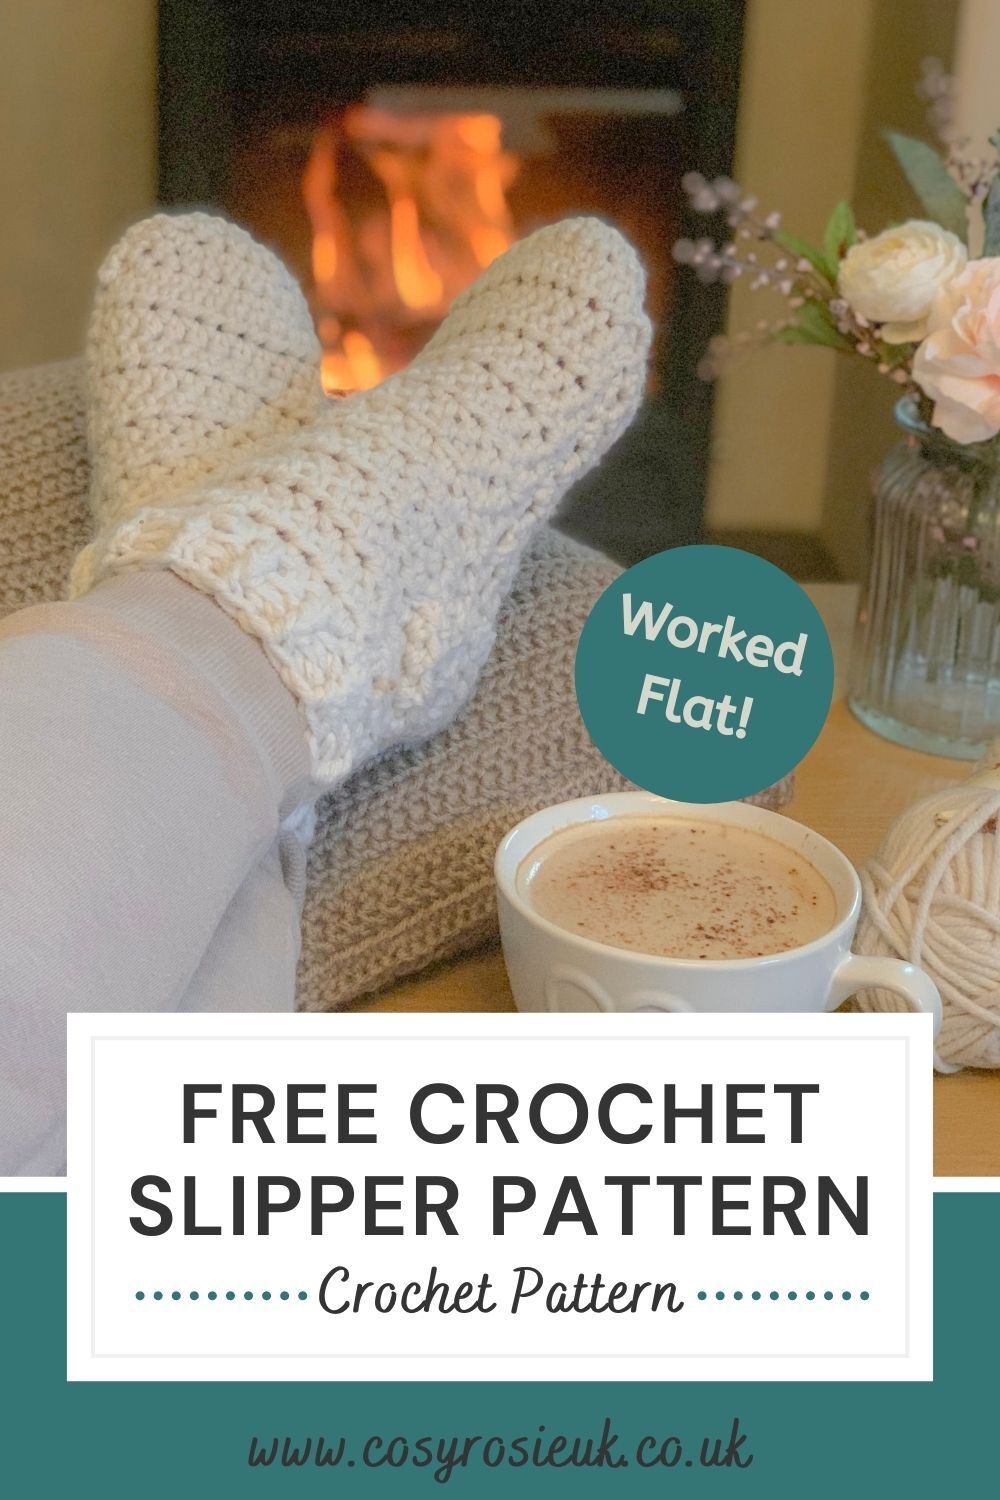
With this easy crochet sock pattern you be making these super simple slipper socks with ease! If you’ve always fancied making a pair of crochet socks but were put off by turning the heel, you don’t need to worry about the heel as these crochet socks are worked flat and sewn up!
Easy Crochet Slipper Socks | Free Crochet Patterns
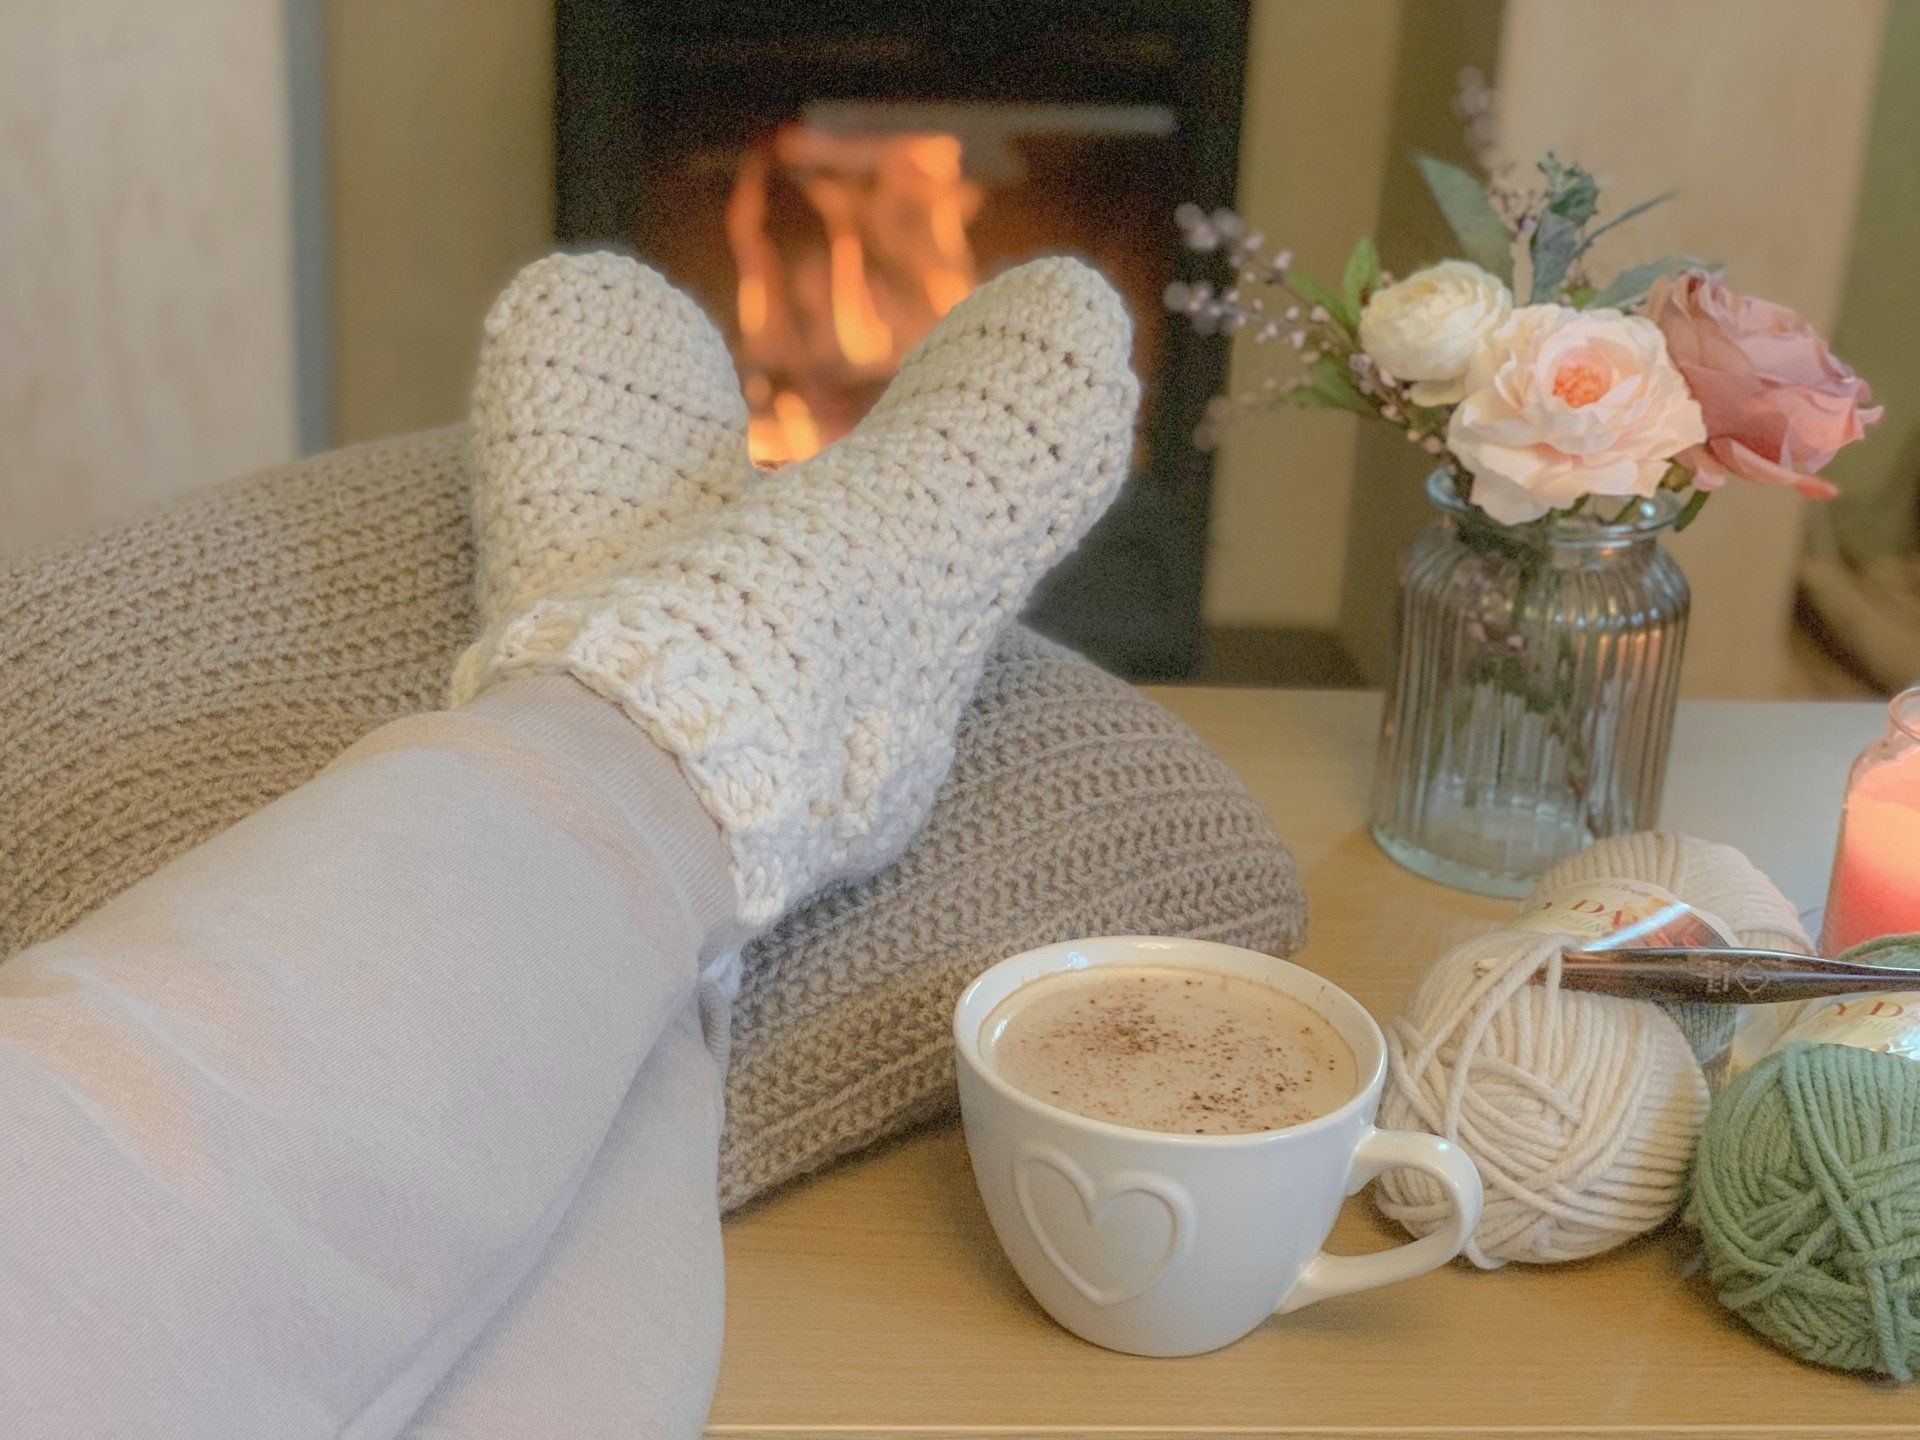
I hate having cold feet and I hate wearing shoes inside the house too! These easy crochet slipper socks are the perfect pair to cozy up with in front of the fire and snuggle in as the snow falls outside again today.
As a beginner to crochet, I struggled to understand how to “turn a heel” when making socks and I knew there just had to be an easier way to crochet sock! And boy oh boy have I found it!
These crochet slipper sock are worked in rows and flat! In one long, unrecognisable shape compared to a standard sock, but are sewn up into soft, squishy and warm socks in next to no time!
Please note that some of the links in my blog are affiliate links. I may earn a small commission if you purchase via this links, but the price you pay is not affected
Purchase the Ad-Free Printable PDF Pattern
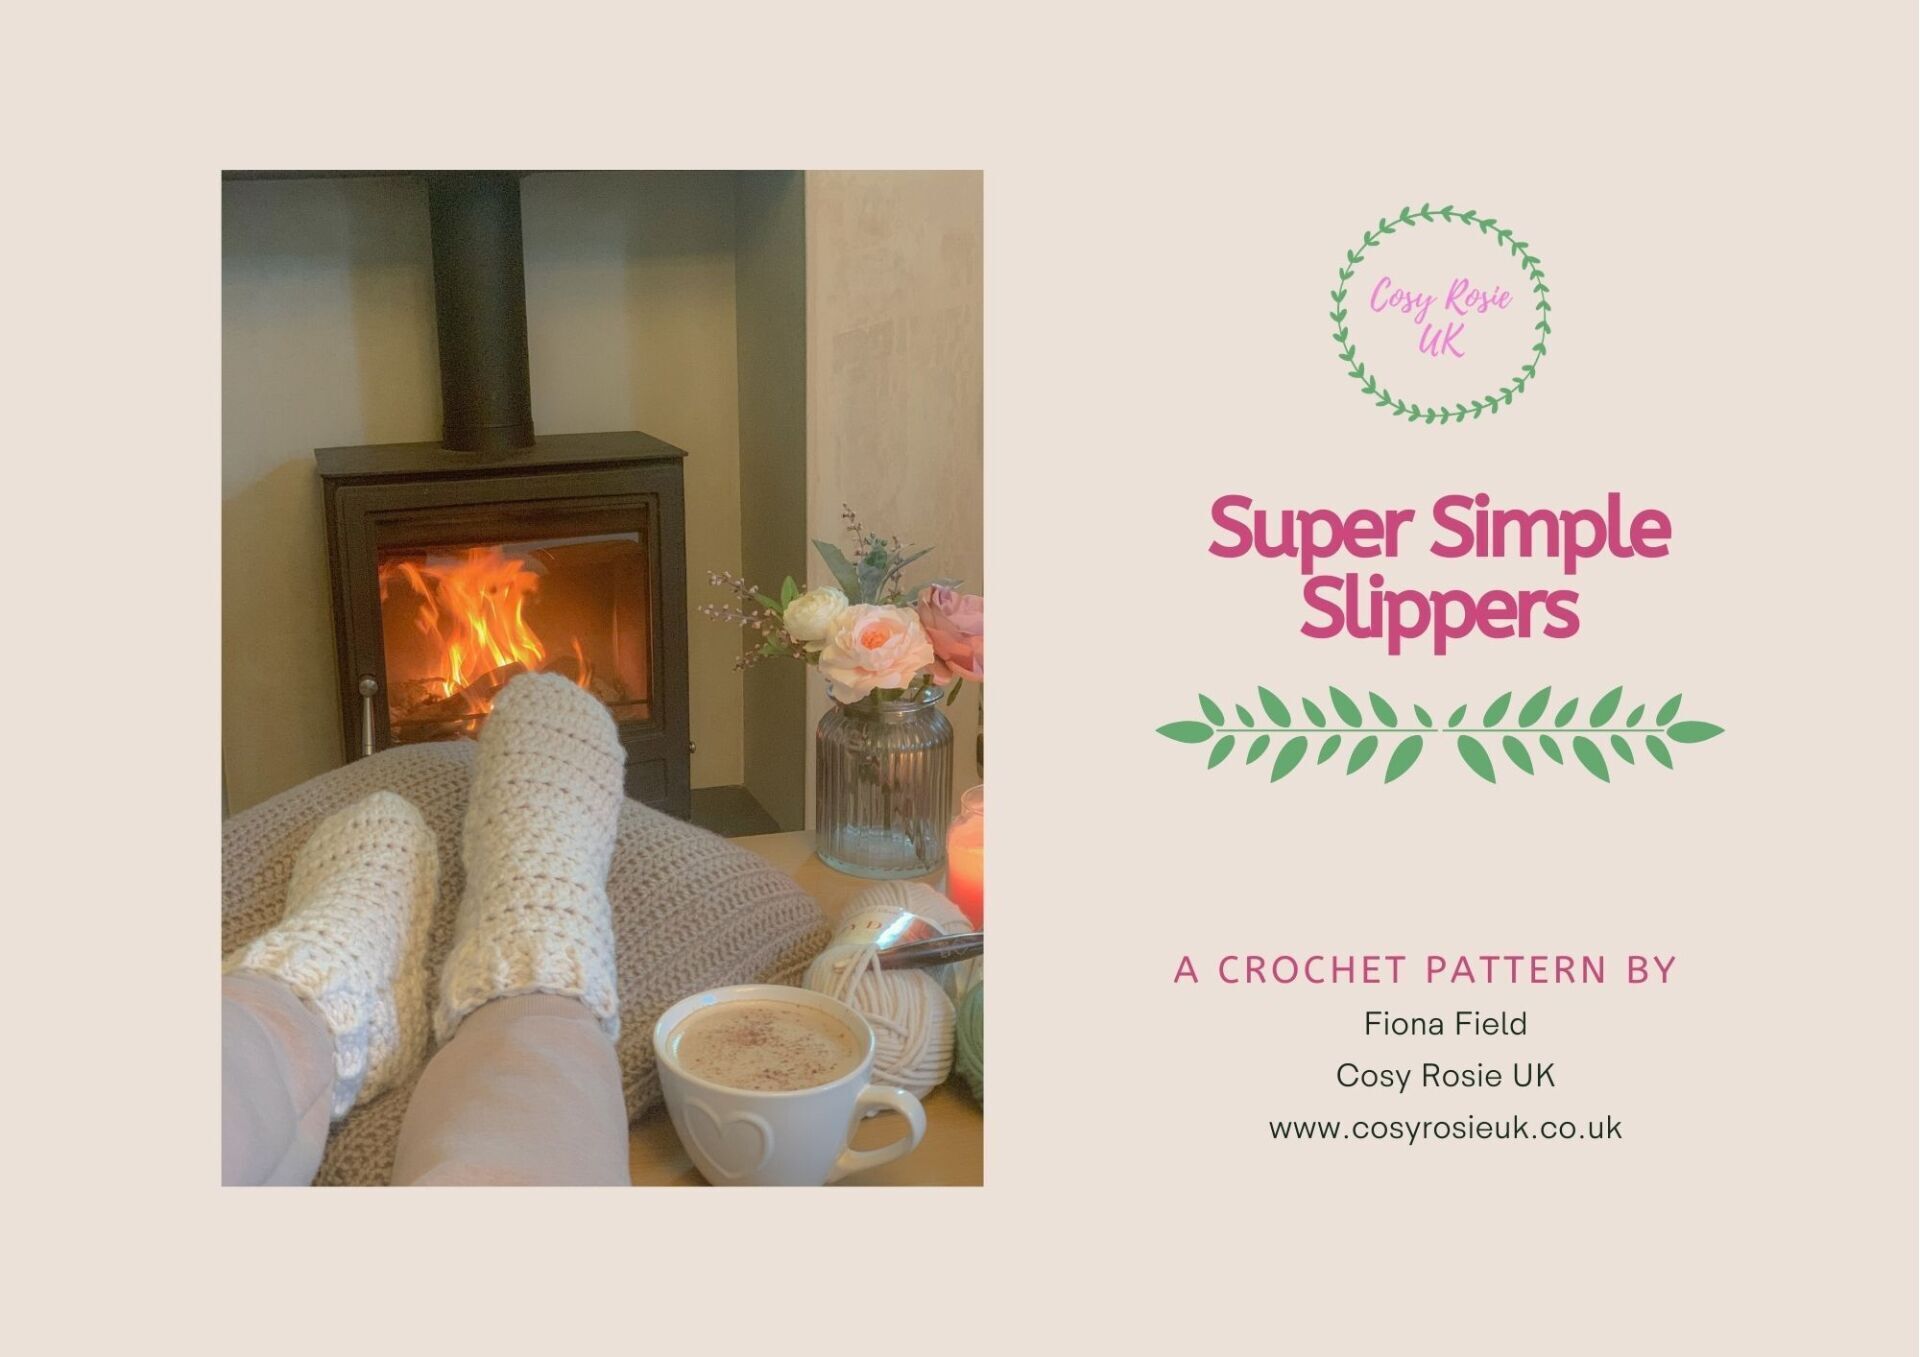
You can download and print your own PDF copy of the of the Super Simple Slipper Socksfrom my Etsy Shop or Ravelry Shop
Skill Level: Beginner
Materials:
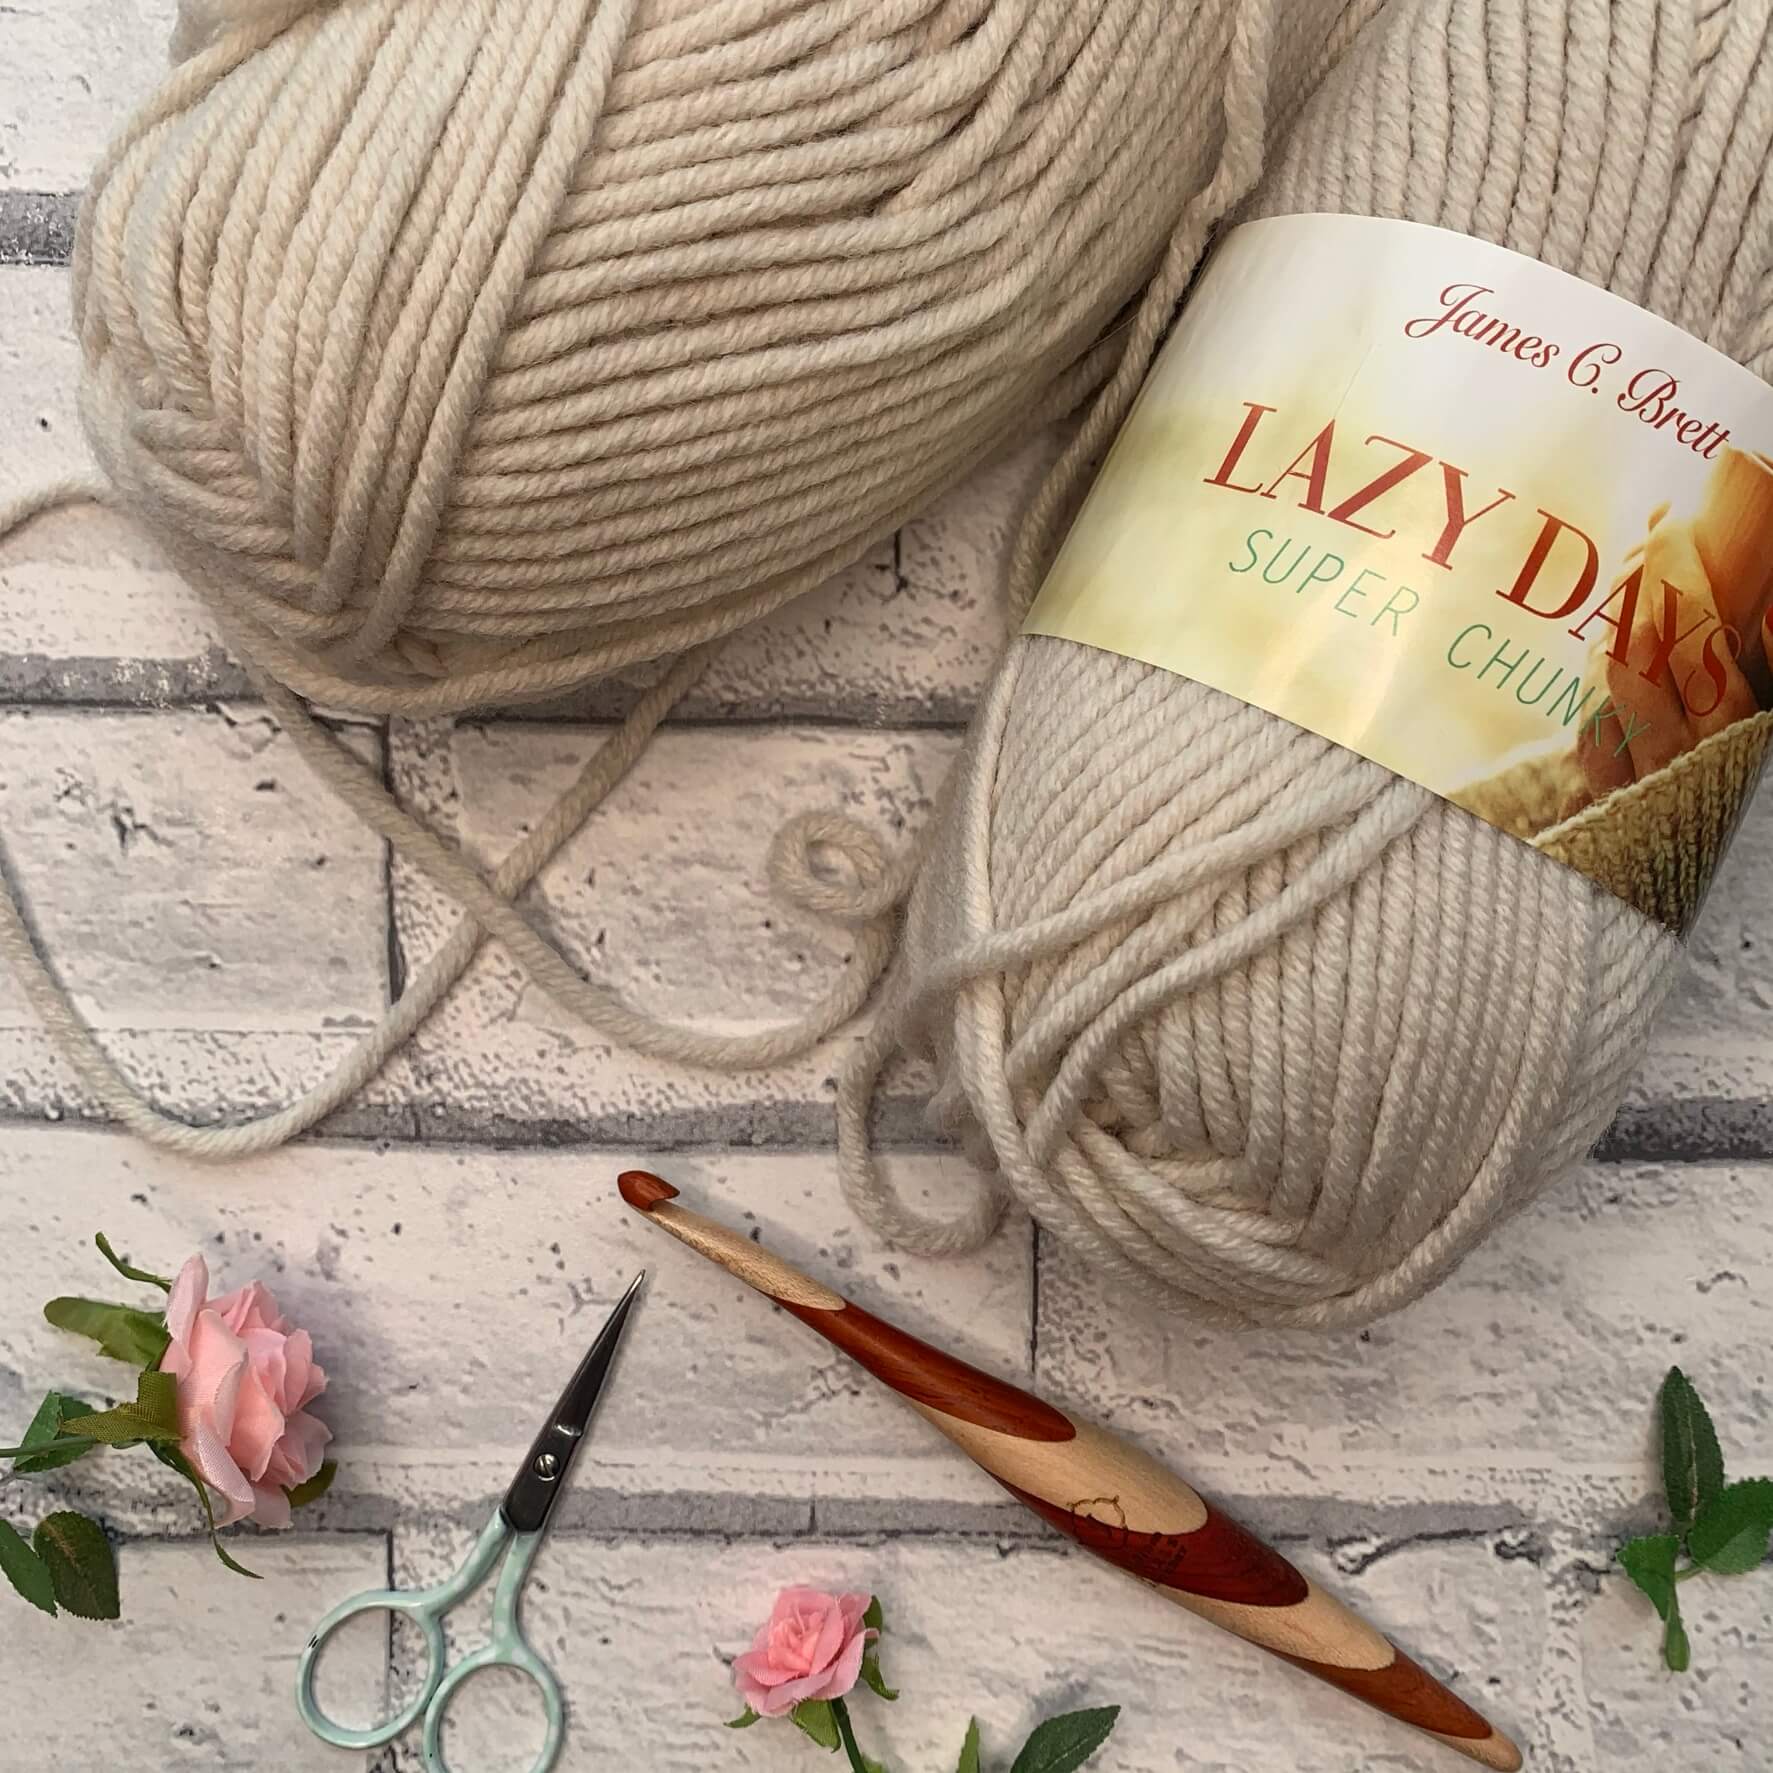
- Up to 220m/240 yrds Super Chunky (Super Bulky) yarn.
- I used James C. Brett Lazy Days Super Chunky (110m/119yds, 100g. 80% Acrylic 20% Polyamide) in shade LD12
- 6mm Crochet Hook (I love Furls Streamline Swirl Hooks)
- Scissors
- Tapestry needle for chunky yarn
Finished Size:
- Womens Adult Sizes – See size chart below
Tension
- 10 stitches and 8 rows = 4in (10cm) using 6mm crochet hook and hdc. Use a larger or smaller crochet hook to obtain the correct tension.
Stitch Abbreviations: US Terms (UK in brackets)
St(s) – Stitches
Ch – Chain
Sc (dc) – Single crochet (double crochet)
2 sc (2 dc) – work 2 single (double) crochet into the same stitch
Hdc (htr) – Half double (treble) crochet
FP – work stitch around the front post
BPhdc – work stitch around the pack post
Pattern Notes:
- Whatever your skill level with crochet, I always recommend reading through this pattern before beginning. Get in touch if you need any help completing the pattern.
- This pattern is worked in rows, then sewn up before working the cuff in rounds.
- Ch1 at the beginning of the rows DO NOT count as a stitch.
- Please read through entire pattern before beginning; if preferred, highlight appropriate stitch counts for your size which will be written in size order. 3-4 (5-6, 7-8, 9-10)
Special Stitches
Half Treble Crochet – HTr (Half Double Crochet – HDc)
- Click here to view a video to show how to complete a Half Treble Crochet.
Front Post Half Treble Crochet – FPHTr (Front post Half Double Crochet – FPHDc)
Back Post Half Treble Crochet – BPHTr (Back post Half Double Crochet – BPHDc)
- Click here to view a video to show you how to complete the front post/back post ribbing for the cuff of your sock.
How to Crochet these Easy Slipper Socks
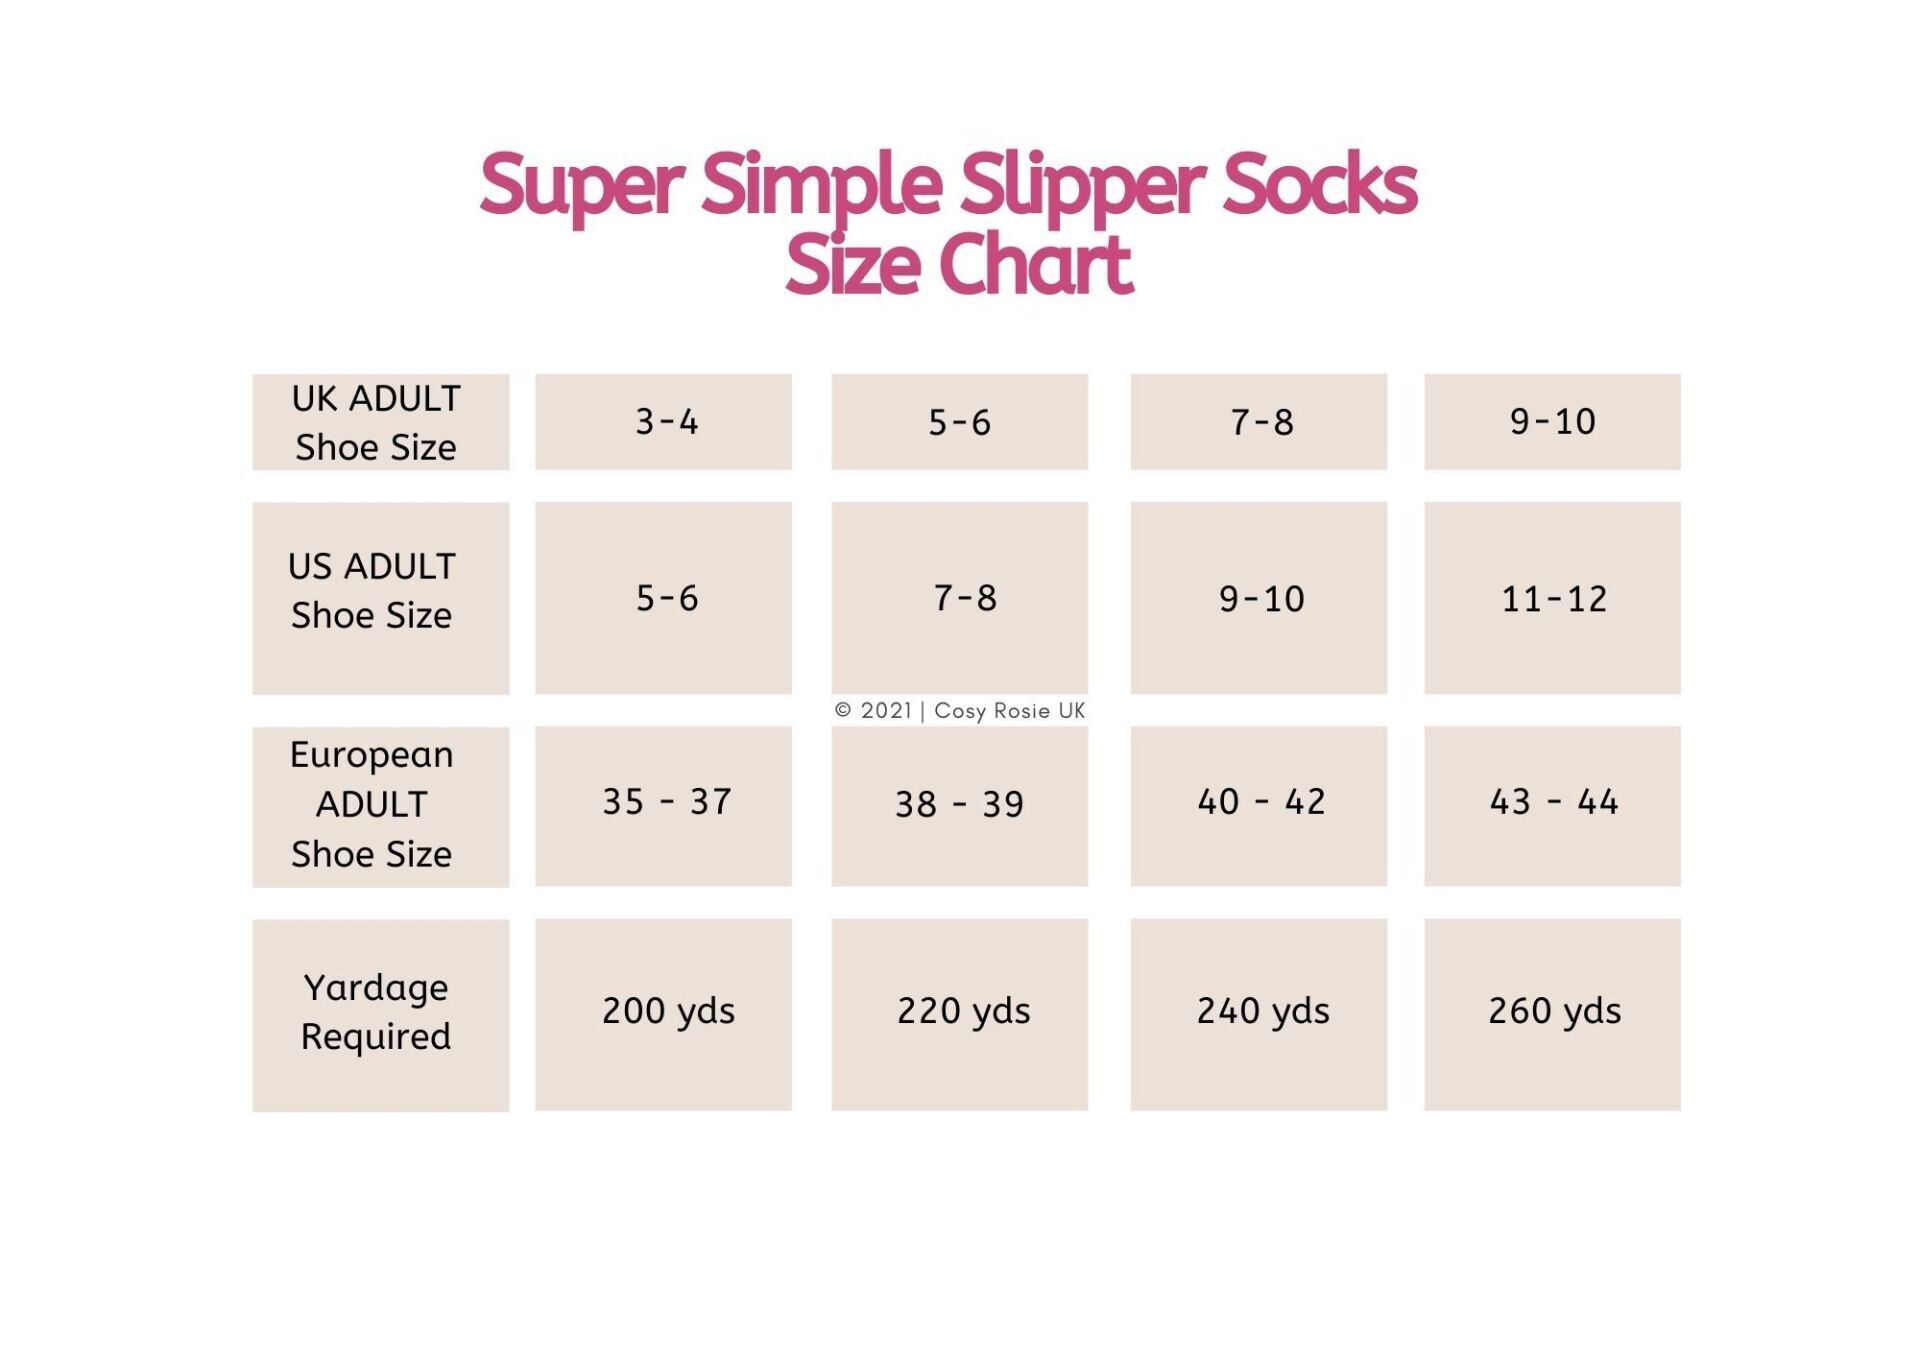
Pick your size!
Using the size chart below, select the size of sock you need to make.
If you’re following along with the YouTube Video, scroll down to see the number of rows needed per size.
How to crochet slipper socks
Ankle Section
All Sizes
Row 1: Ch 13, hdc in 2nd from hook., hdc each across, turn. (12 hdc)
Rows 2-8: Ch 1, hdc in each across, turn. (12 hdc)
Heel Section
Row 9: Ch 1, sc in each across, turn (12 sc)
Row 10: Ch 1, sc, sc2tog, sc in next 6, sc2tog, sc, turn. (10 sc)
Row 11: Ch 1, sc, sc2tog, sc in next 4, sc2tog, sc, turn. (8 sc)
Row 12: Ch 1, sc, sc2tog, sc in next 2, sc2tog, sc, turn. (6 sc)
Row 13: Ch 1, sc, sc2tog in next 2, sc, turn (4 sc)
Row 14: Ch 1, sc in each across, turn. (4 sc)
Row 15: Ch 1, sc, 2 sc in next, 2 sc in next, sc, turn. (6 sc)
Row 16: Ch 1, sc, 2 sc in next, sc in next 2, 2 sc in next, sc, turn. (8 sc)
Row 17: Ch 1, sc, 2 sc in next, sc in next 4, 2 sc in next, sc, turn. (10 sc)
Row 18: Ch 1, sc, 2 sc in next, sc in next 6, 2 sc in next, sc, turn. (12 sc)
Sole Section
Rows 19-29 (31, 33, 35): Ch 1, hdc in same and each across, turn. (12 hdc)
Toe Section
All Sizes – Row Count restarts from 1. DO NOT fasten off.
Row 1: Ch 1, sc in each across, turn. (12 sc)#
Row 2: Ch 1, sc, sc2tog, sc in next 6, sc2tog, sc in next, turn. (10 sc)
Row 3: Ch 1, sc, sc2tog, sc in next 4, sc2tog, sc in next, turn (8sc)
Row 4: Ch 1, sc, sc2tog, sc in next 2, sc2tog, sc in next, turn. (6 sc)
Row 5: Ch 1, sc, sc2tog in next 2, sc in next, turn. (4 sc)
Row 6: Ch 1, sc in each across, turn. (4 sc)
Row 7: Ch 1, sc, 2 sc in next 2 sts, sc in next. turn. (6 sc)
Row 8: Ch 1, sc, 2 sc in next, sc in next 2, 2 sc in next, sc
in next, turn. (8 sc)
Row 9: Ch 1, sc, 2 sc in next, sc in next 4, 2 sc in next, sc in next, turn. (10 sc)
Row 10: Ch 1, sc, 2 sc in next, sc in next 6, 2 sc, sc in next, turn. (12)
Top of Foot
Rows 11-29 (31, 33, 35): Ch 1, hdc in each st across, turn. (12 hdc)
Fasten off leaving a long tail, 3 times the length of your sock.
Continue to Sewing Up.
Sewing Up

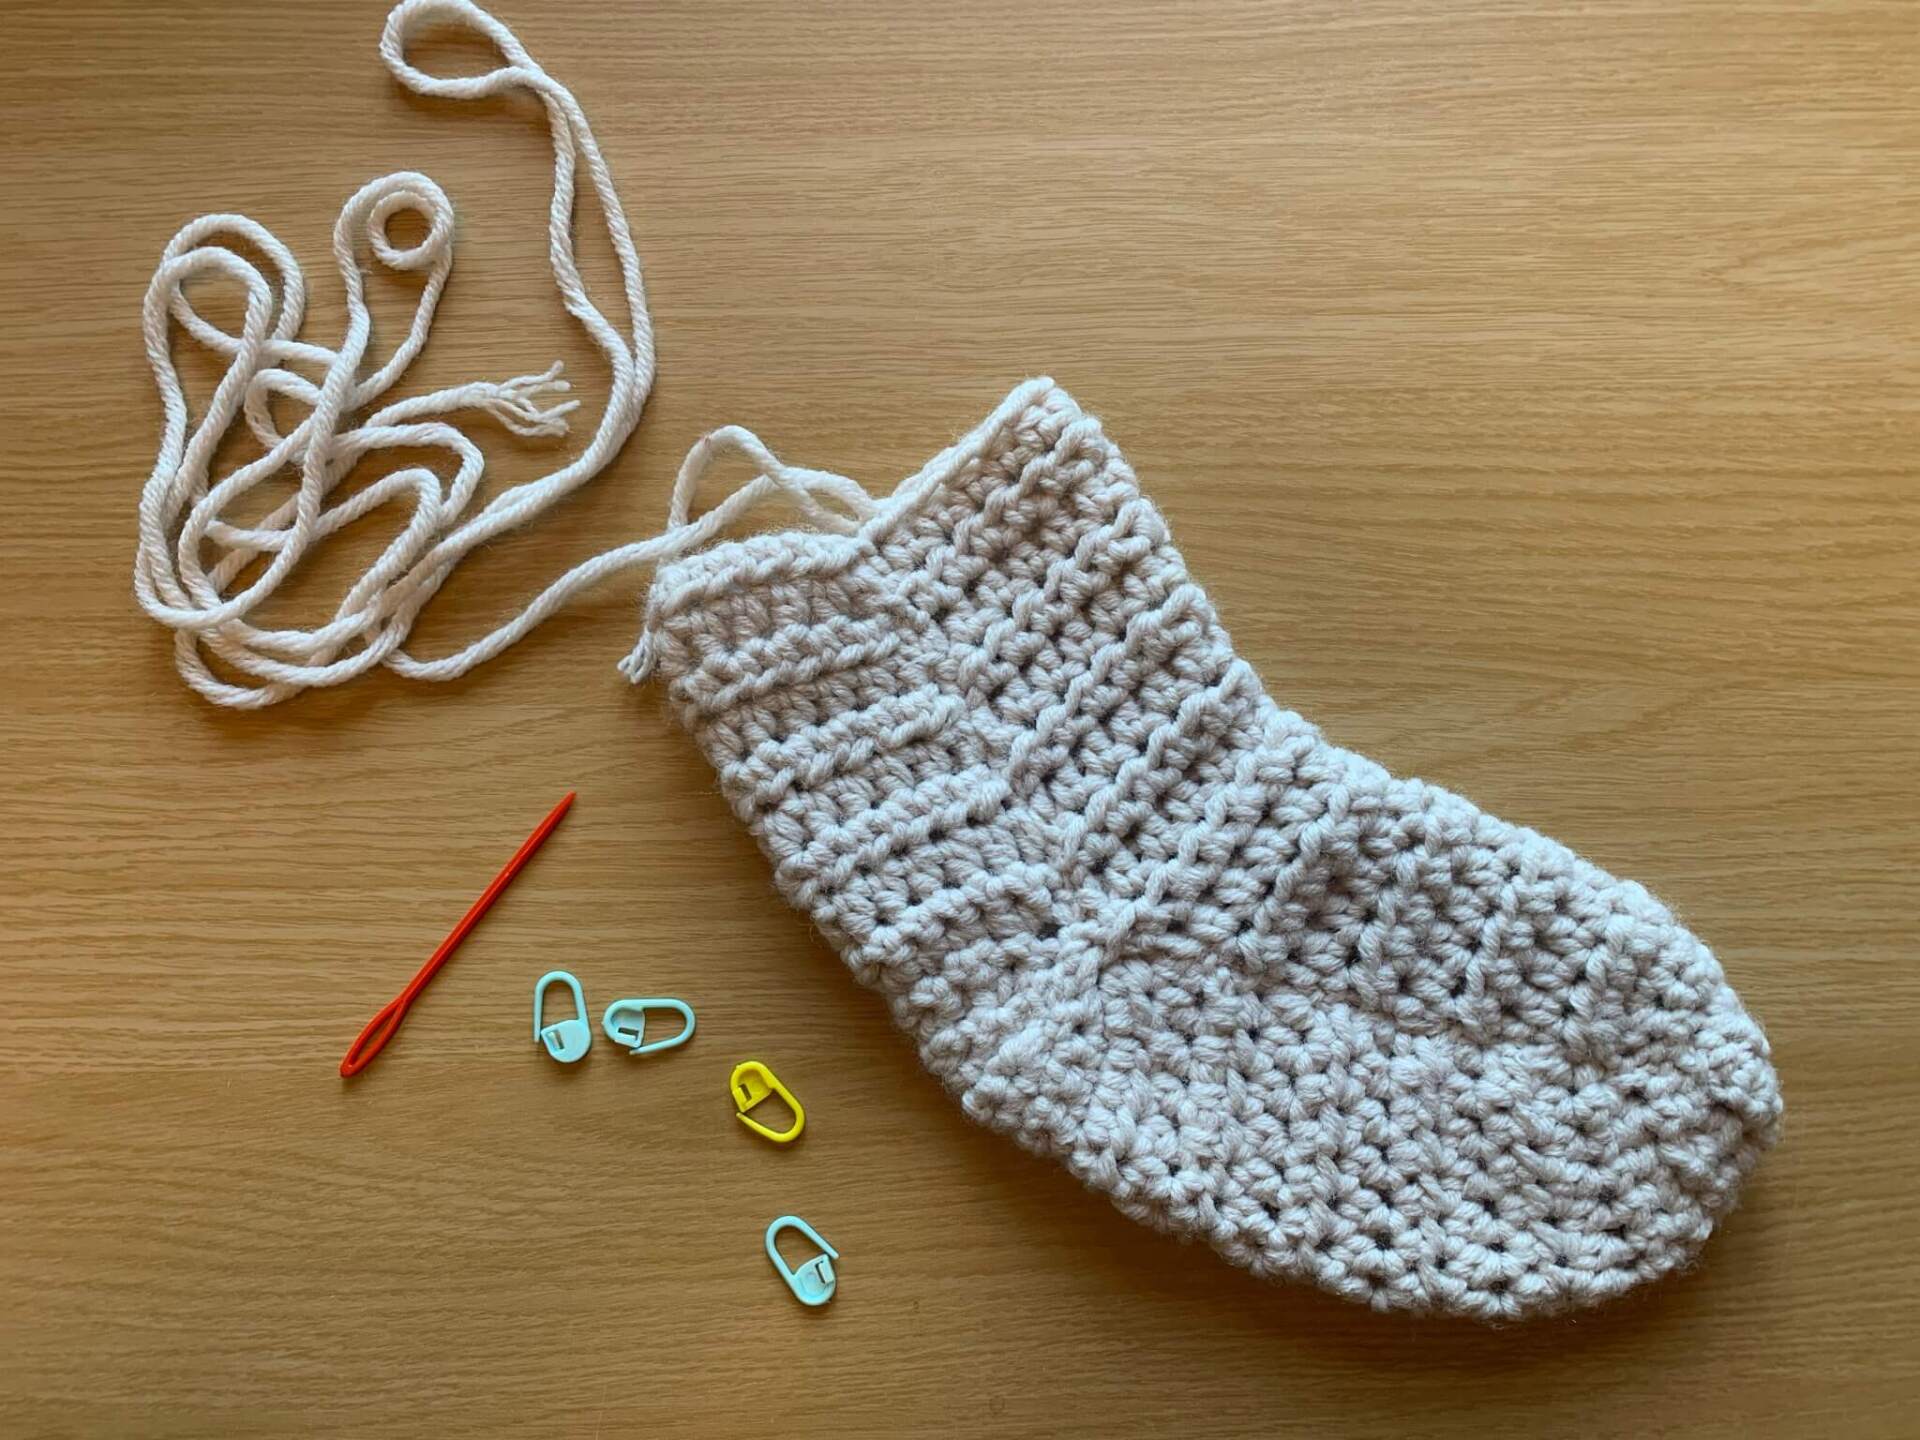
Lay your sock flat with the ankle on the left (as pictured), fold over at the heel section.

Pin the heel rows together using stitch markers (the Dc (Sc) rows).

Fold the sock again, this time at the toe section and secure with stitch markers.

Match up the two short ends and secure those together. Secure the sides of the sock where the heel section is
Sewing Up Your Sock
- Secure all the way round the sock with as many stitch markers as you need.
- Thread long tail on to your tapestry needle and begin sewing up, ensuring both sides are secure and you sew between each row.
- At the 1st join of 3 sides, secure with 1 stitch through all 3 sides, sew up the heel.
- Sew back up the heel join, to the 3 way join.
- Insert your hand down the seam to ensure there are no holes.
- Continue to work down, joining the sole to the top of the sock.
- Sew across the toe to the other side of the sock, weaving through the 4 stitches to reinforce the toe.
- Work up the other side of the sock in the same manner until all sides are joined.
- Secure yarn and weave in ends.
- Turn the right side out.
Cuff
All Sizes
Reattach yarn in the seam.
Round 1: Ch 1, hdc into each st and ch around, join (sl st to the top of the 1st st). (24 hdc)
Round 2: Ch 1, FPhdc around same, BPhdc around next, repeat around to end, join. (12 fphdc, 12 bphdc)
Round 3: Repeat Round 2.
Fasten off and weave in ends.
If you’ve enjoyed making your own Super Simple Slipper Socks. Don’t forget, you can download your ad-free printable PDF copy of this easy crochet pattern from my Etsy Shop or Ravelry Shop.
I’d love to see a picture of your completed socks, so tag me in a photo on your social media @cosyrosieuk
