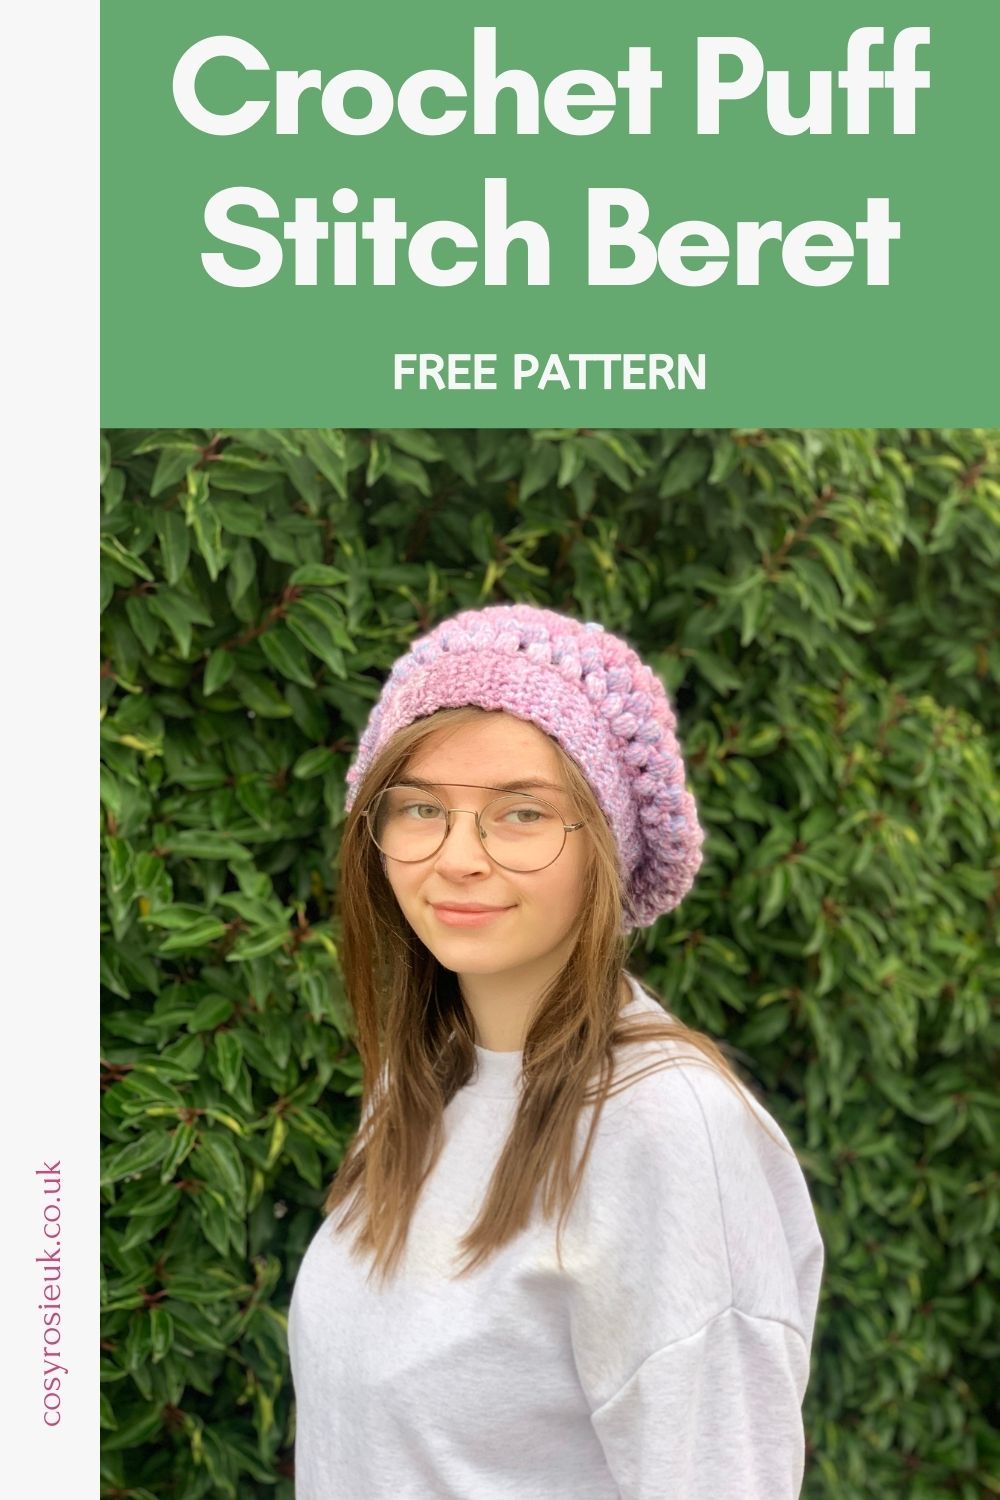
Free Crochet Beret Pattern with Puff Stitch
Crochet a relaxed, slouchy beret with this free crochet beret pattern. This crochet beret uses the puff stitch throughout to add texture and keep the beret light weight with lots of space between the stitches.
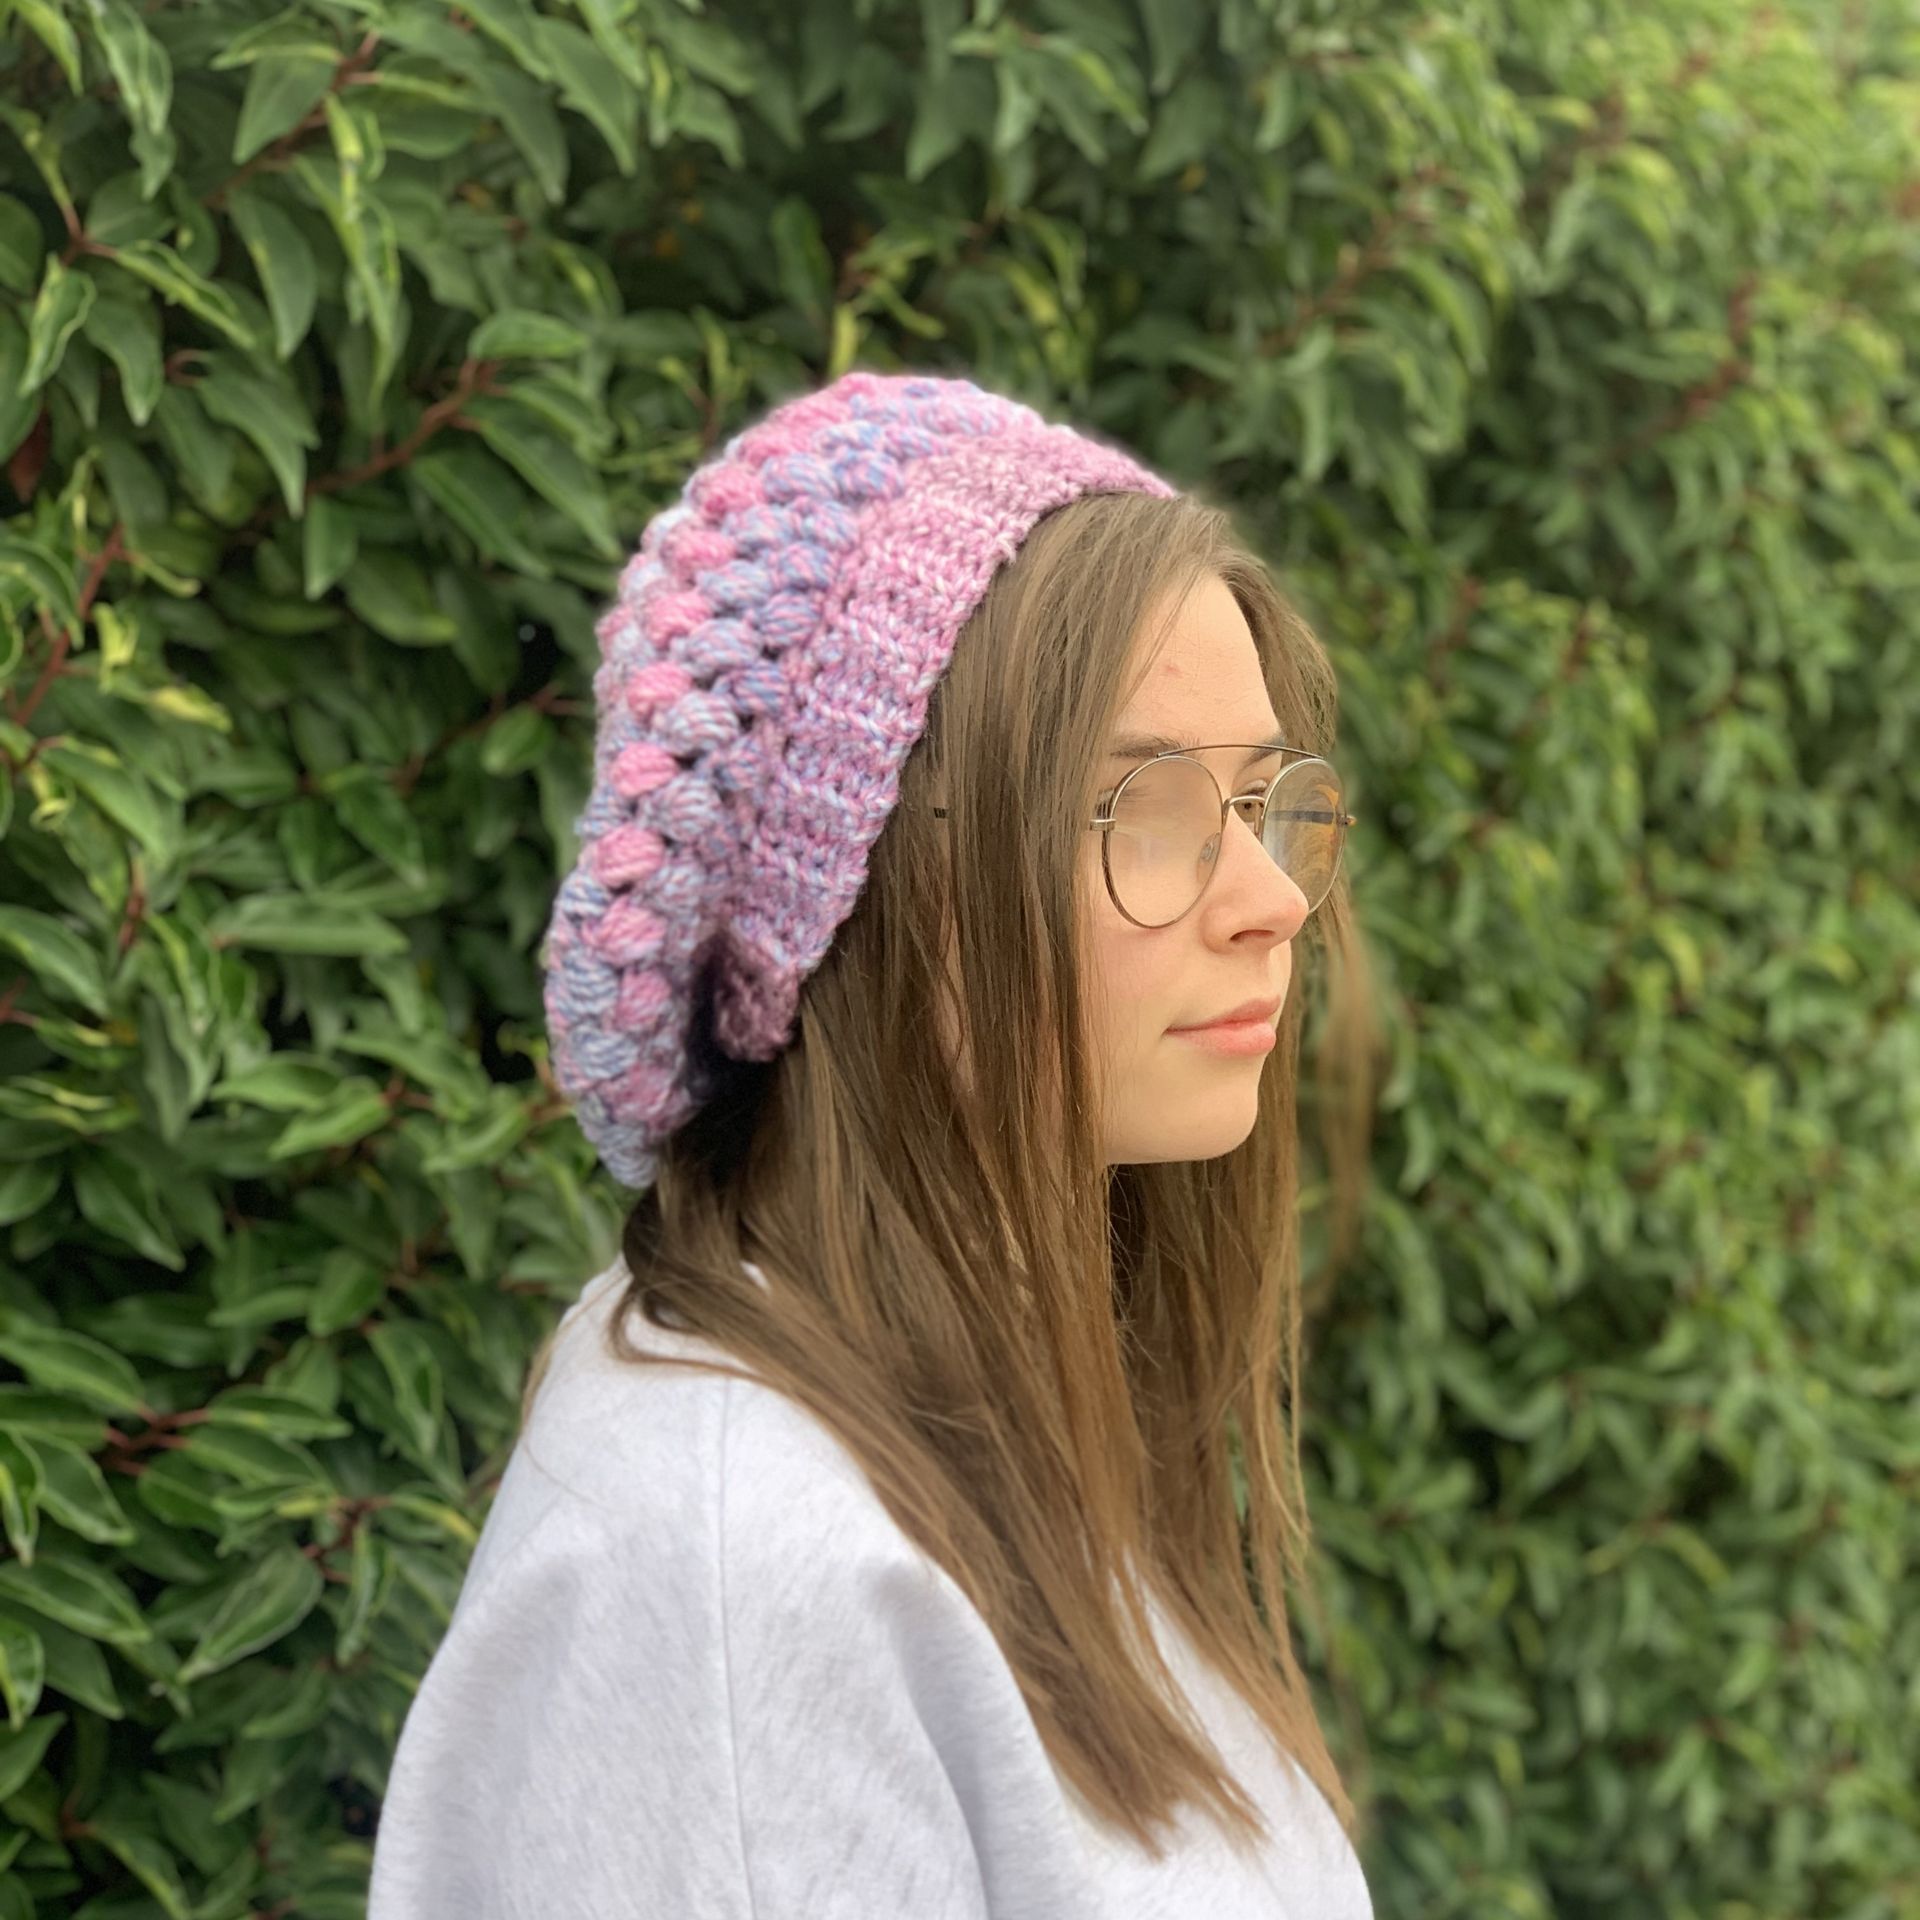
Souffle Puffy Beret | Free Crochet Pattern
This beginner friendly crochet beret pattern is worked from the bottom up, with the brim worked in turned rows to create a ribbed band before the beret is worked onto the brim.
This beret pattern uses the puff stitch throughout the top of the hat, with generous spaces between them to create an oversized fit, ideal for those relax days.
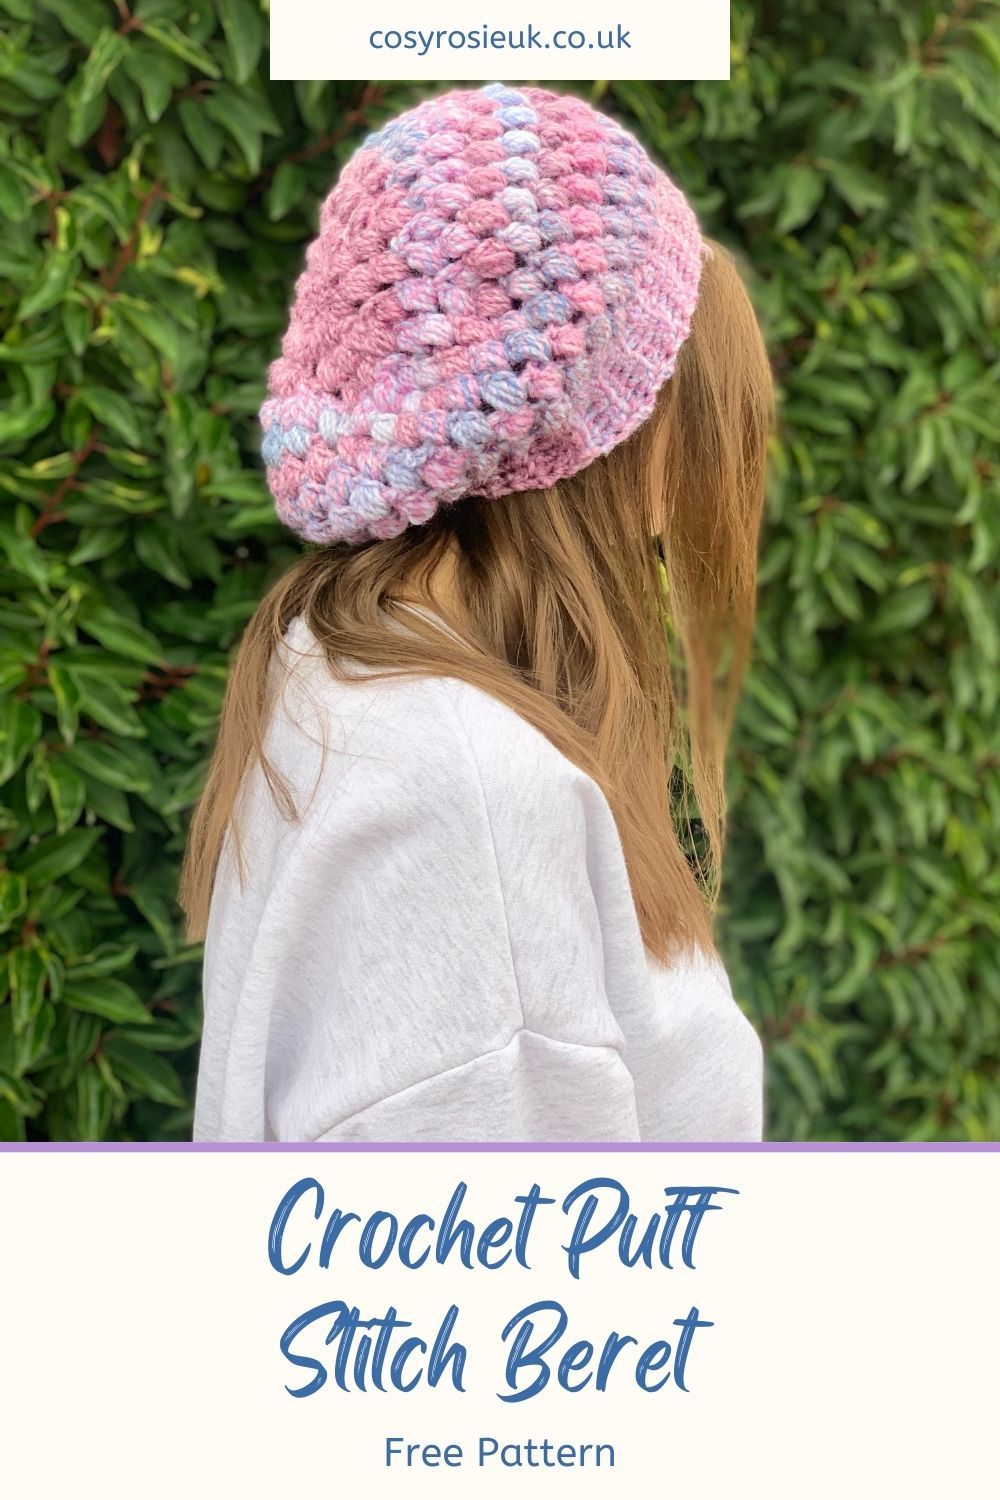
Pin this Pattern to make it later
Love Making Crochet Hats?
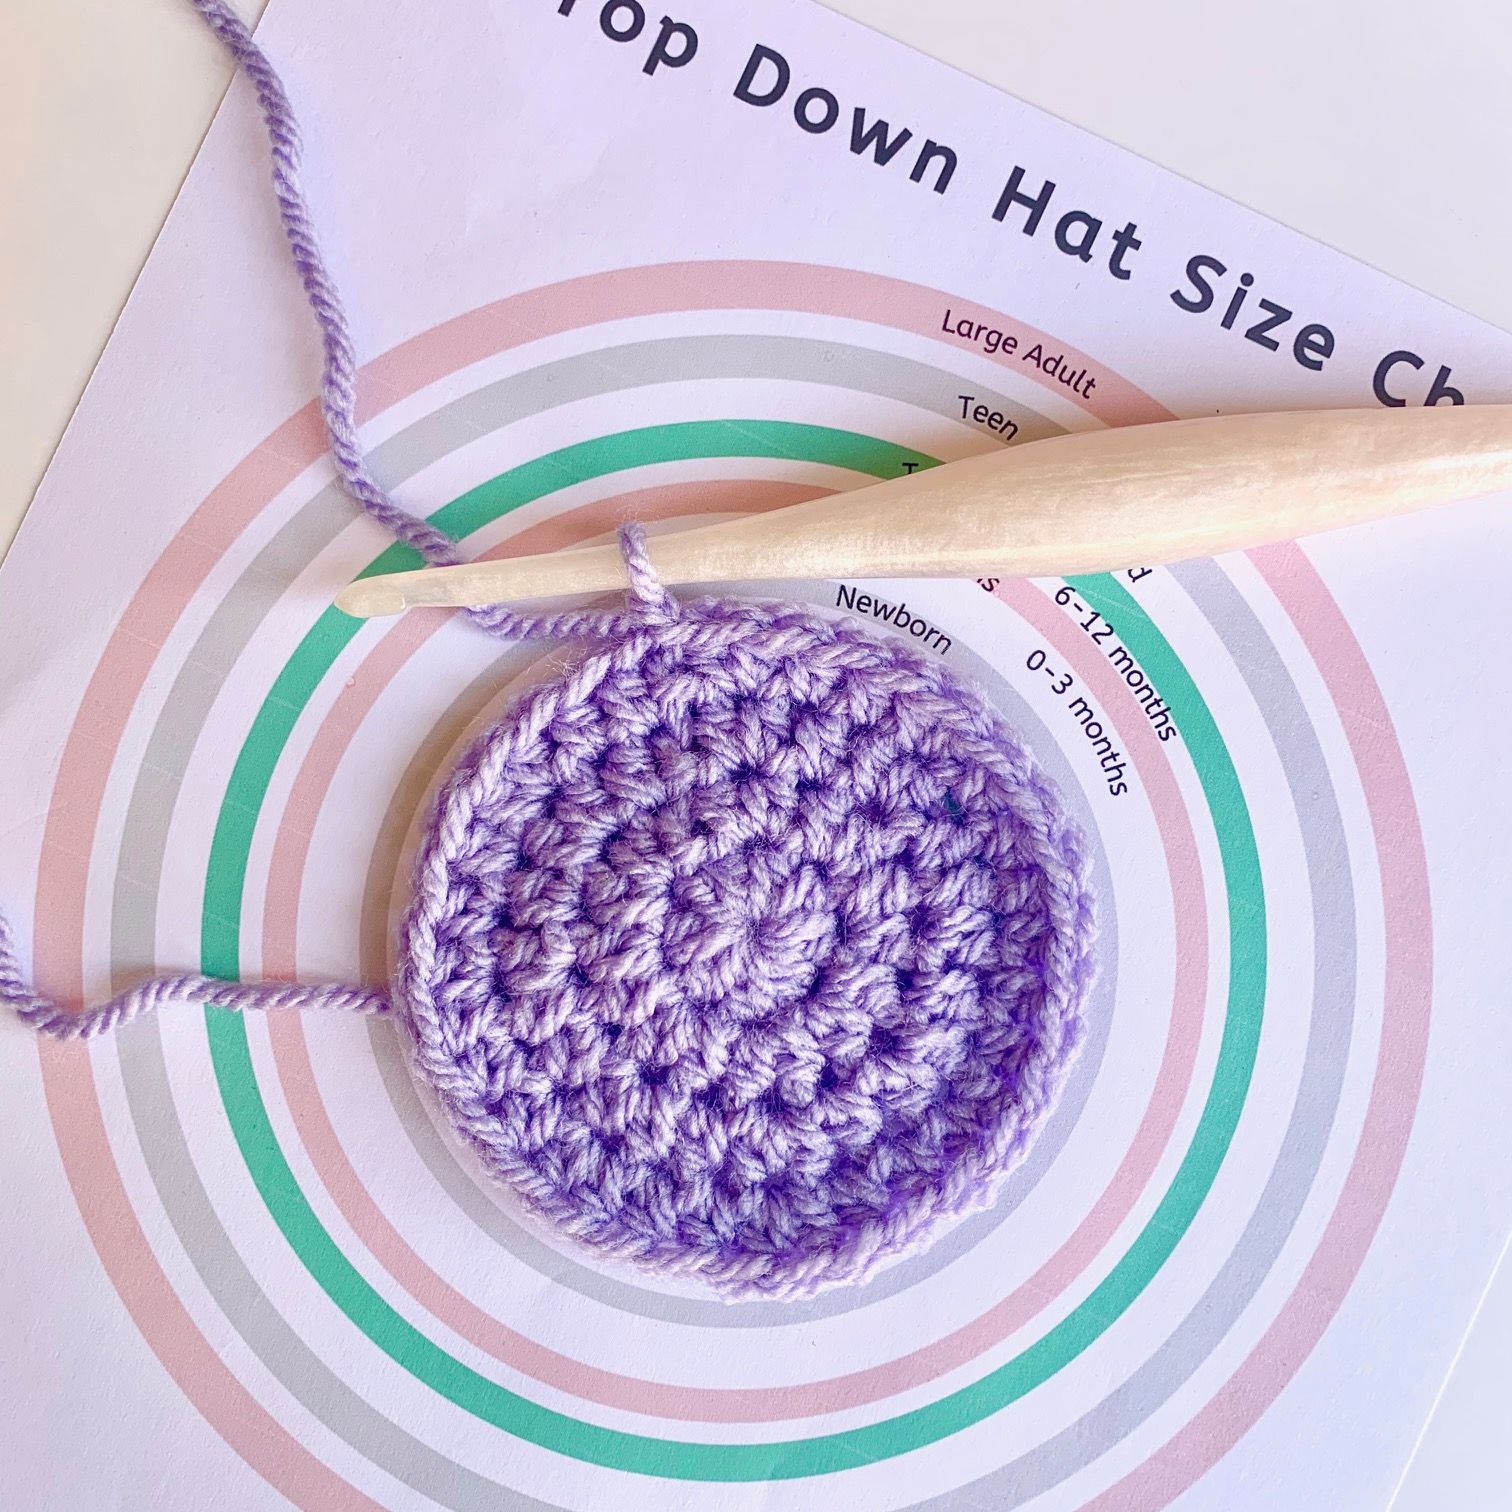
Getting the right fit when stitching up crochet hats can be quite the challenge - if you've ever made a beanie to find it simply didn't fit, you will love my guide to making a hat - any size.
There is also a free download available that takes you through the 3 different ways beanie patterns can be worked:
- Top down
- Bottom up
- Side to side
Click here to find out more about the different ways and how to get the perfect fit
Purchase the Printable PDF Pattern
You can purchase a printable copy of this crochet beret pattern by Clicking the button below to purchase from your favourite retailer:
Design Inspiration
This pattern has been in the "To Release" pile for years! I designed this beret to sell at craft fairs, as it works up so quickly and looks great when stitched up in variegated yarns.
It's designed to be worn in a relax style, which I love! Plus, with the lightweight nature of the stitches used, and the chain spaces, it can be worn in all weathers too.
Back in 2020, when I began to release my crochet designs, this design kept being overtaken by other designs. I then agreed to release it exclusively in Happily Hooked Magazine at the start of 2023, but sadly the magazine folded before the edition the Soufflé Beret was being featured in, released. So, once again, the release was pushed back to winter 2023 - and here it is!
Free Crochet Beret Pattern Details
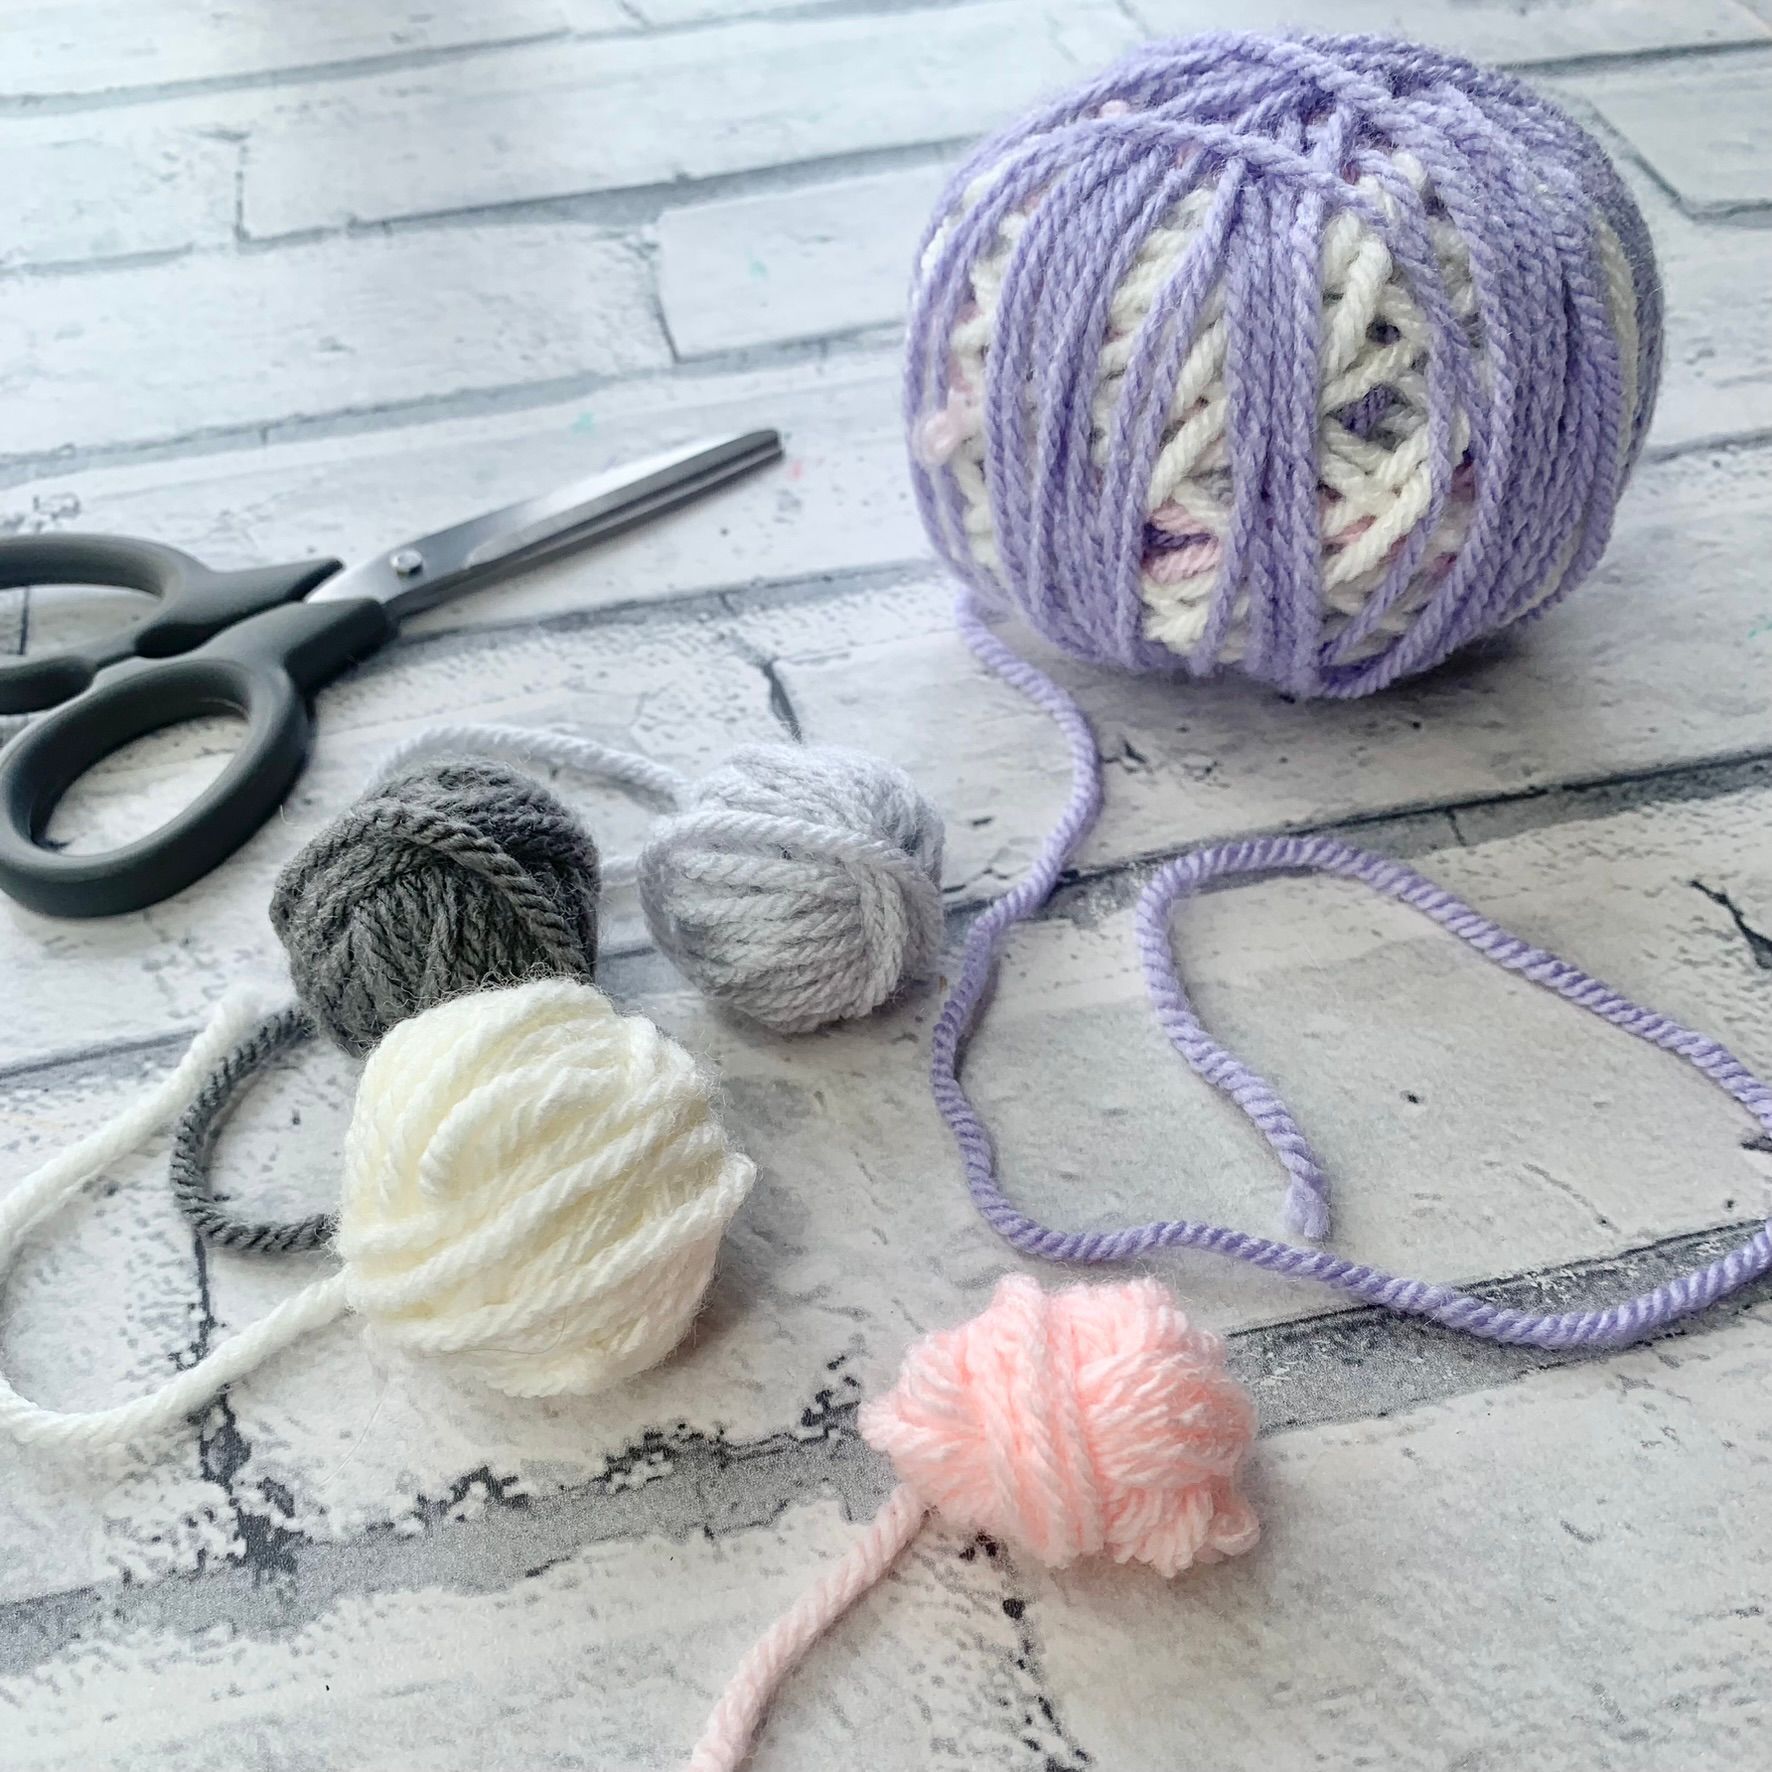
Materials:
- 170m Chunky (Bulky) yarn
- I used James C Brett Marble 100% acrylic (200g 312m/341yds) in the shade MC70
- 6mm Crochet Hook
- Stitch Markers
- Scissors
Abbreviations
US Terms (UK in brackets)
St(s) - Stitches
Ch - Chain
Sl st - Slip stitch
Sc (Dc) - Single Crochet (double crochet)
puff - Puff Stitch
puff2tog - decrease puff stitch
Pattern Notes
- Please read through the entire pattern before beginning, regardless of skill level. Please contact me ([email protected]) if help is needed to understand any part of pattern.
- This hat is worked in 2 parts:
- Brim, worked in turned rows
- Hat, worked in joined rounds from bottom up.
- Beginning ch-1 does NOT count as stitch.
- Closing Ch-1 after puff stitch does not count as part of chain space
- Finished brim will measure 18" before joining to allow for stretching
Finished Size:
- To fit standard Adult head measuring 21"
Gauge
- (5 puff, ch 2) and 6 rows = 4”/10 cm with 6mm hook. Adjust hook size if necessary to obtain gauge.
Special Stitches
puff - puff Stitch
- [Yarn over hook (YO), insert hook into st/ch-sp indicated
- YO, pull up loop] 4 times
- YO, pull through all 9 loops
- ch 1 to close puff. (closing ch-1 does not count in the space)
puff2tog - Decrease puff stitch
- [Yarn over hook (YO), insert hook in chain space indicated, YO, pull up loop] 4 times
- YO, pull through 8 loops
- [Yarn over hook (YO), insert hook in next chain space, YO, pull up loop] 4 times
- YO, pull through 8 loops
- YO, pull through remaining 3 loops
- ch 1 to close puff2tog. (closing ch-1 does not count in the space)
Free Crochet Beret Pattern Tutorial
How to crochet a beret
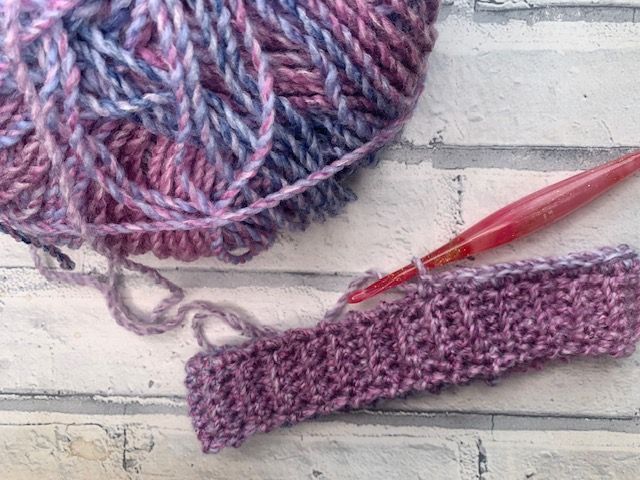
Brim
Row 1: Ch 7, sc in 2nd ch from hook, working BLO, sc in next 4 ch, sc in last, turn - 6 sc
Rows 2-56: Ch 1 (does not count), sc in same as ch 1, working in BLO, sc in next 4 sts, working through both loops of stitch, sc in last, turn - 6 sc
Join Brim:
Bring 2 end rows together, working through both rows, sl st in each across.
Do not fasten off.
Continue to Hat.
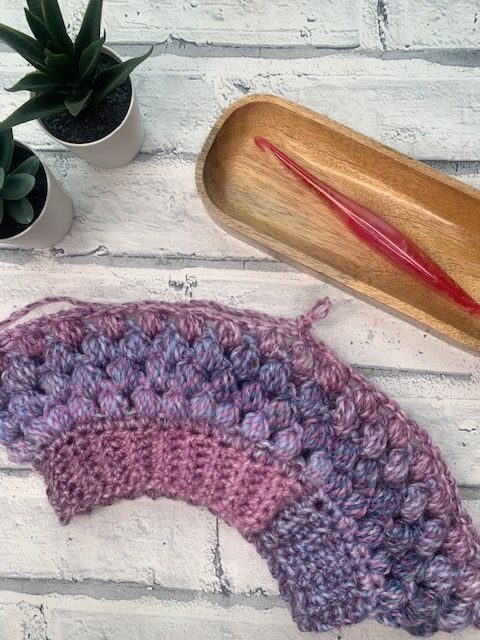
Hat
Rotate to work across row ends of Brim.
Round 1: Ch 1, sc into each row end around, join -56 sc
Round 2: Ch 1, puff in same as ch 1, ch 1, skip next st, [puff, ch 1, skip next] 2 times, [puff in next, ch 1] 2 times, *[puff, ch 1, skip next] 3 times, [puff in next, ch 1] 2 times; repeat from * around, join - 35 puff, 35 ch-1 sps
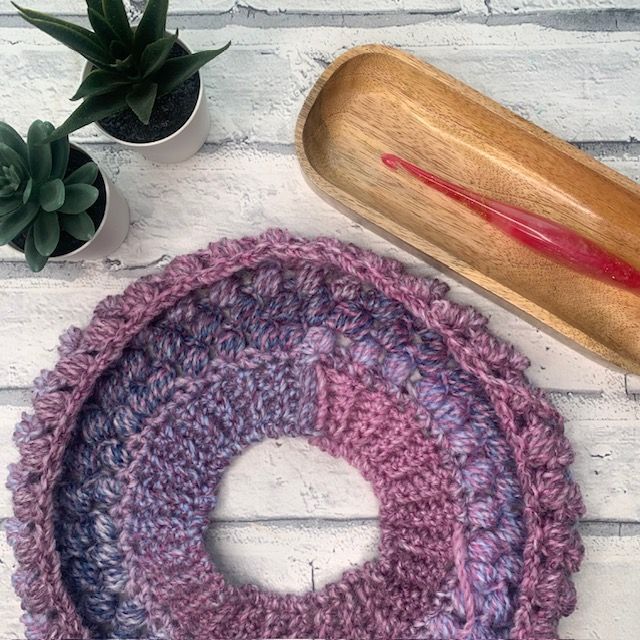
Rounds 3-6: Sl st into next ch-1 sp, ch 1, [puff in same ch-sp as ch 1, ch 1] *[puff in next ch-1 sp, ch 1]; repeat from * around, join - 35 puff, 35 ch-1 sps
Round 7: Sl st into next ch-1 sp, ch 1, [puff in same as ch 1, ch 1], *[puff in next ch-1 sp, ch 1] 4 times, [puff2tog across next 2 ch-1 sps, ch 1] in next; repeat from * to last 4 ch sps, [puff in next ch-1 sp, ch 1] in next 4 ch-2 sps, join - 25 puff, 5 puff2tog, 30 ch-1 sps
Round 8: Sl st into next ch-1 sp, ch 1, [puff in same as ch 1, ch 1], [puff in next ch-1 sp, ch 1] 2 times, *[puff2tog across next 2 ch-1 sps, ch 1], [puff in next ch-1 sp, ch 1] 2 times; repeat from * to last 3 ch-1 sps, [puff2tog across next 2 ch-1 sps, ch 1], [puff in last ch-1 sp, ch 1], join - 16 puff, 7 puff2tog, 23 ch-1 sps
Round 9: Sl st into next ch-1 sp, ch 1, [puff in same as ch 1, ch 1], *[puff2tog across next 2 ch-1 sps, ch 1], [puff in next ch-1 sp, ch 1]; repeat from * around to last ch-1 sp, [puff in last ch-1 sp, ch 1], join - 9 puff, 7 puff2tog, 16 ch-1 sps
Round 10: Sl st into next ch-1 sp, ch 1, [puff2tog across same and next ch-1 sp, ch 1], [puff in next ch-1 sp, ch 1], *[puff2tog across next 2 ch-1 sps, ch 1], [puff in next ch-1 sp, ch 1] ; repeat from * to last, [puff in next ch-1 sp, ch 1] in last, join - 6 puff, 5 puff2tog, 11 ch-1 sps
Round 11: Sl st into next ch-1 sp, ch 1, [puff in same as ch 1, ch 1], *[puff2tog across next 2 ch-1 sps, ch 1]; repeat from * around to end, join. - 1 puff, 5 puff2tog, 6 ch-1 sps
Round 12: Ch 1, sc in same as ch 1, sc in each ch-1 sp and puff2tog around, join - 11 sc
Fasten off with long tail.
Weave through each stitch with tail to close.
Weave ends.

Made it?
YAY - there's no better feeling than finishing a crochet project!!
Why not share a picture with me? You can head to the Your Projects page by clicking here or join the Cosy Rosie Community and share with us all so we can celebrate your project with you.
Pin it for Later
If you love Christmas Crochet patterns that add that handmade feel to the holidays, check out these pattern round ups:

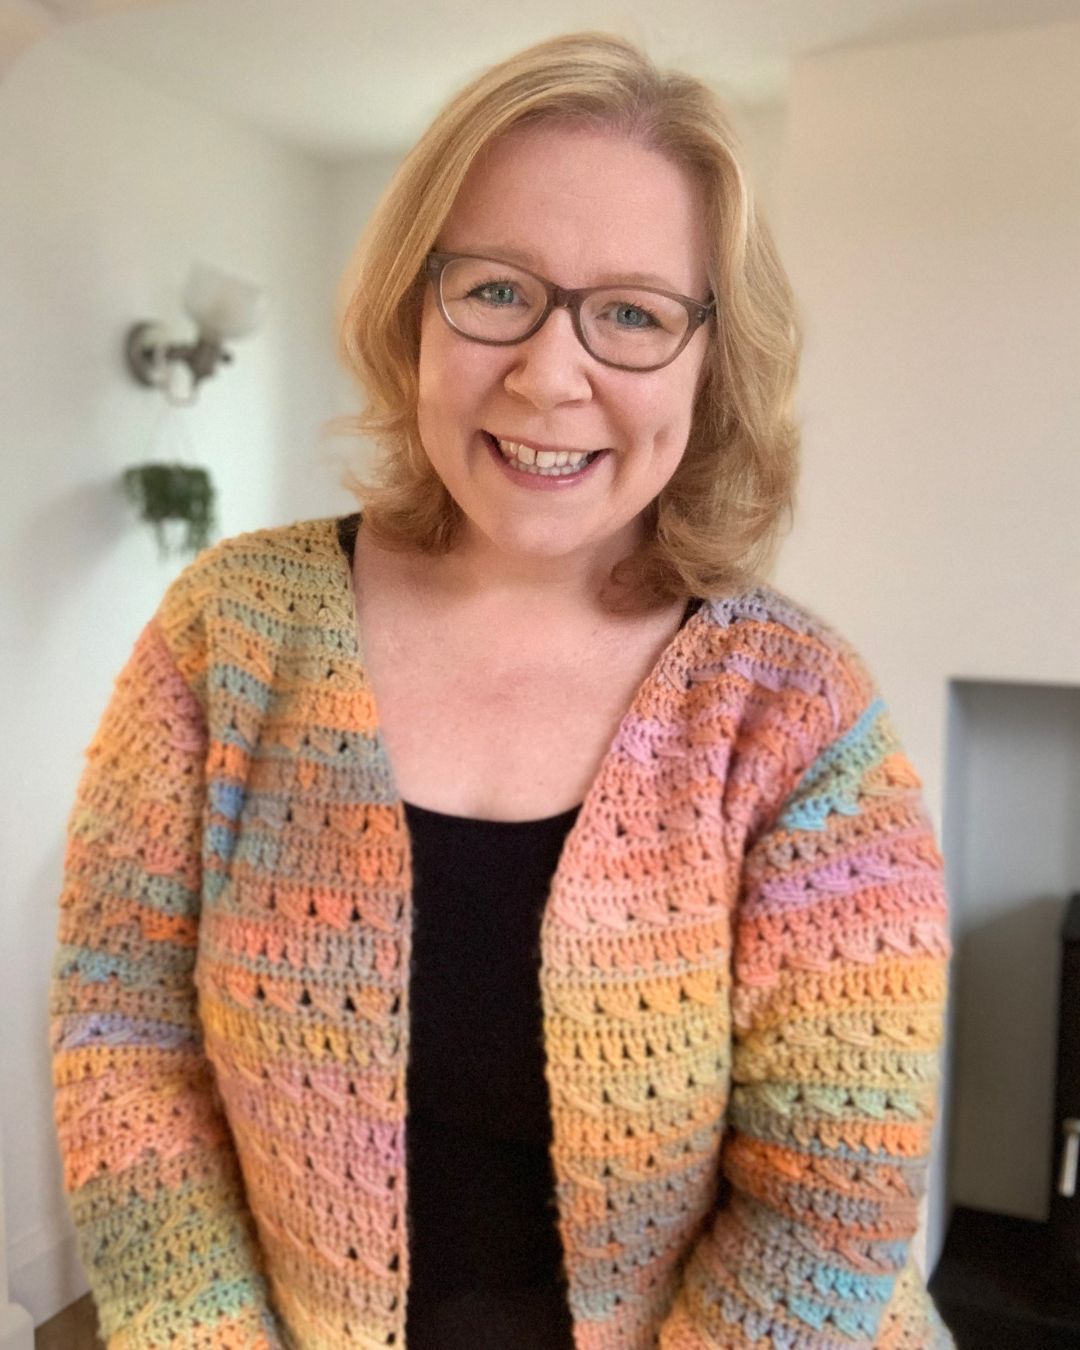
About the Autor
Hi, I'm Fiona, the hands behind Cosy Rosie Crochet - the place to learn to crochet as you make!
With over four years of hands-on experience leading in-person crochet workshops since 2018 and designing and publishing my own patterns since 2019, I bring a wealth of expertise of sharing crochet techniques.....


Cosy Rosie UK Crochet Blog